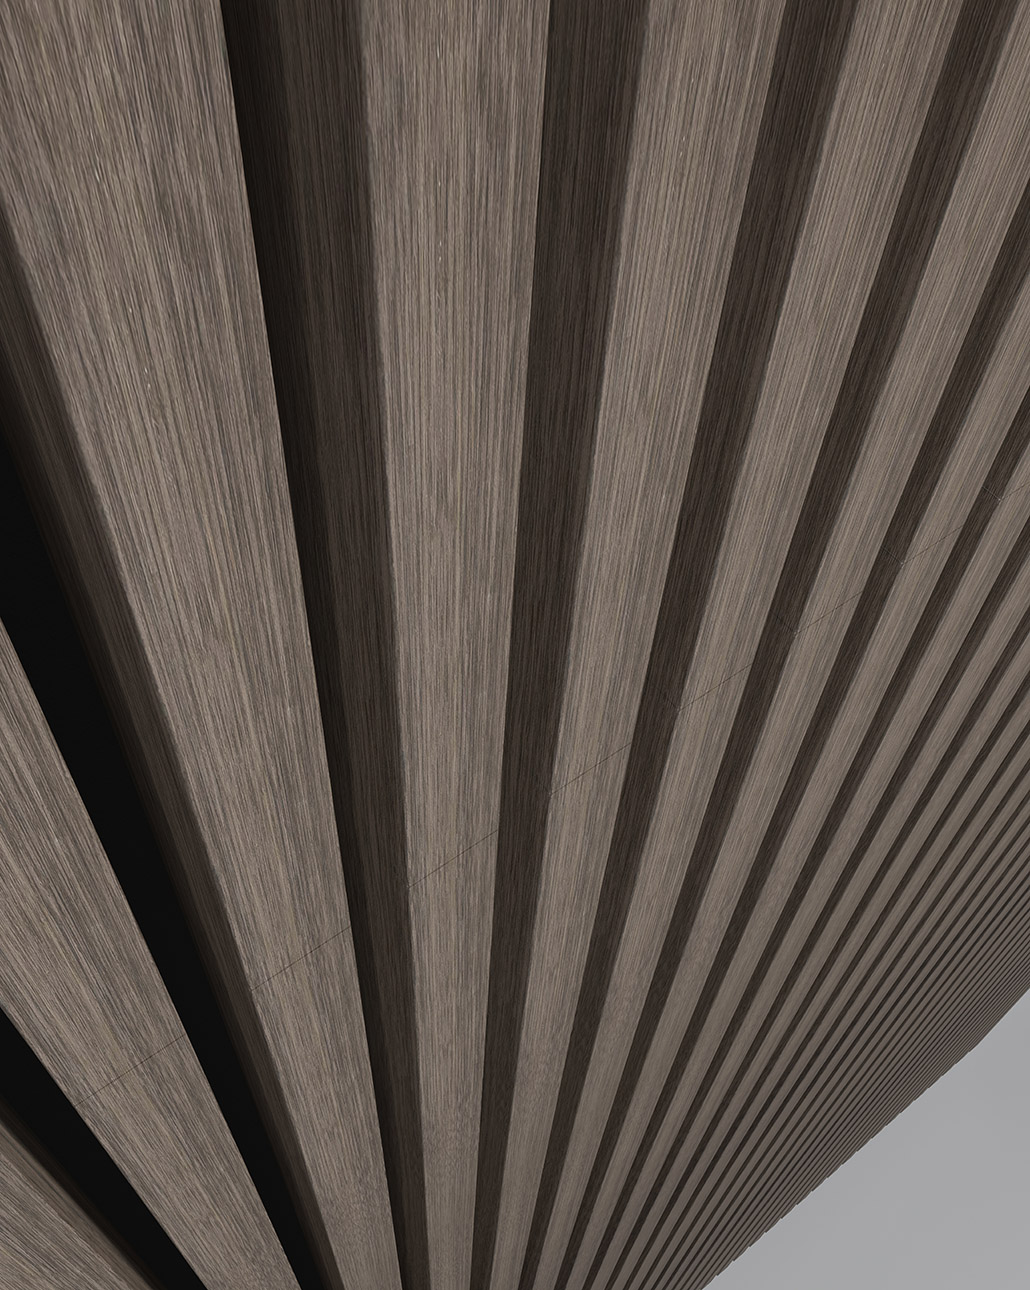
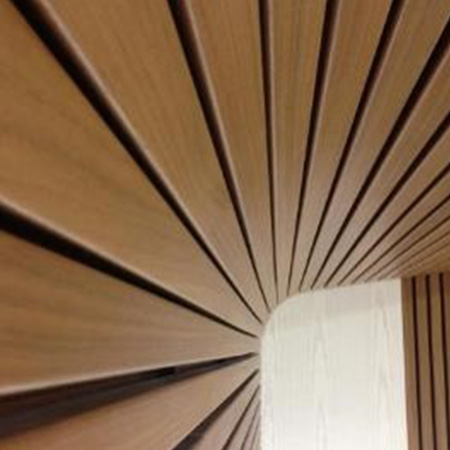
Rib Narrow can easily be combined with the other dimensions in Gustaf’s Linear Rib range.
Linear Rib Narrow Installation – Wall
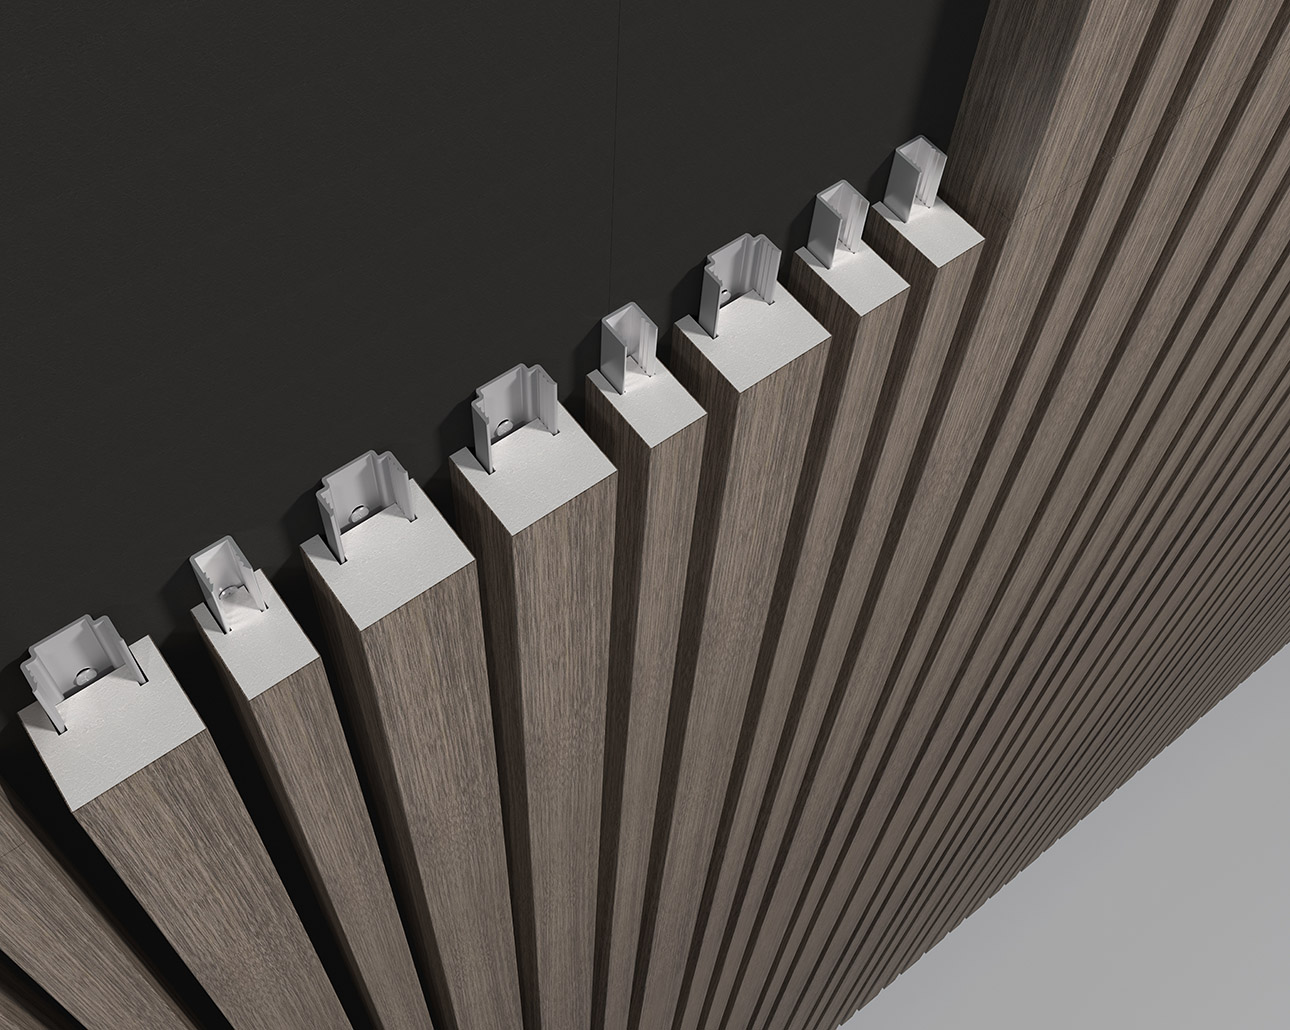
Used when installing Gustafs Rib Narrow width: 22 mm.
Compatible products: Linear Rib-R, Rib-S, Stripe-XL


Used when installing Gustafs Rib Narrow width: 22 mm.
Compatible products: Linear Rib-R, Rib-S, Stripe-XL
APPLICATION
Wall
TYPE / SOLUTION
Linear System
INSTALLATION
CAPAX SYSTEM
Using the well proven and concealed U-FIX holder solution, a Linear Rib Narrow installation will be reliable and beautiful, just like all our other Capax solutions. The installation is flexible and variations regarding spacings, curved surfaces or combinations of varying rib widths are easily achieved.

These instructions refer to our standard installation. For other solutions such as curved walls, closures and door liners, contact our support.
Select Ribs on colour shade and plan your ceiling installation, we recommend mixing varying shades randomly.
The room temperature should be between 18-50 C°.
The air humidity should be between 25-60%. The humidity in the under laying construction (concrete) should not be higher than 15%.


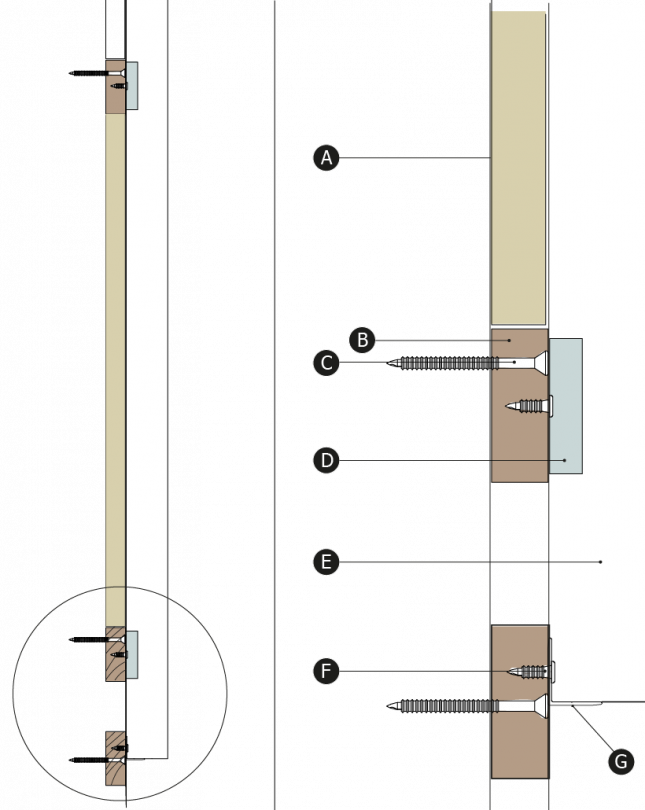
1. Install solid wood, plywood or similar battens to the wall every 600 mm with the help of a laser-level. Every rib should be supported by 5 battens with approximately 600 mm in between the supporting points.


2. Optionally, install a layer of insulation material between the battens.


3. Optionally, install Acoustex felt with some double-sided tape to keep it in place during the installation.

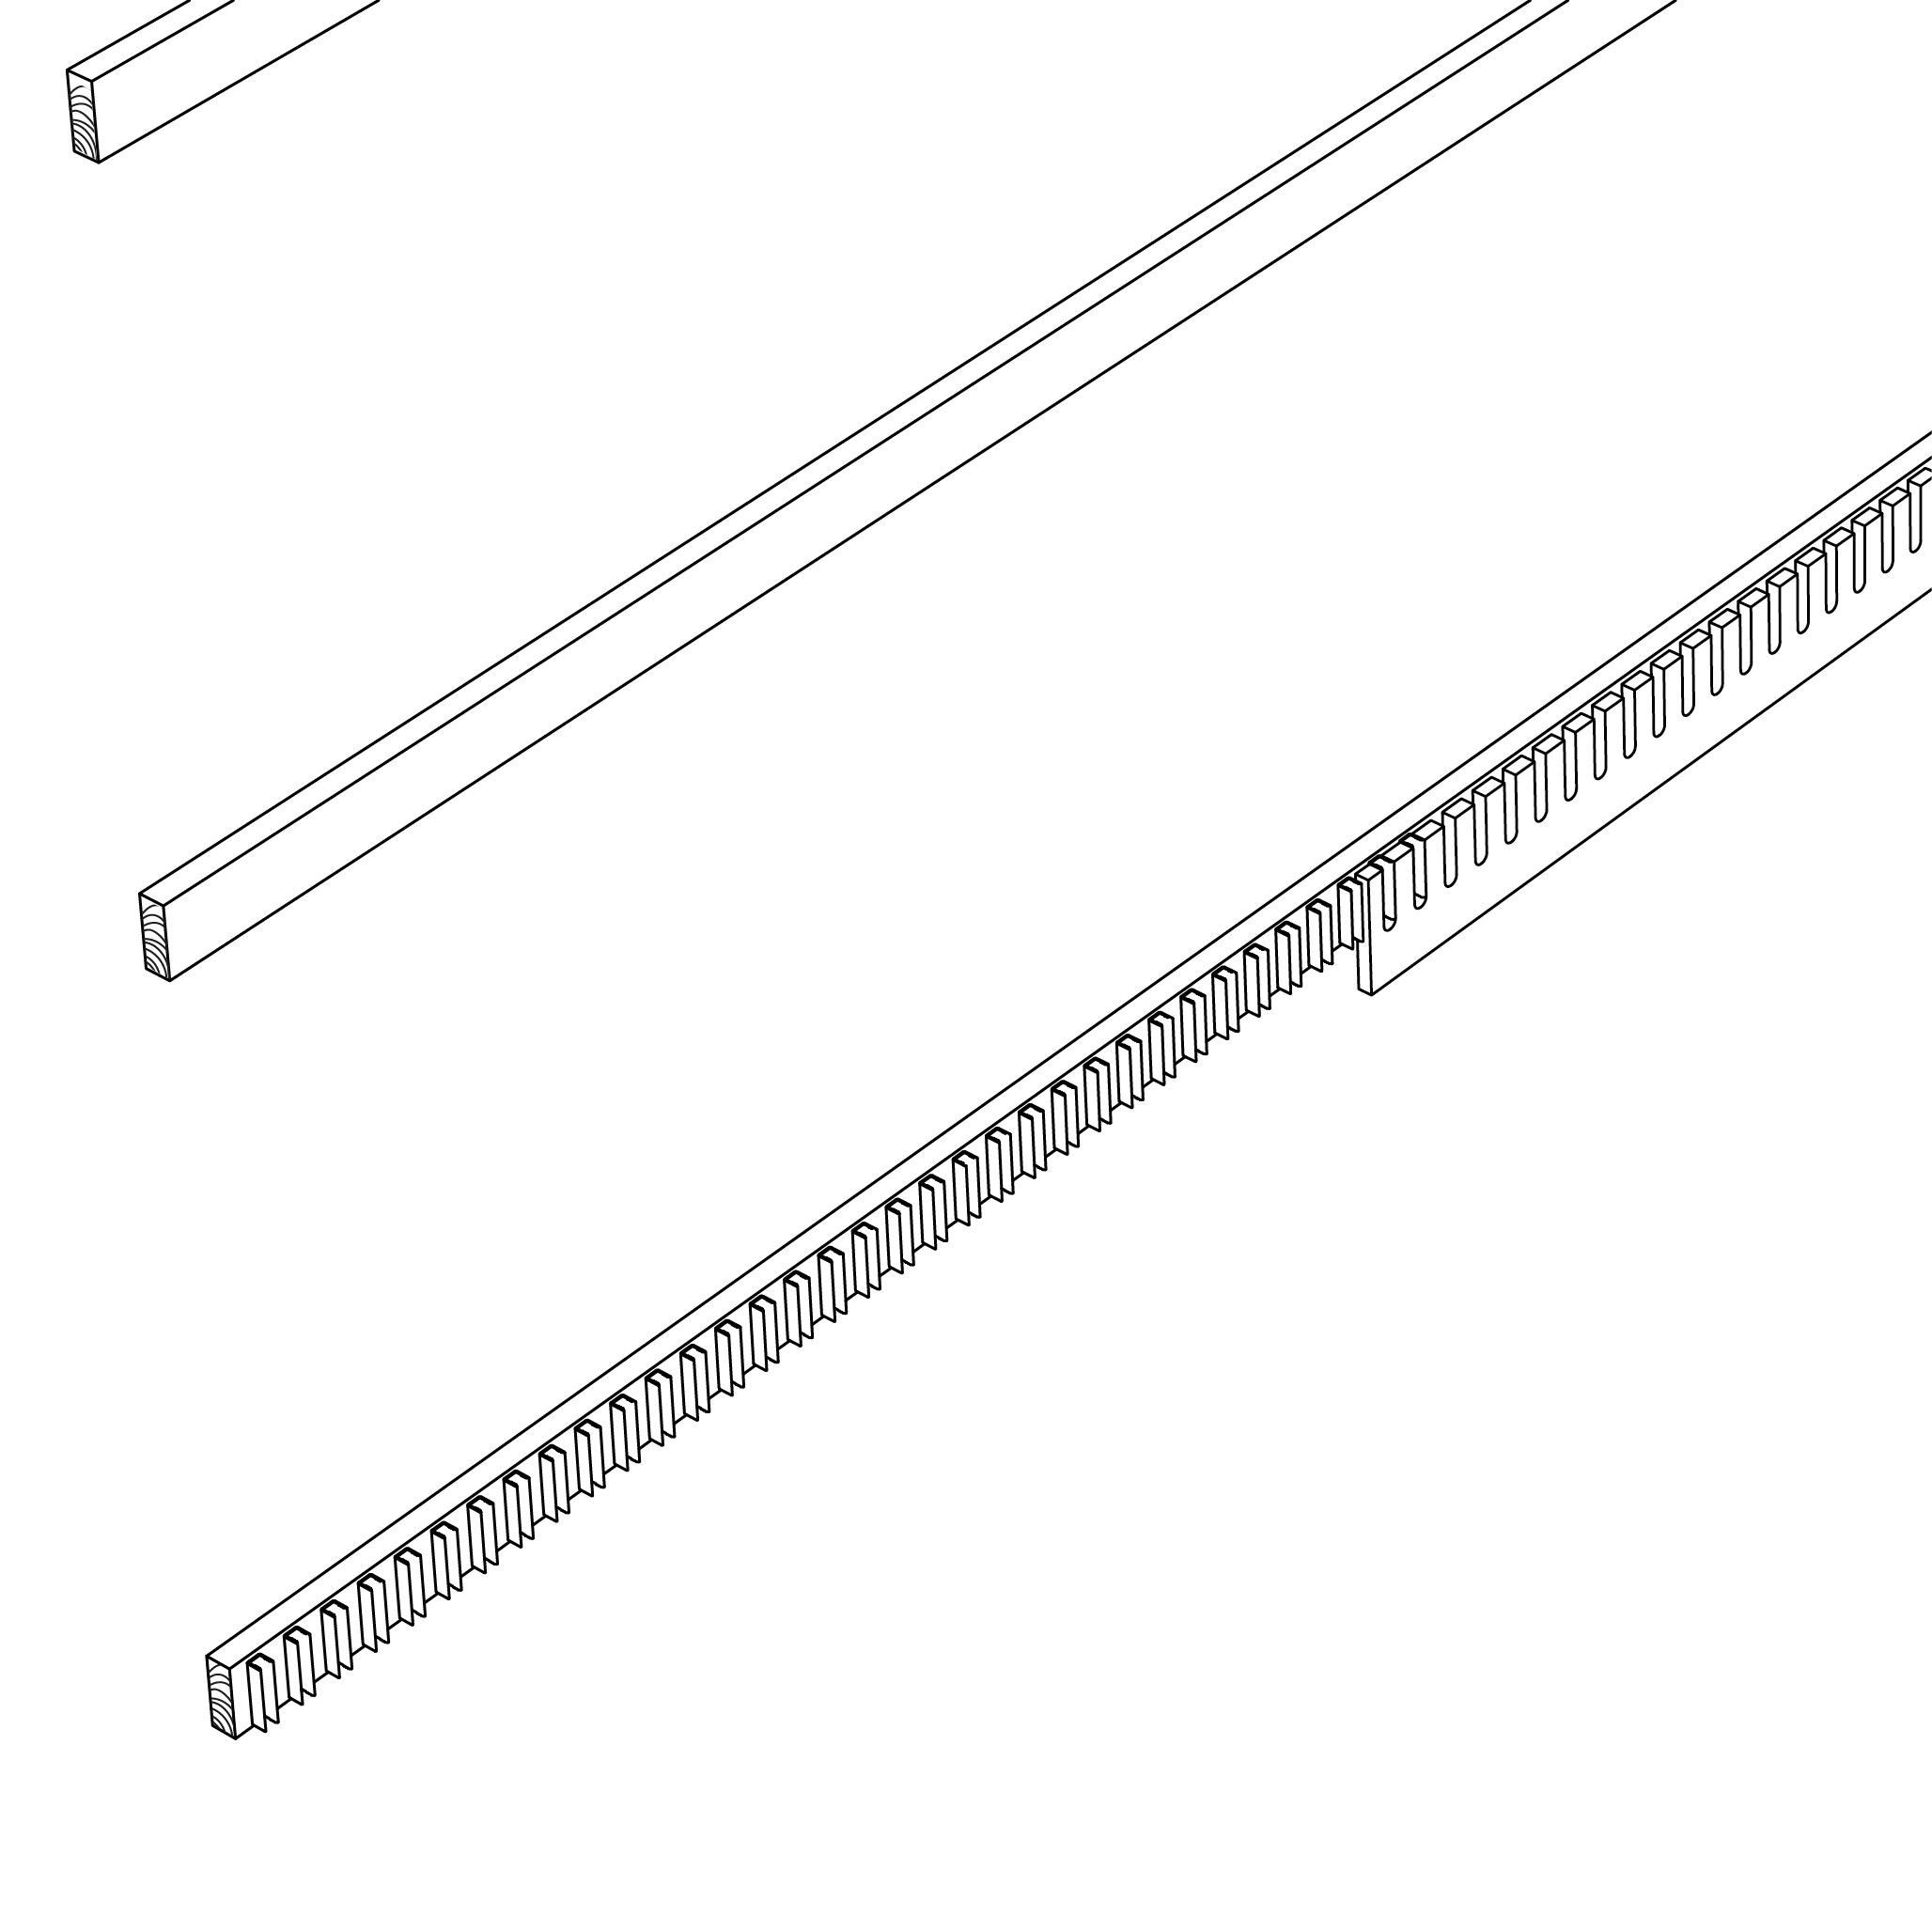
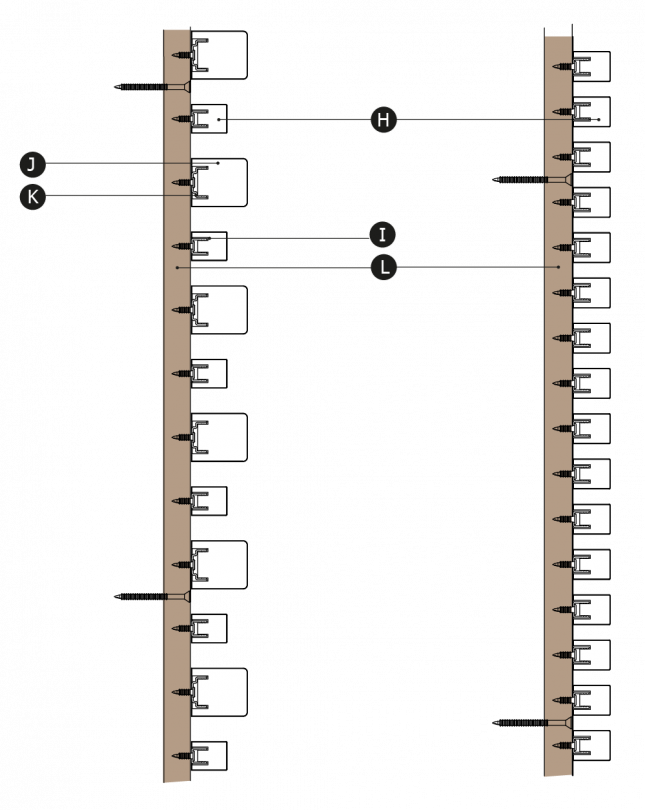
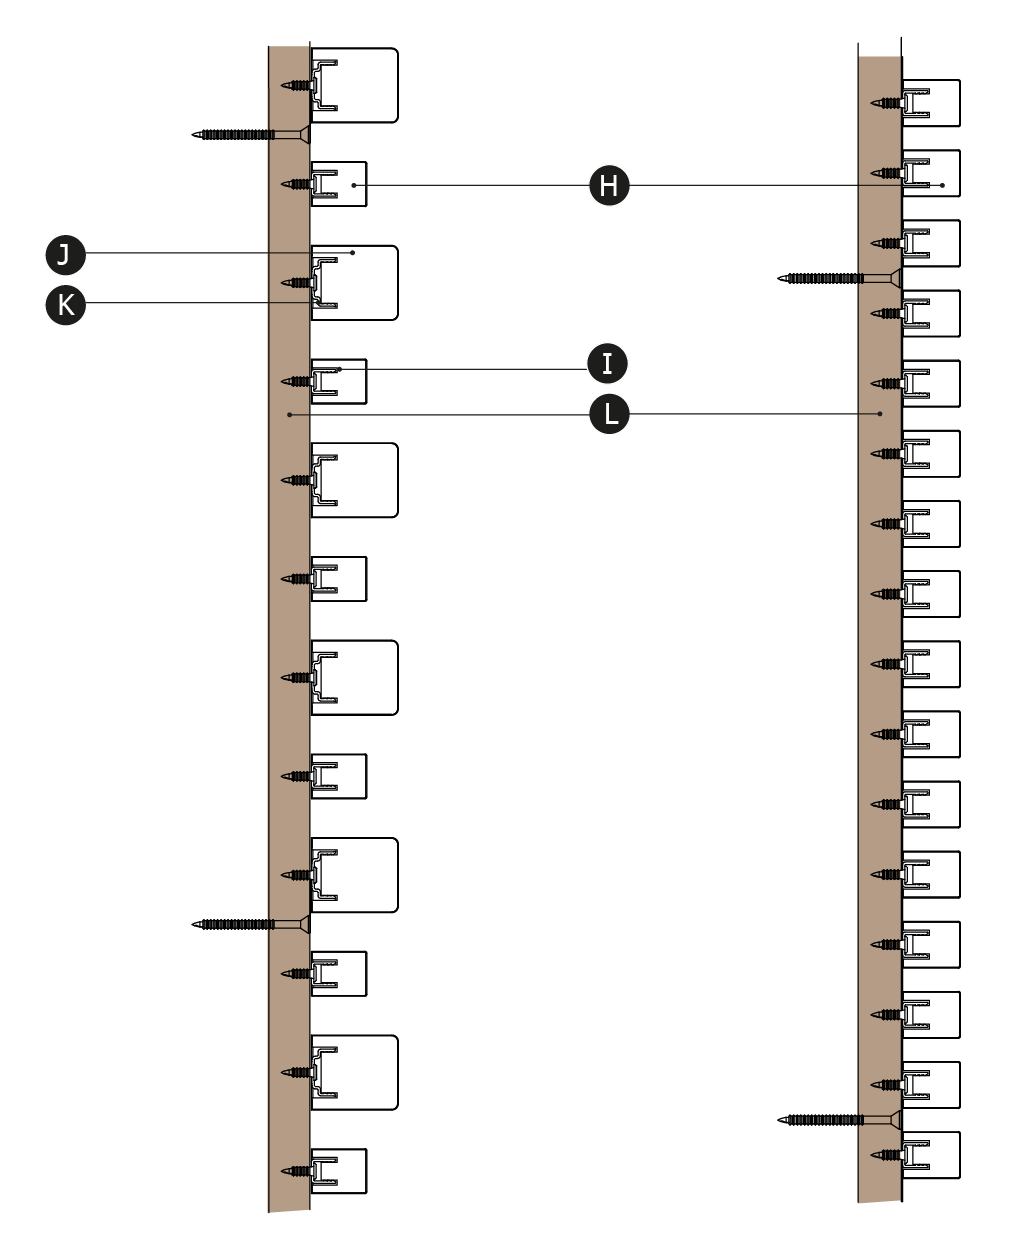
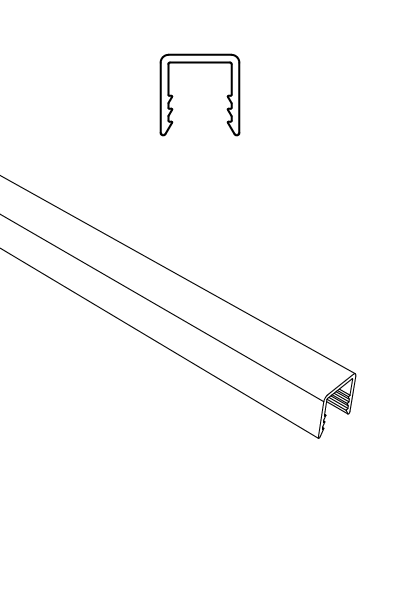
4. Using a template, screw the Capax U-FIX-N holder to the battens. Align the U-FIX-N holders in perfect vertical or horizontal lines.

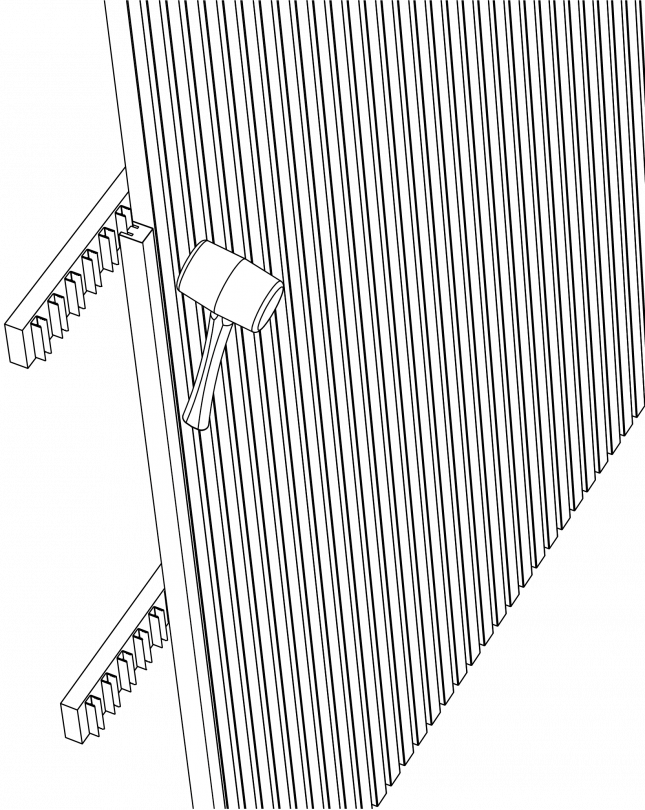
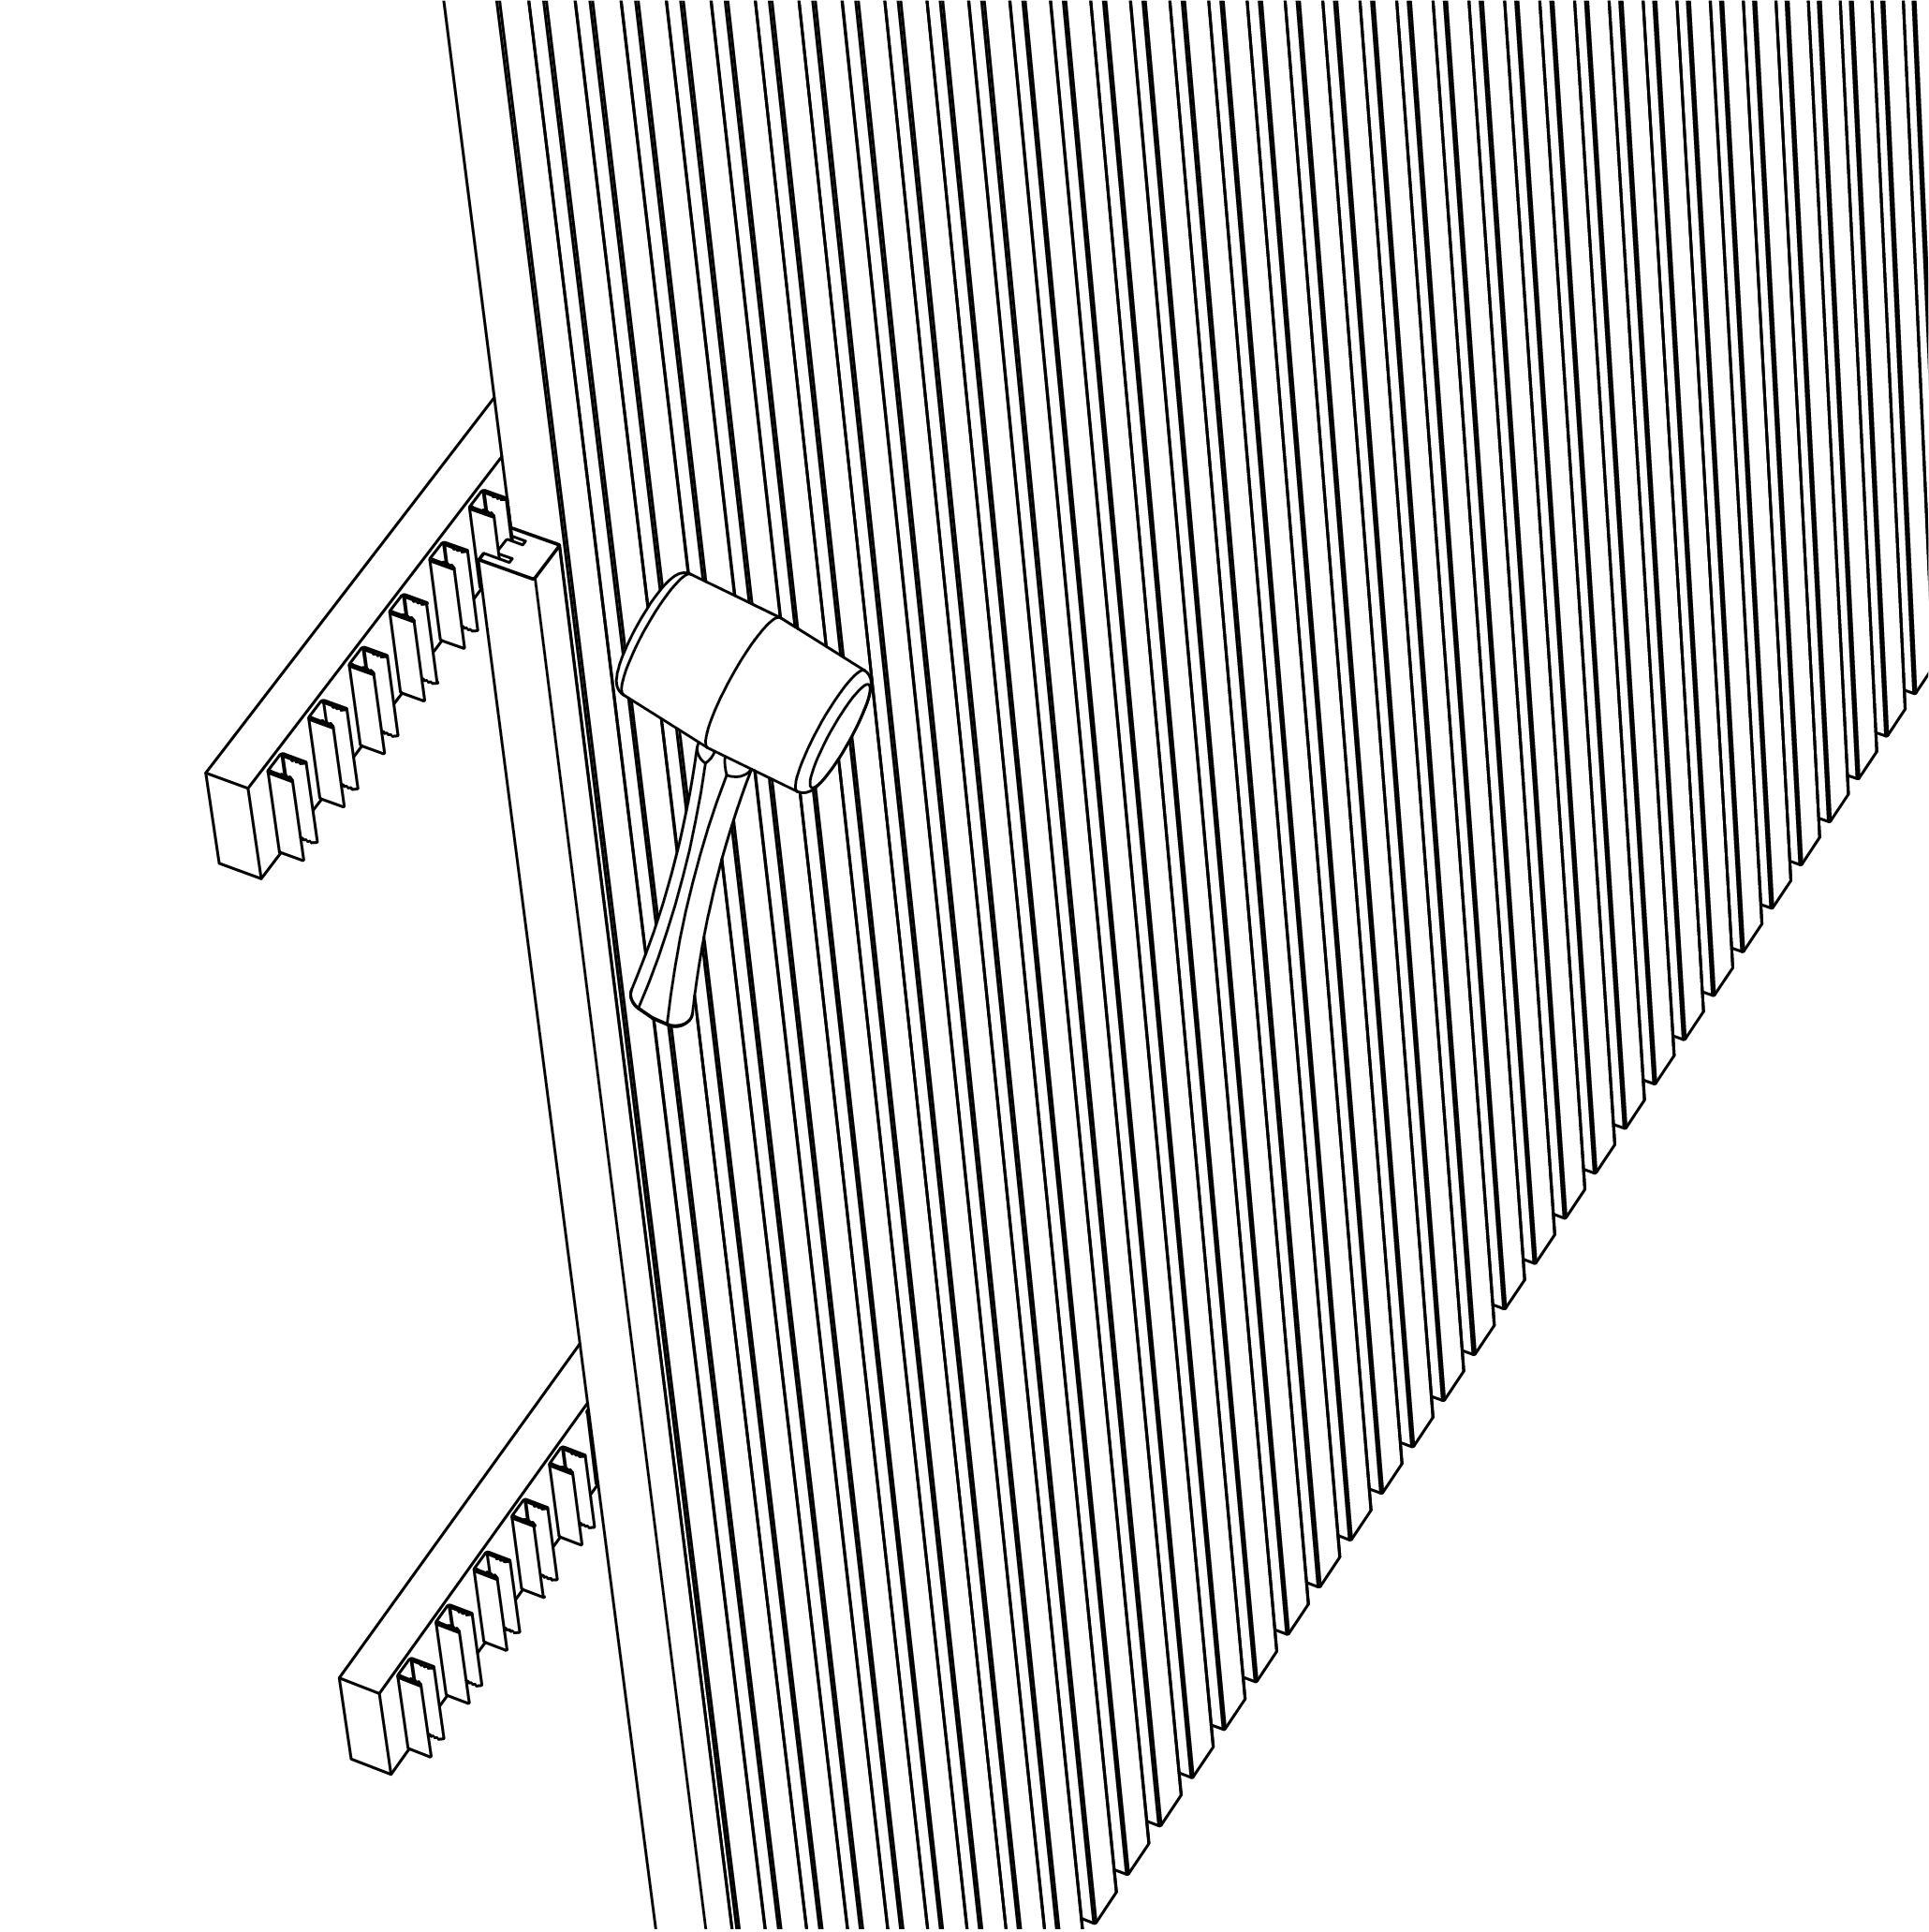
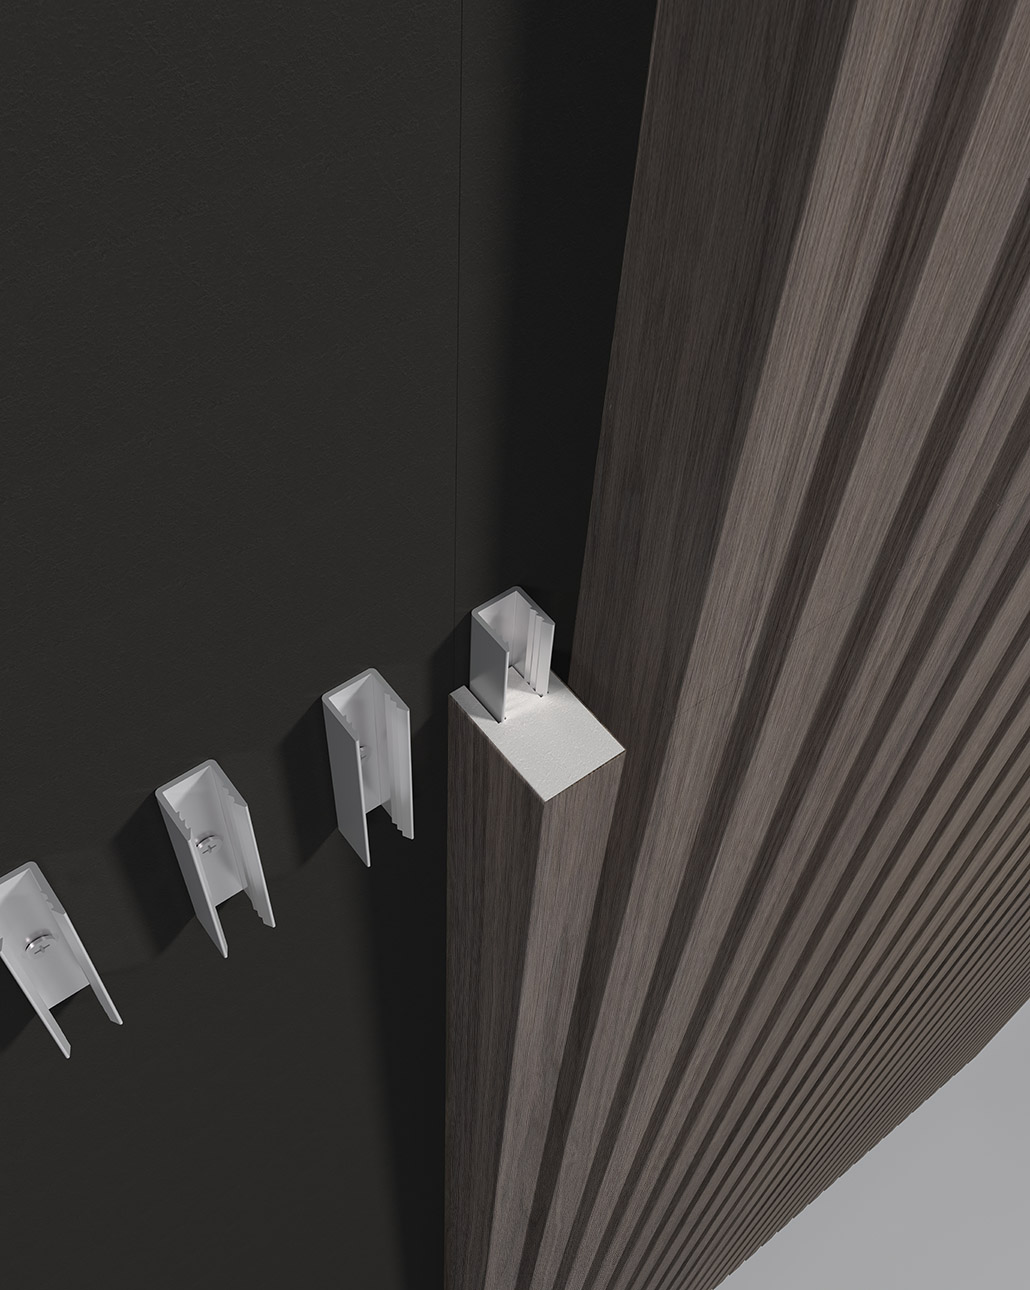
5. Carefully attach the Ribs to the U-FIX-N clips by using a rubber hammer.
Optional: Use Capax 3253 to support and align vertically installed ribs. If needed, carefully re-align by hitting the ends of the Ribs with a rubber hammer and using a wooden protection block.

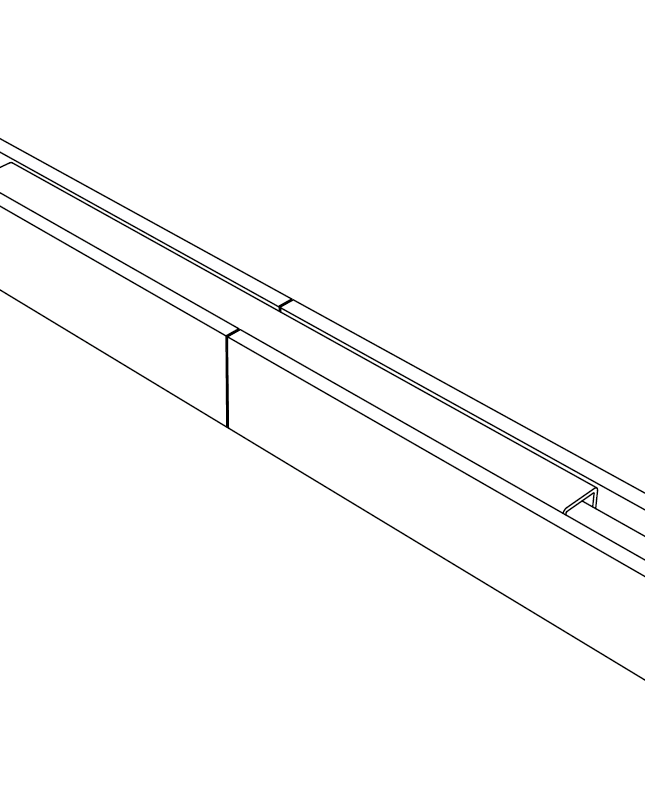

6. In-line connections of ribs should be backed by the U-FIX-N 200 connector or by sharing a U-FIX-N.
These instructions refer to our standard installation. For other solutions such as curved walls, closures and door liners, contact our support.

Standard curved installation with Linear rib Narrow, is possible down to a radius of 300 mm.
The U-FIX-N is screwed directly to a custom made radius substructure.
Gripper for Ribs, with hole, length 50 mm

In-line connector for ribs, length 200 mm
3292. Self drilling screx for U-fix-N

This installation method is used for ribs with the width 22mm (Narrow). For other rib measurements se Installation Rib wall.
Wood is a natural product and each veneer is unique. Colour, pattern and structural differences are considered as normal and a part of the décor. Select panels and ribs on colour shade and plan your wall or ceiling installation, we recommend mixing varying shades randomly. Wood changes over time when exposed to UV-light.
Only for indoor use and not in wet rooms. Storage, Installation and Use at 18-50 C° and 25-60% air humidity. The humidity in the under laying construc-tion (concrete) should not be higher than 15%. Gustafs solutions are sensitive to humidity and water, therefore they should always be stored dry and in-door.
Do not transport unsecured panels.
Do not stack pallets.
Keep the packaging closed during storage.
Lift panels flat, vertically and one at the time.
Avoid exposure to strong and direct sunlight.
Cleanings is done by dry mop or vacuum. Use synthetic cleaning fluid without ammonia for greasy stains, fruit, wine and coffee. Blood is removed with cold water.
Our UV coated and Laminate surfaces are approved for hospital cleaning products containing up to 70% alcohol.
Avoid exposure to strong and direct sunlight.
Do not expose visible surfaces to sharp objects during installation.
Do not slide products on each other. Lean panels against a wall for short term storage.
Protect both non-installed and installed panels and ribs from impact coming from ladders, trolleys, furniture installation, etc, including all other workers and their tools.