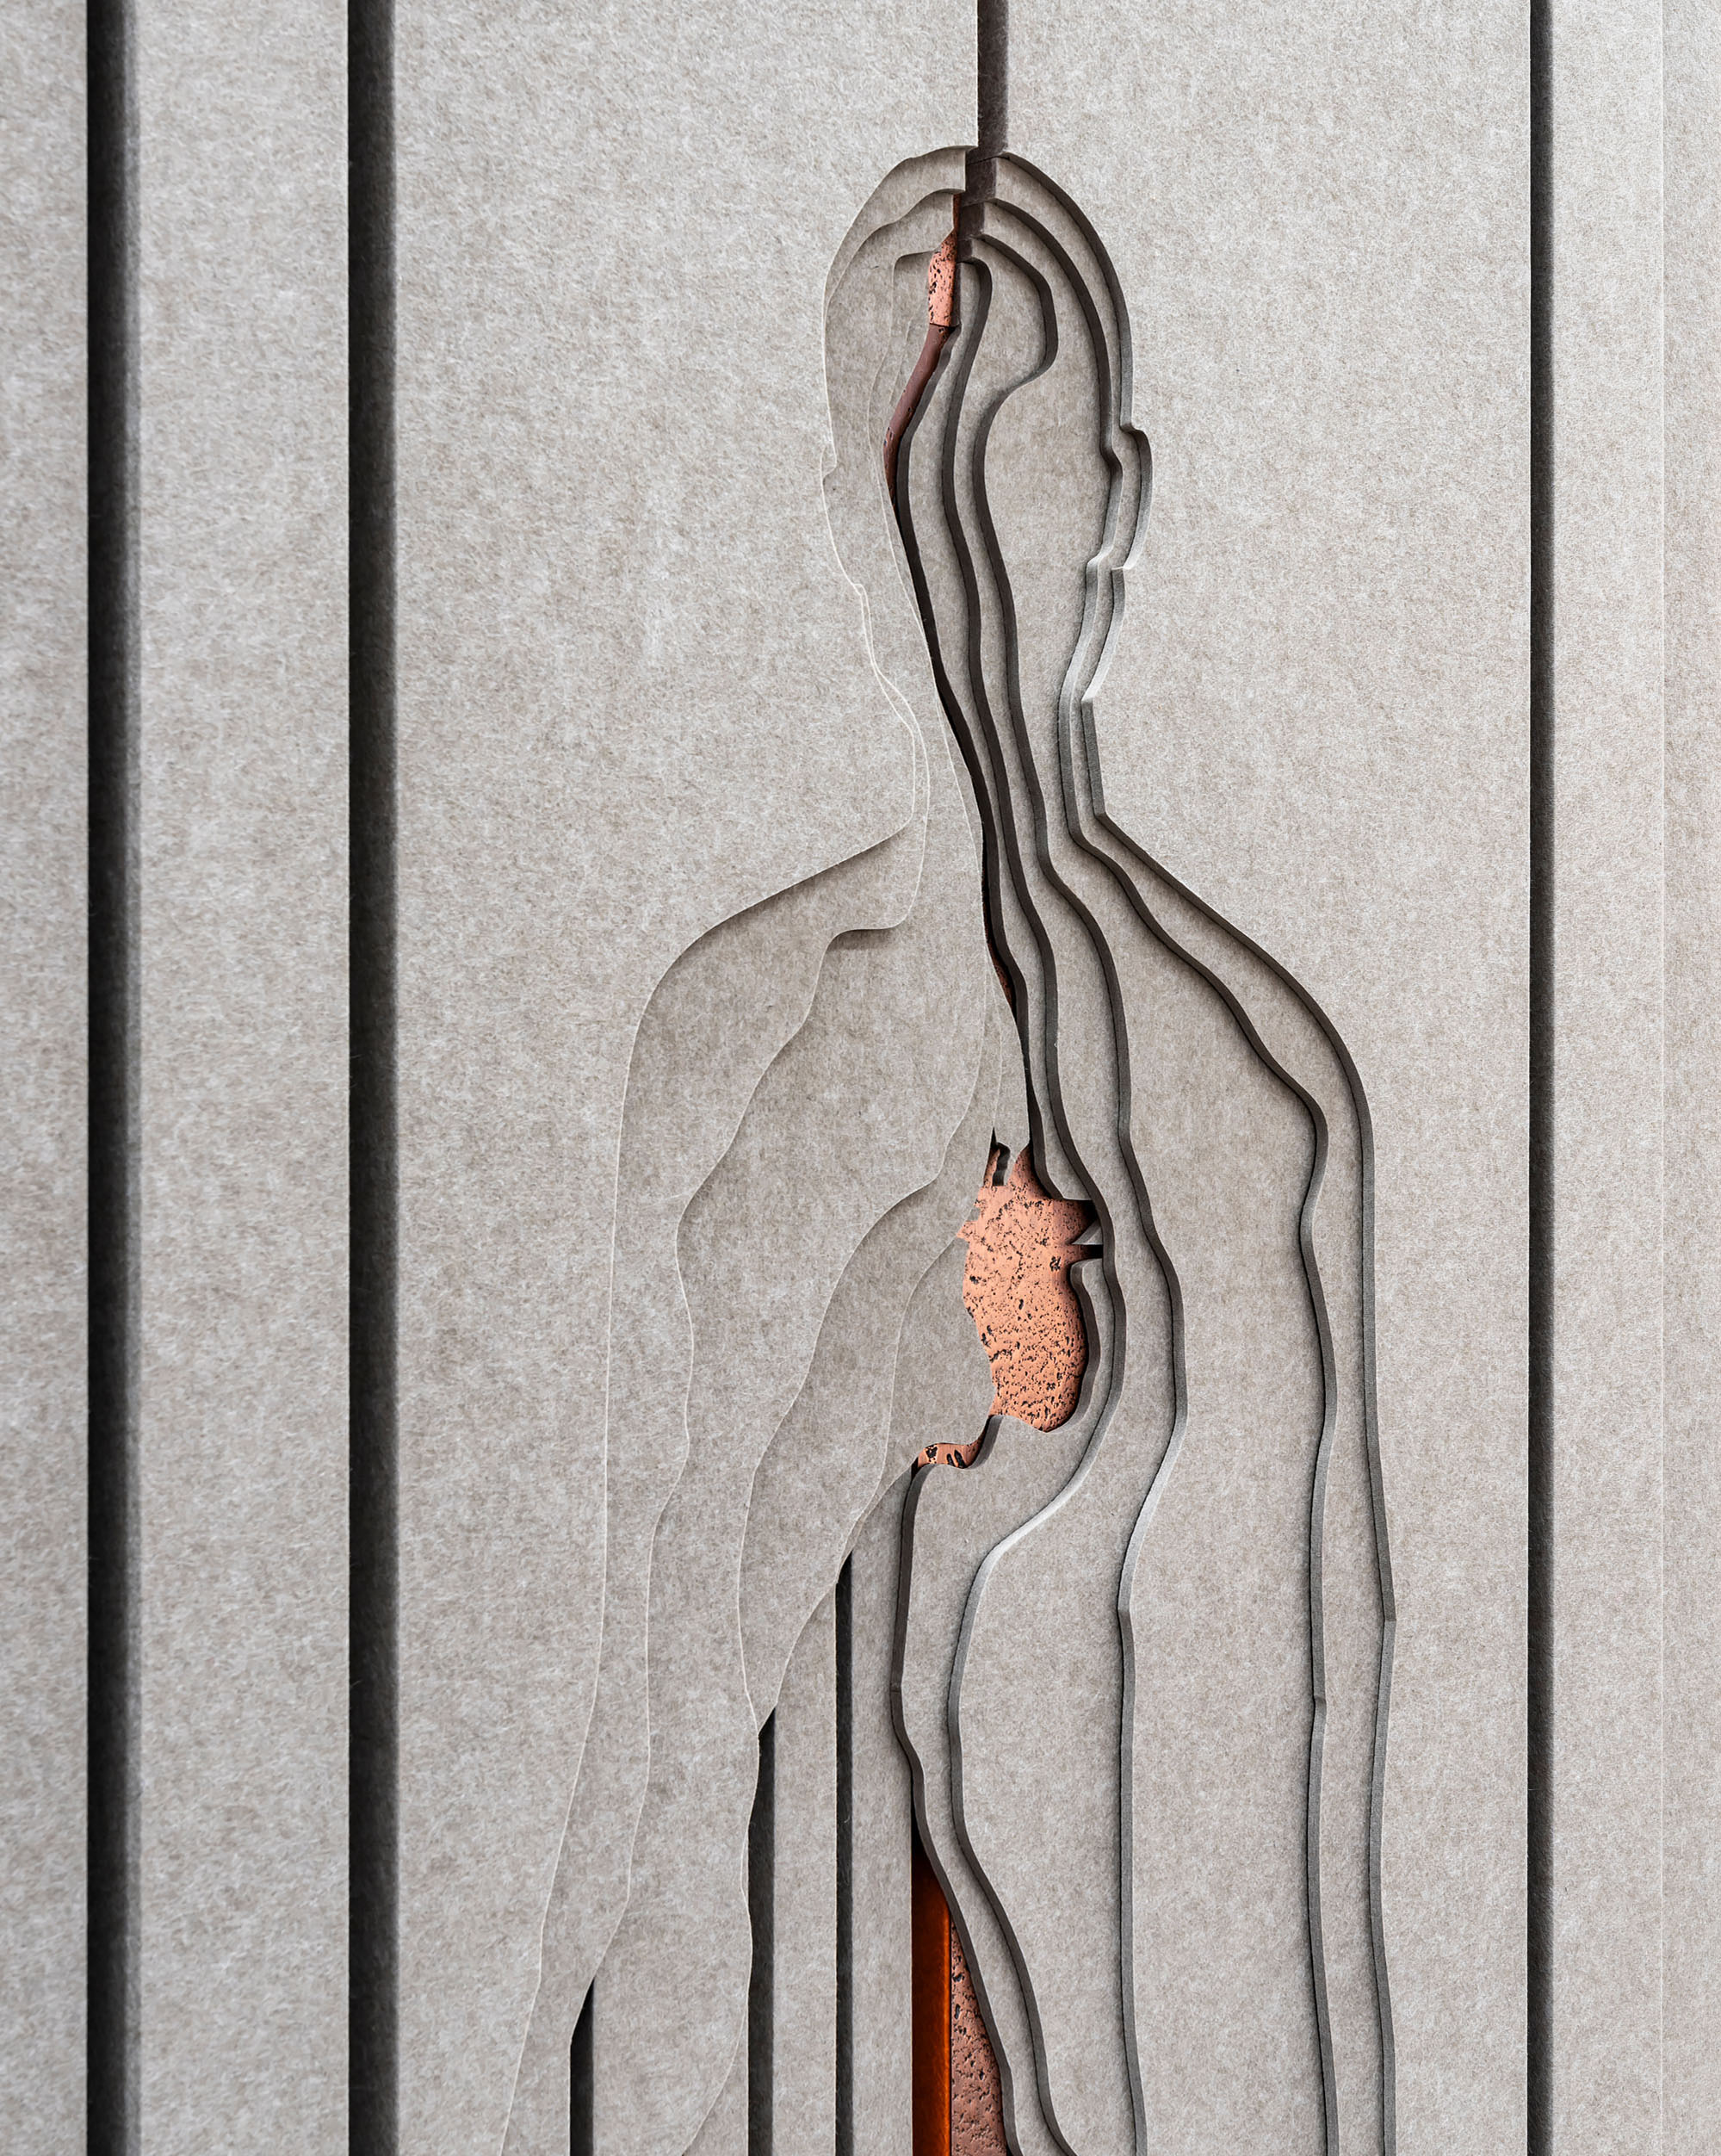
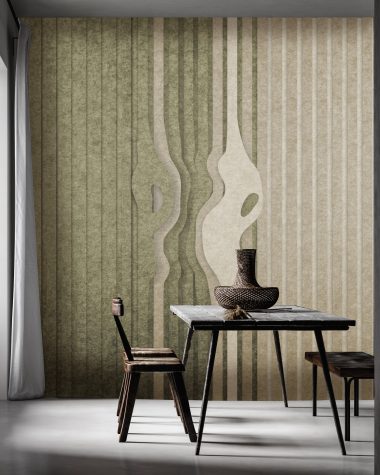
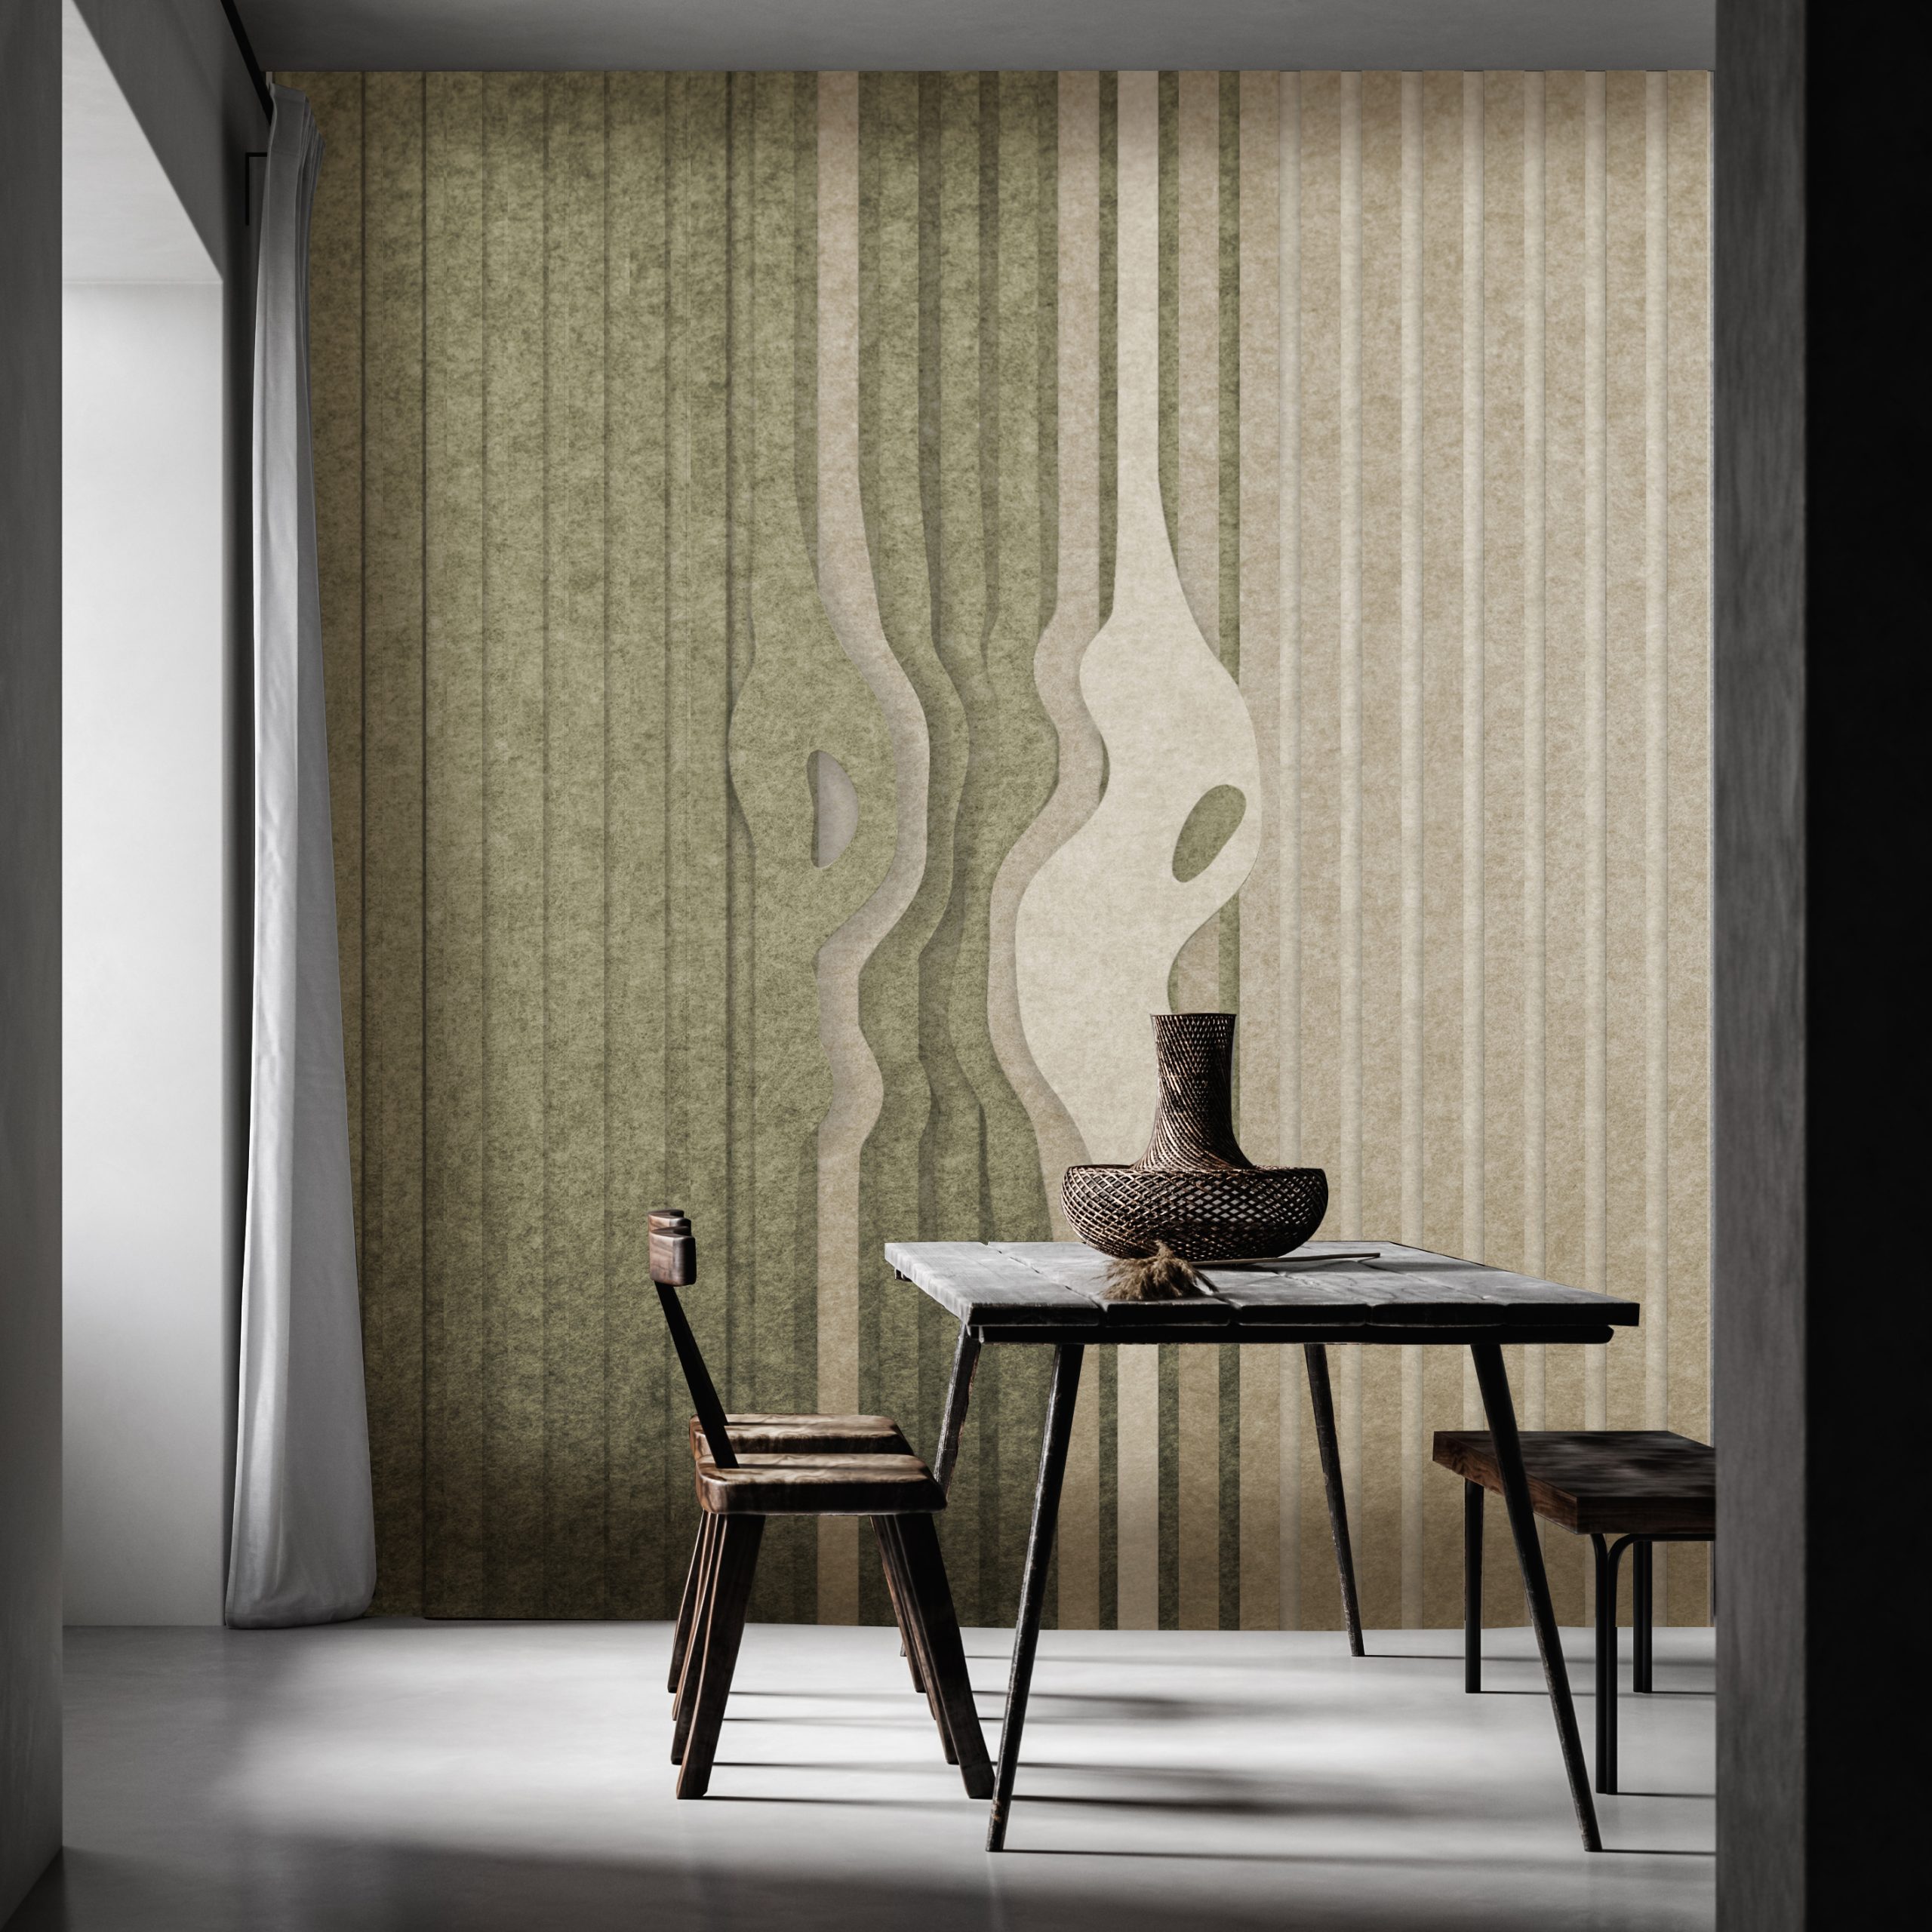
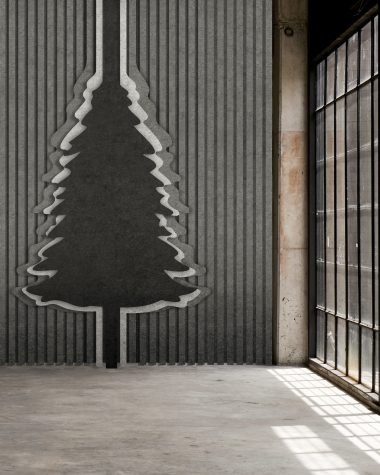
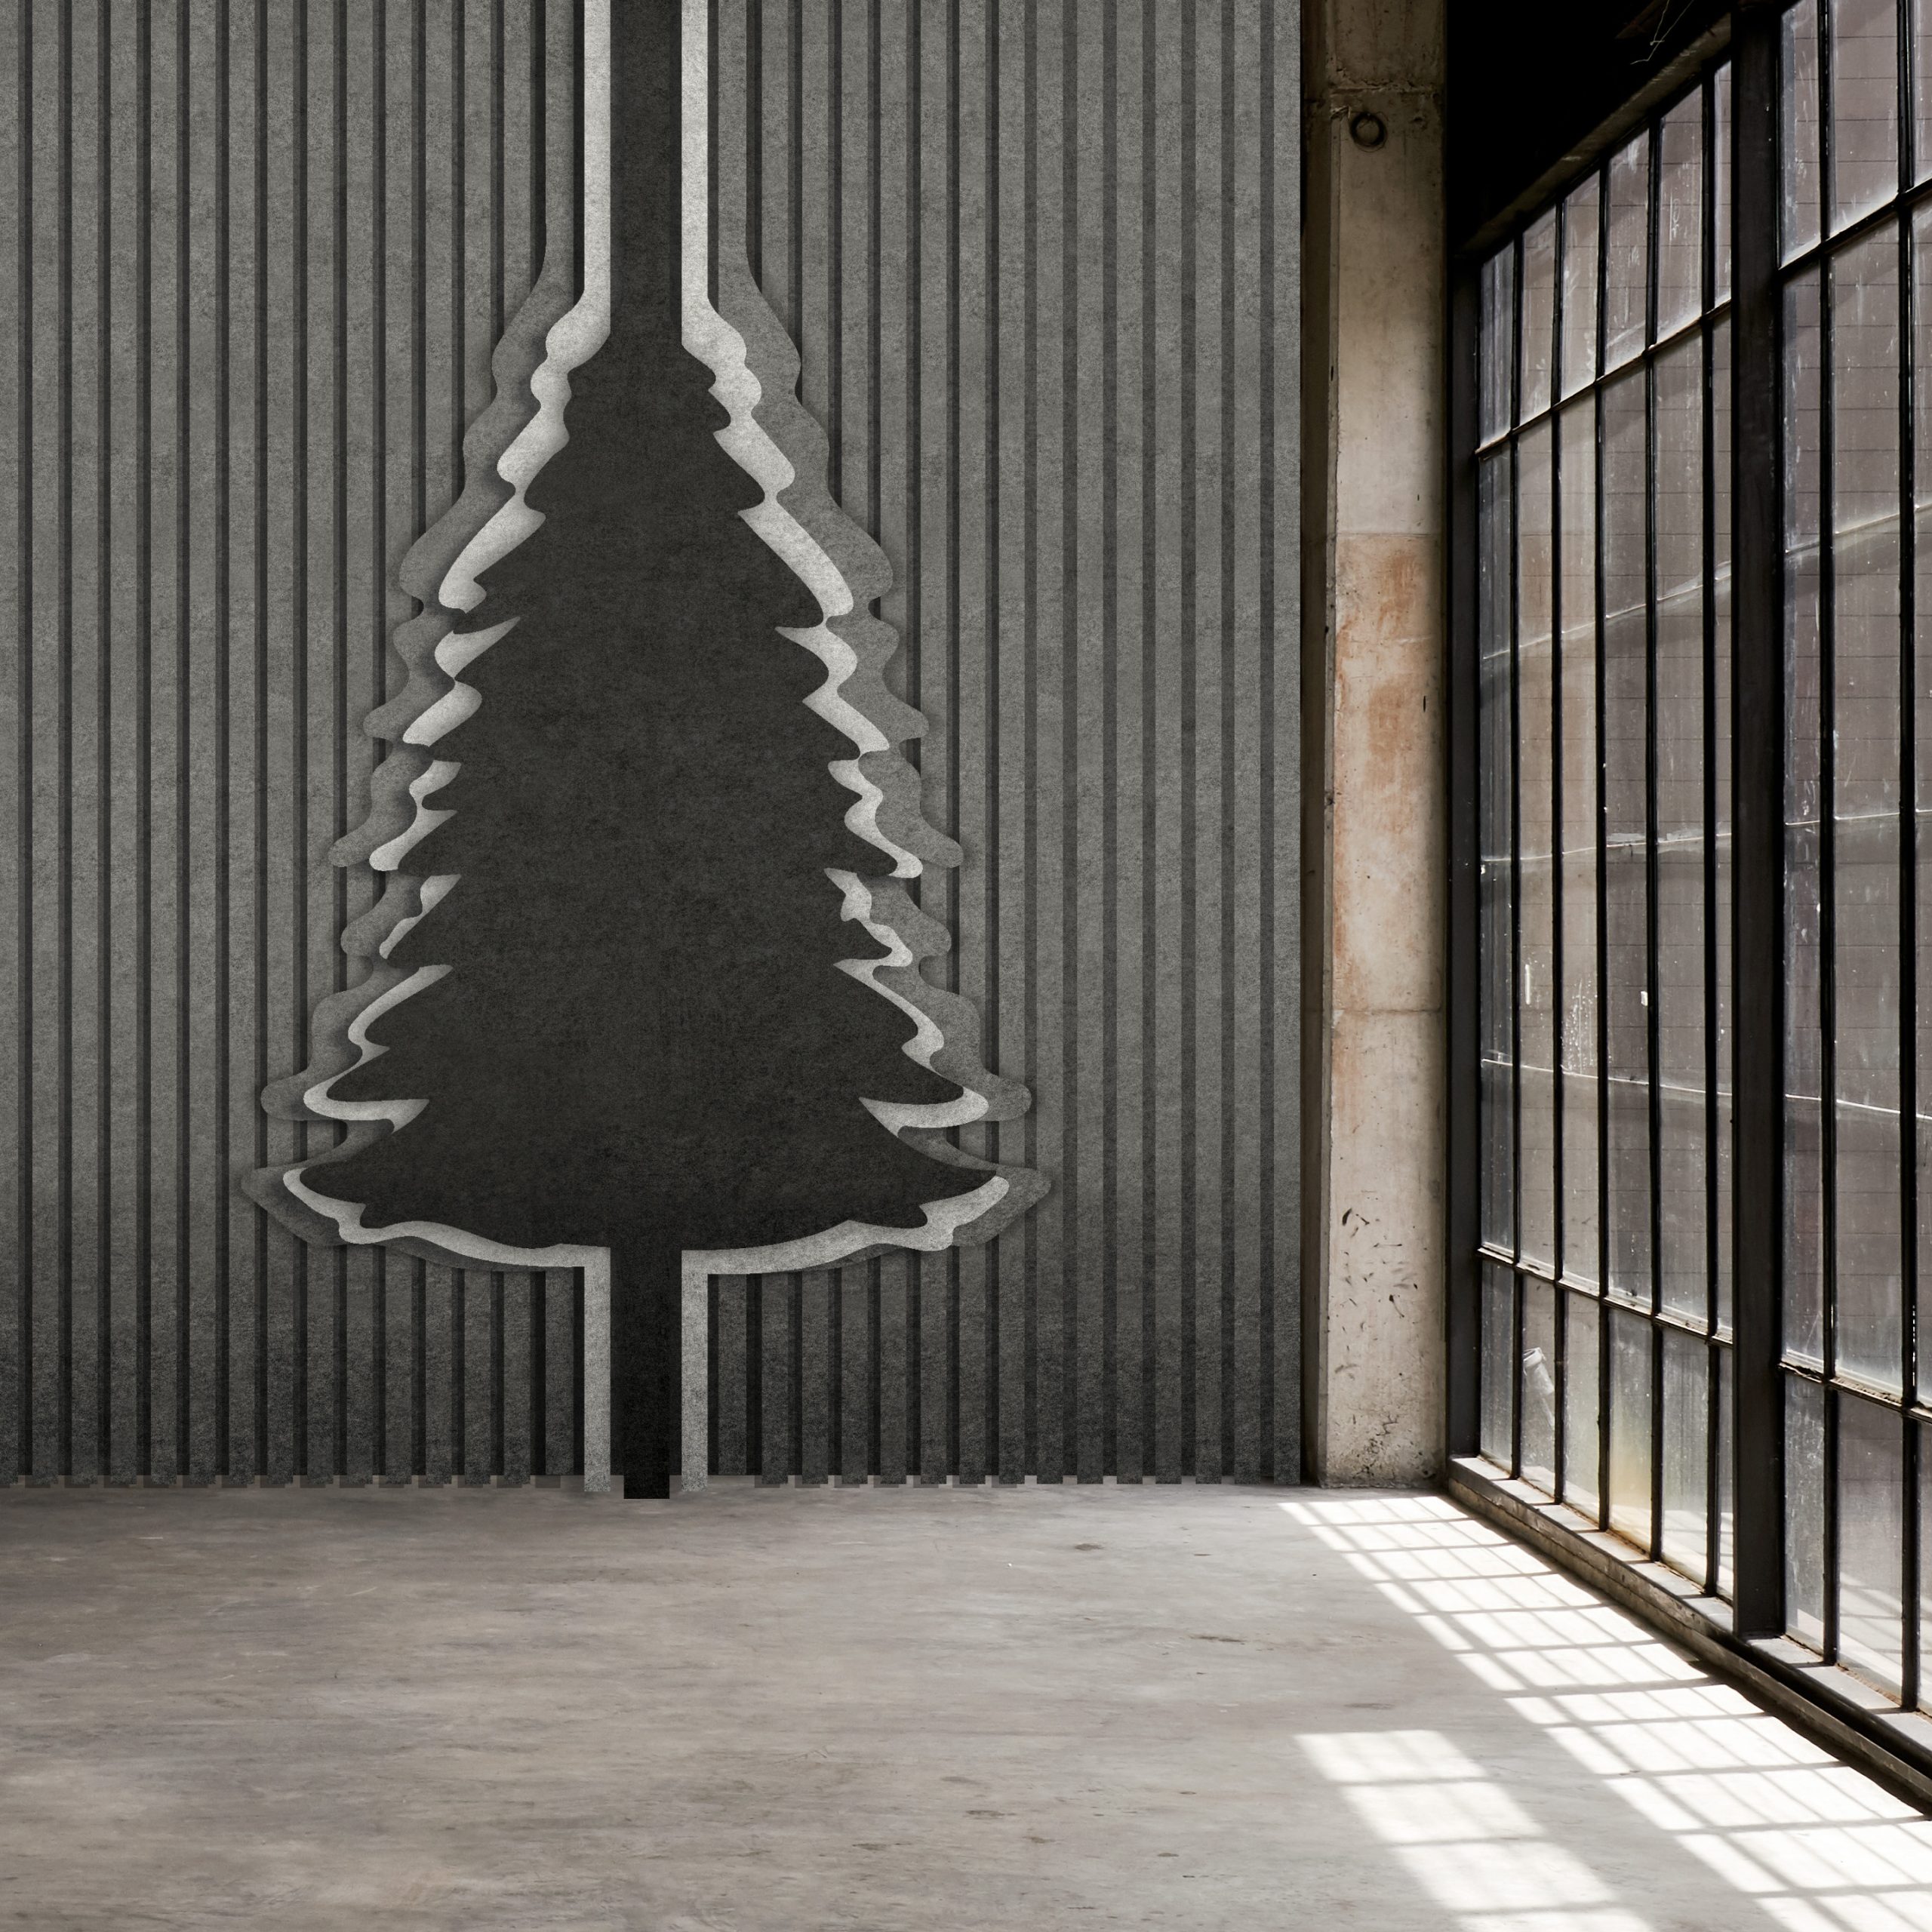
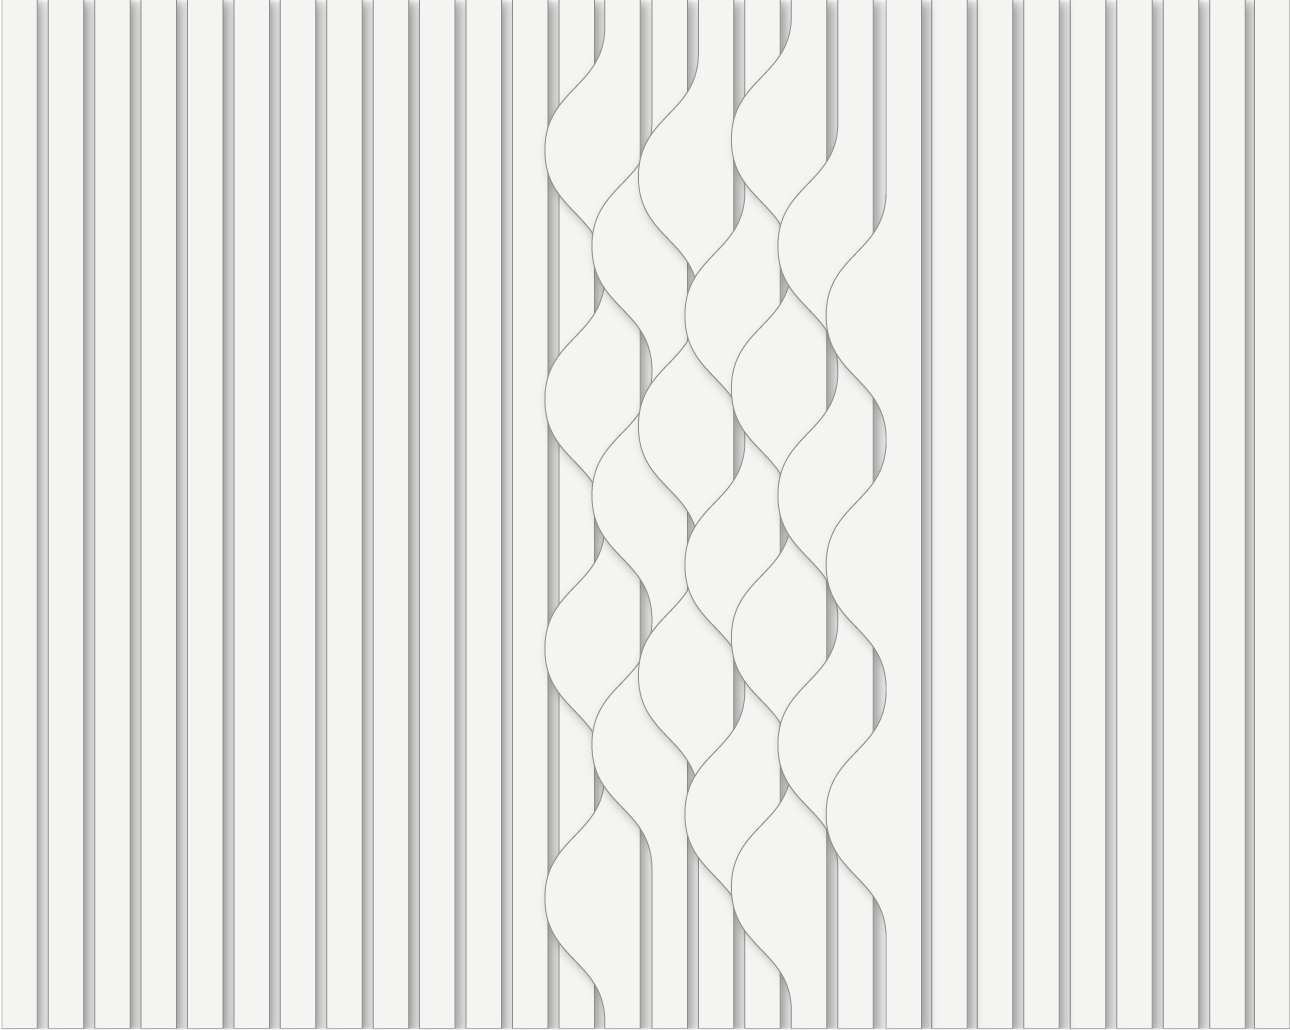
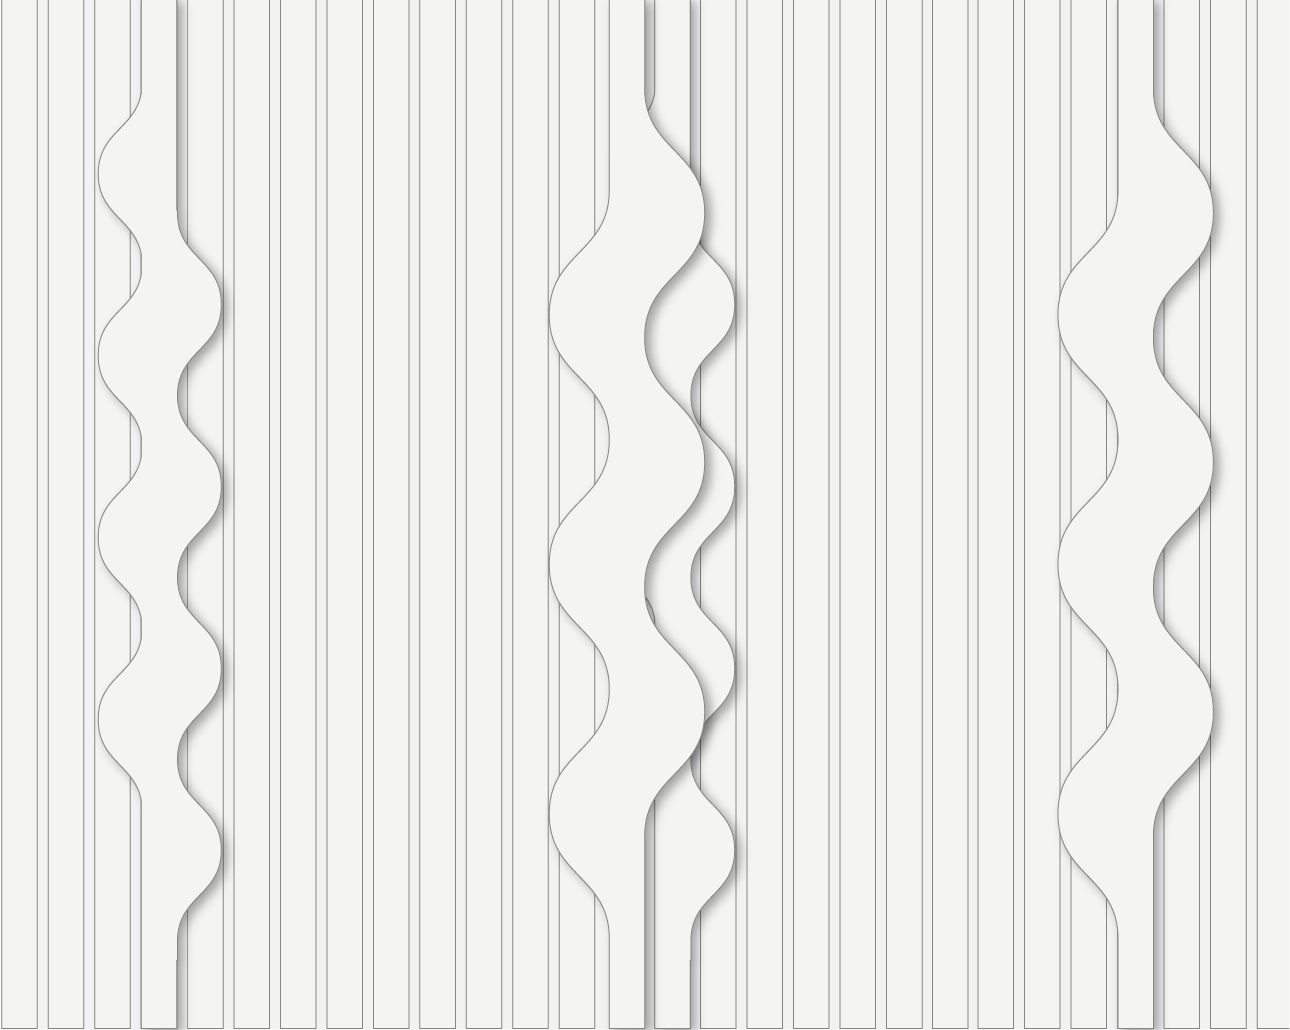
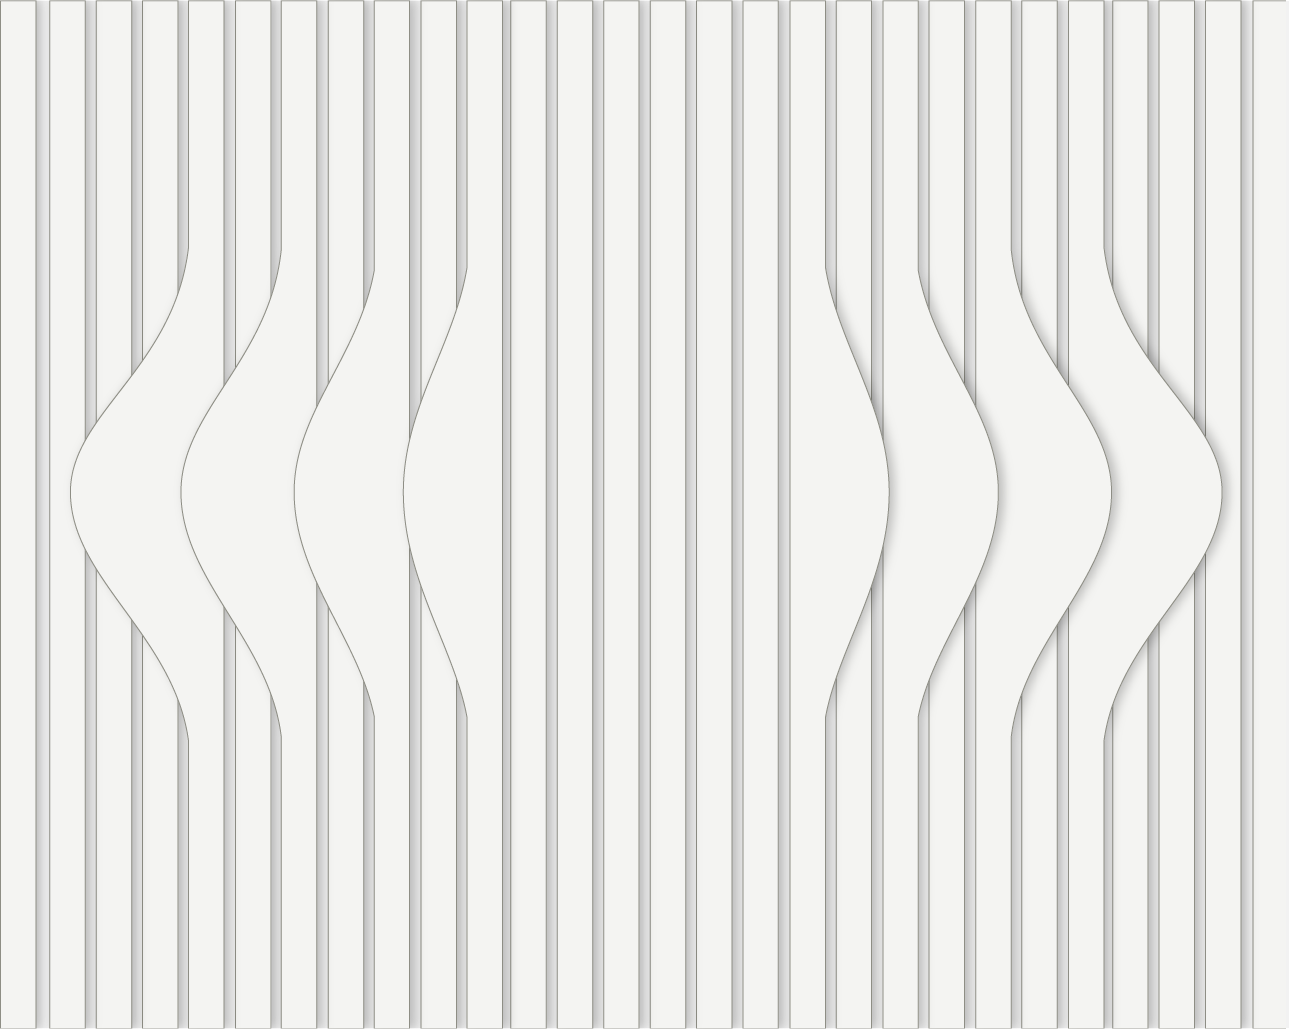
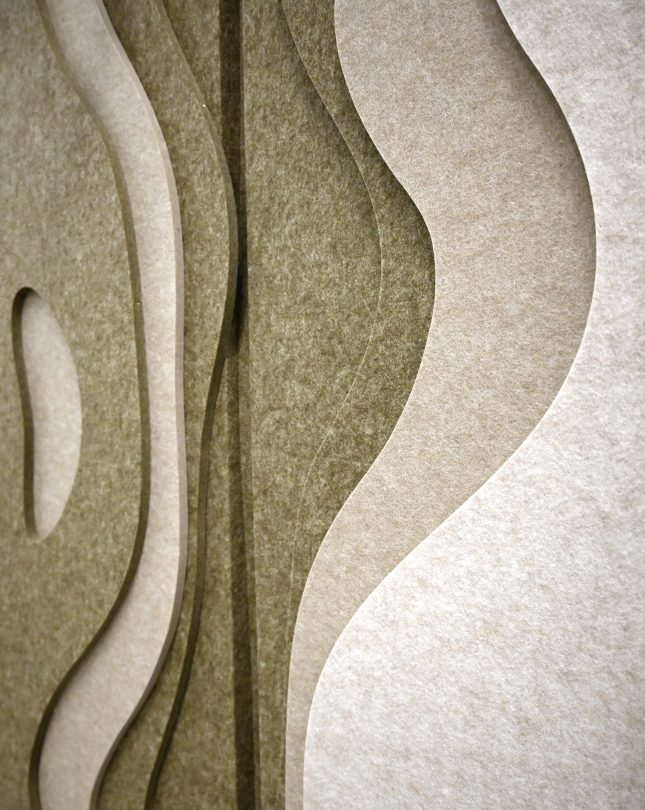
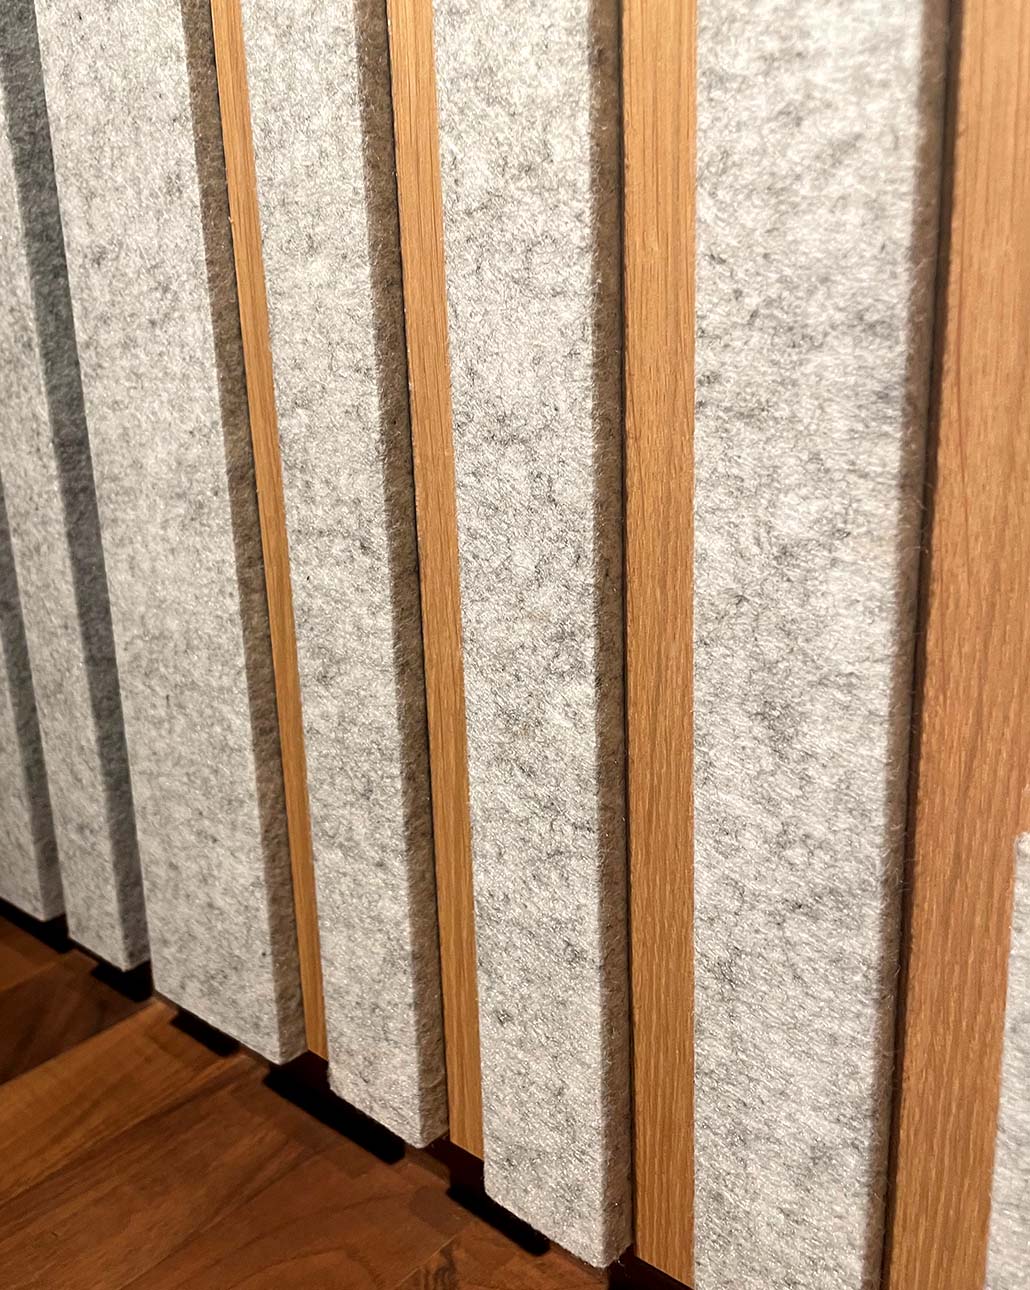
Break away from the linear pattern and unleash your creativity
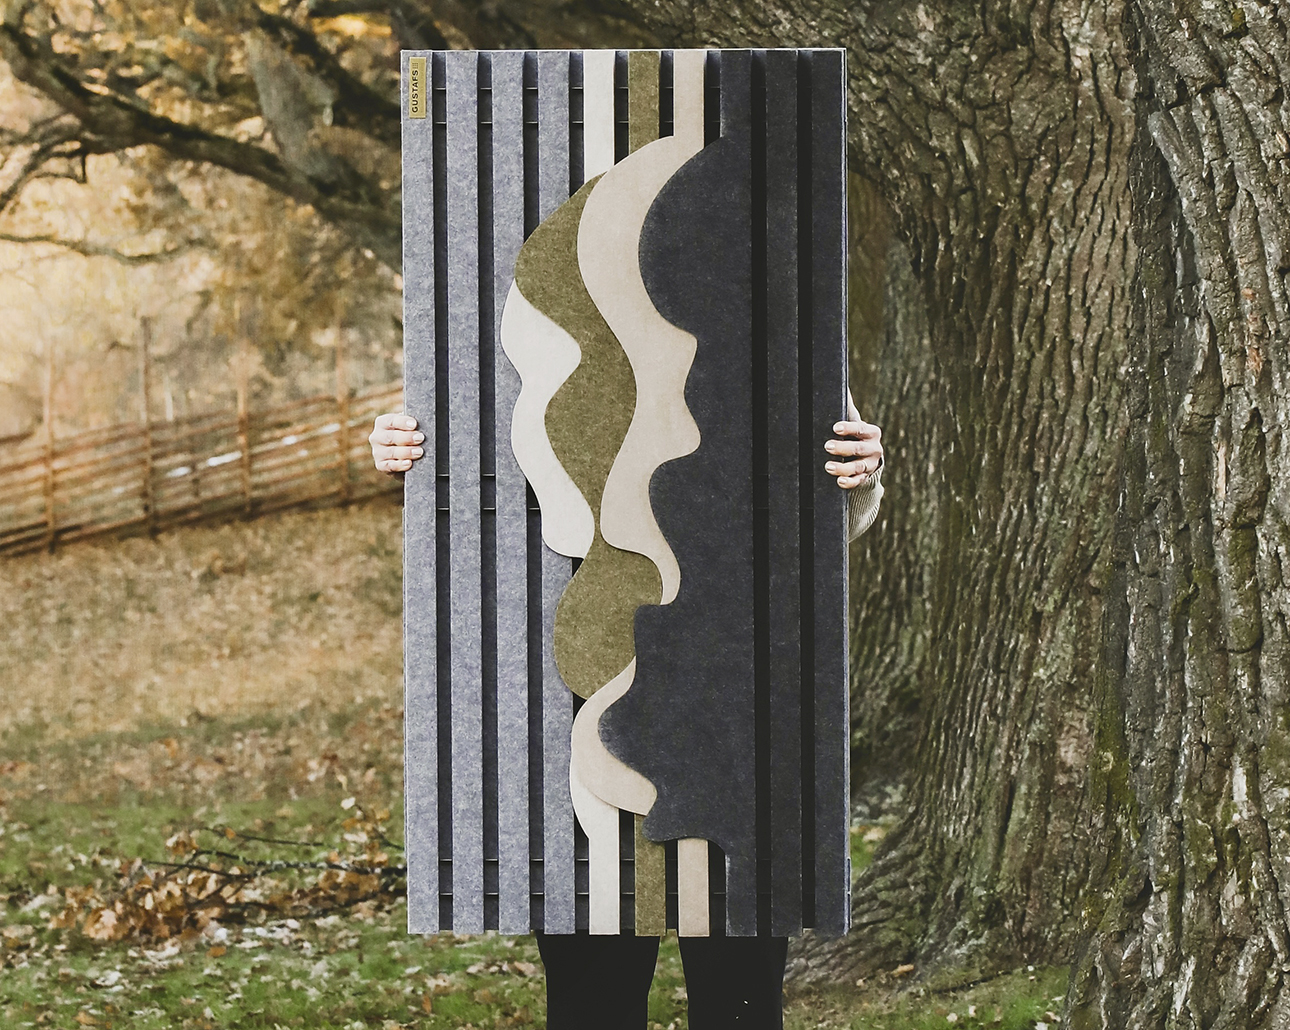
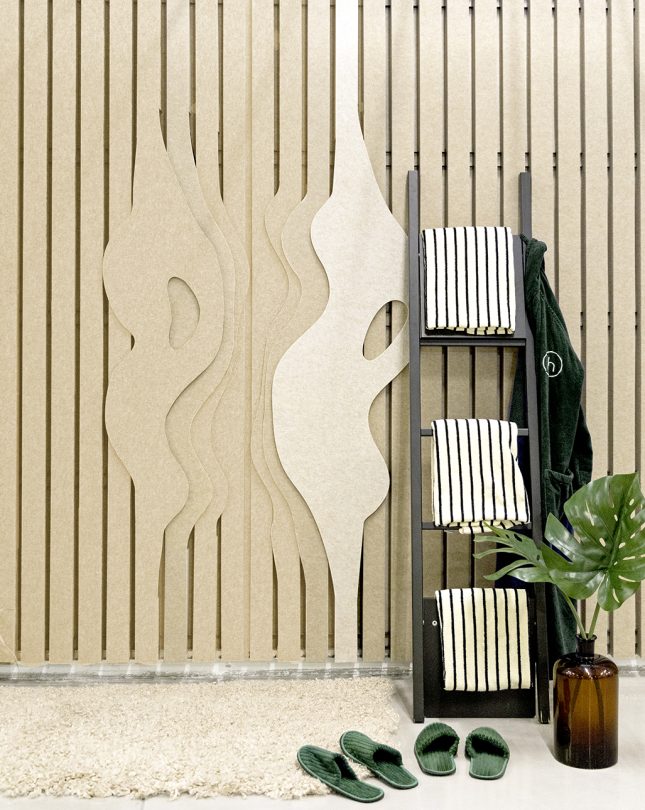
Feltfon Vector Layers offers unique and distinctive possibilities to create captivating and dynamic wall designs. Create your own design or get inspired by our exciting patterns.
Step by step guide – creating your own pattern >>
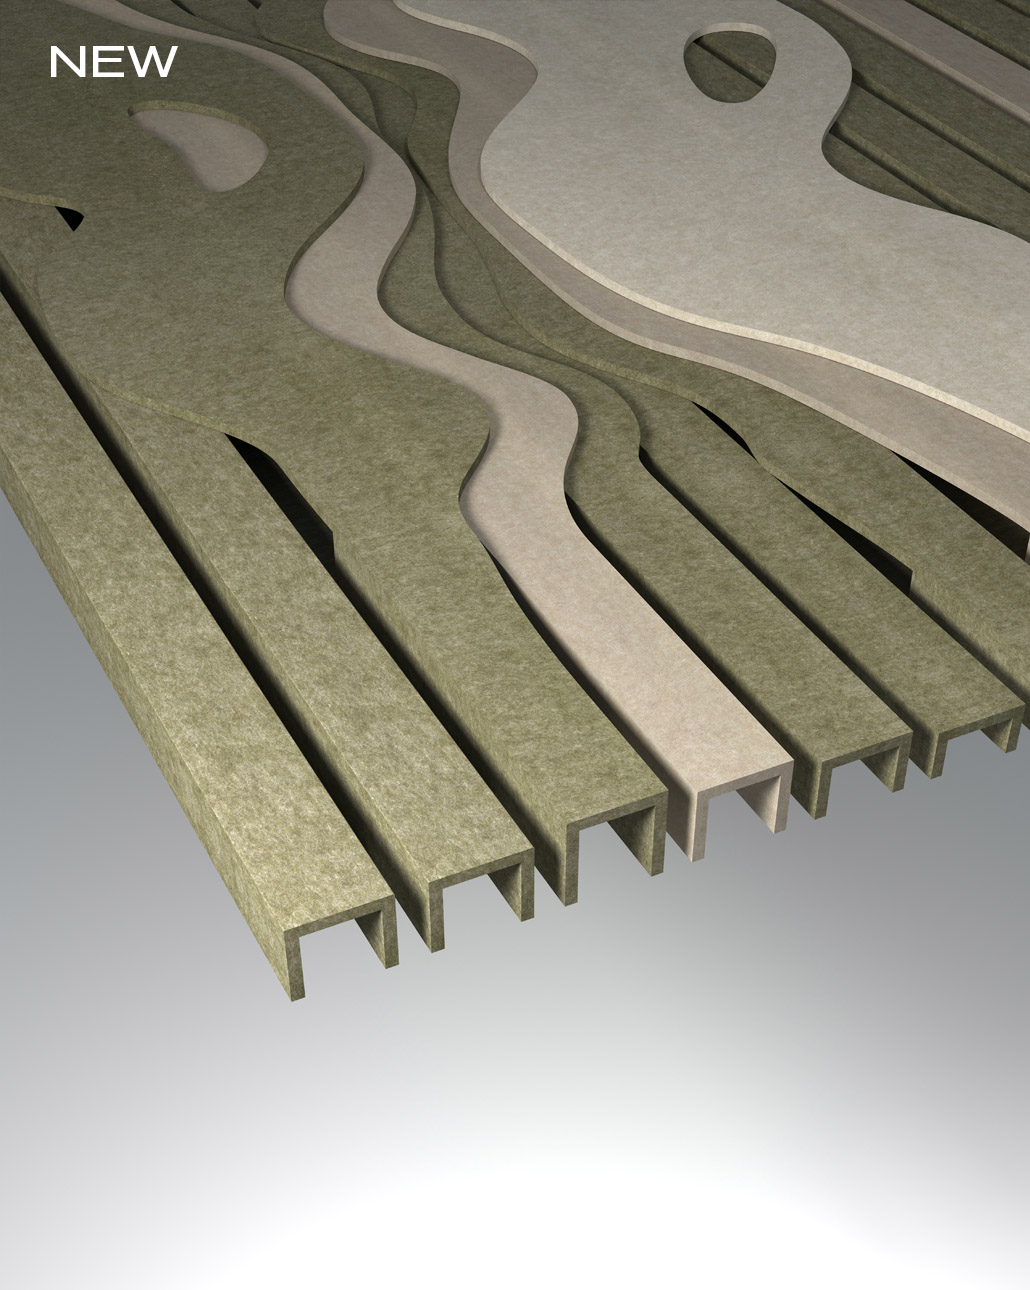
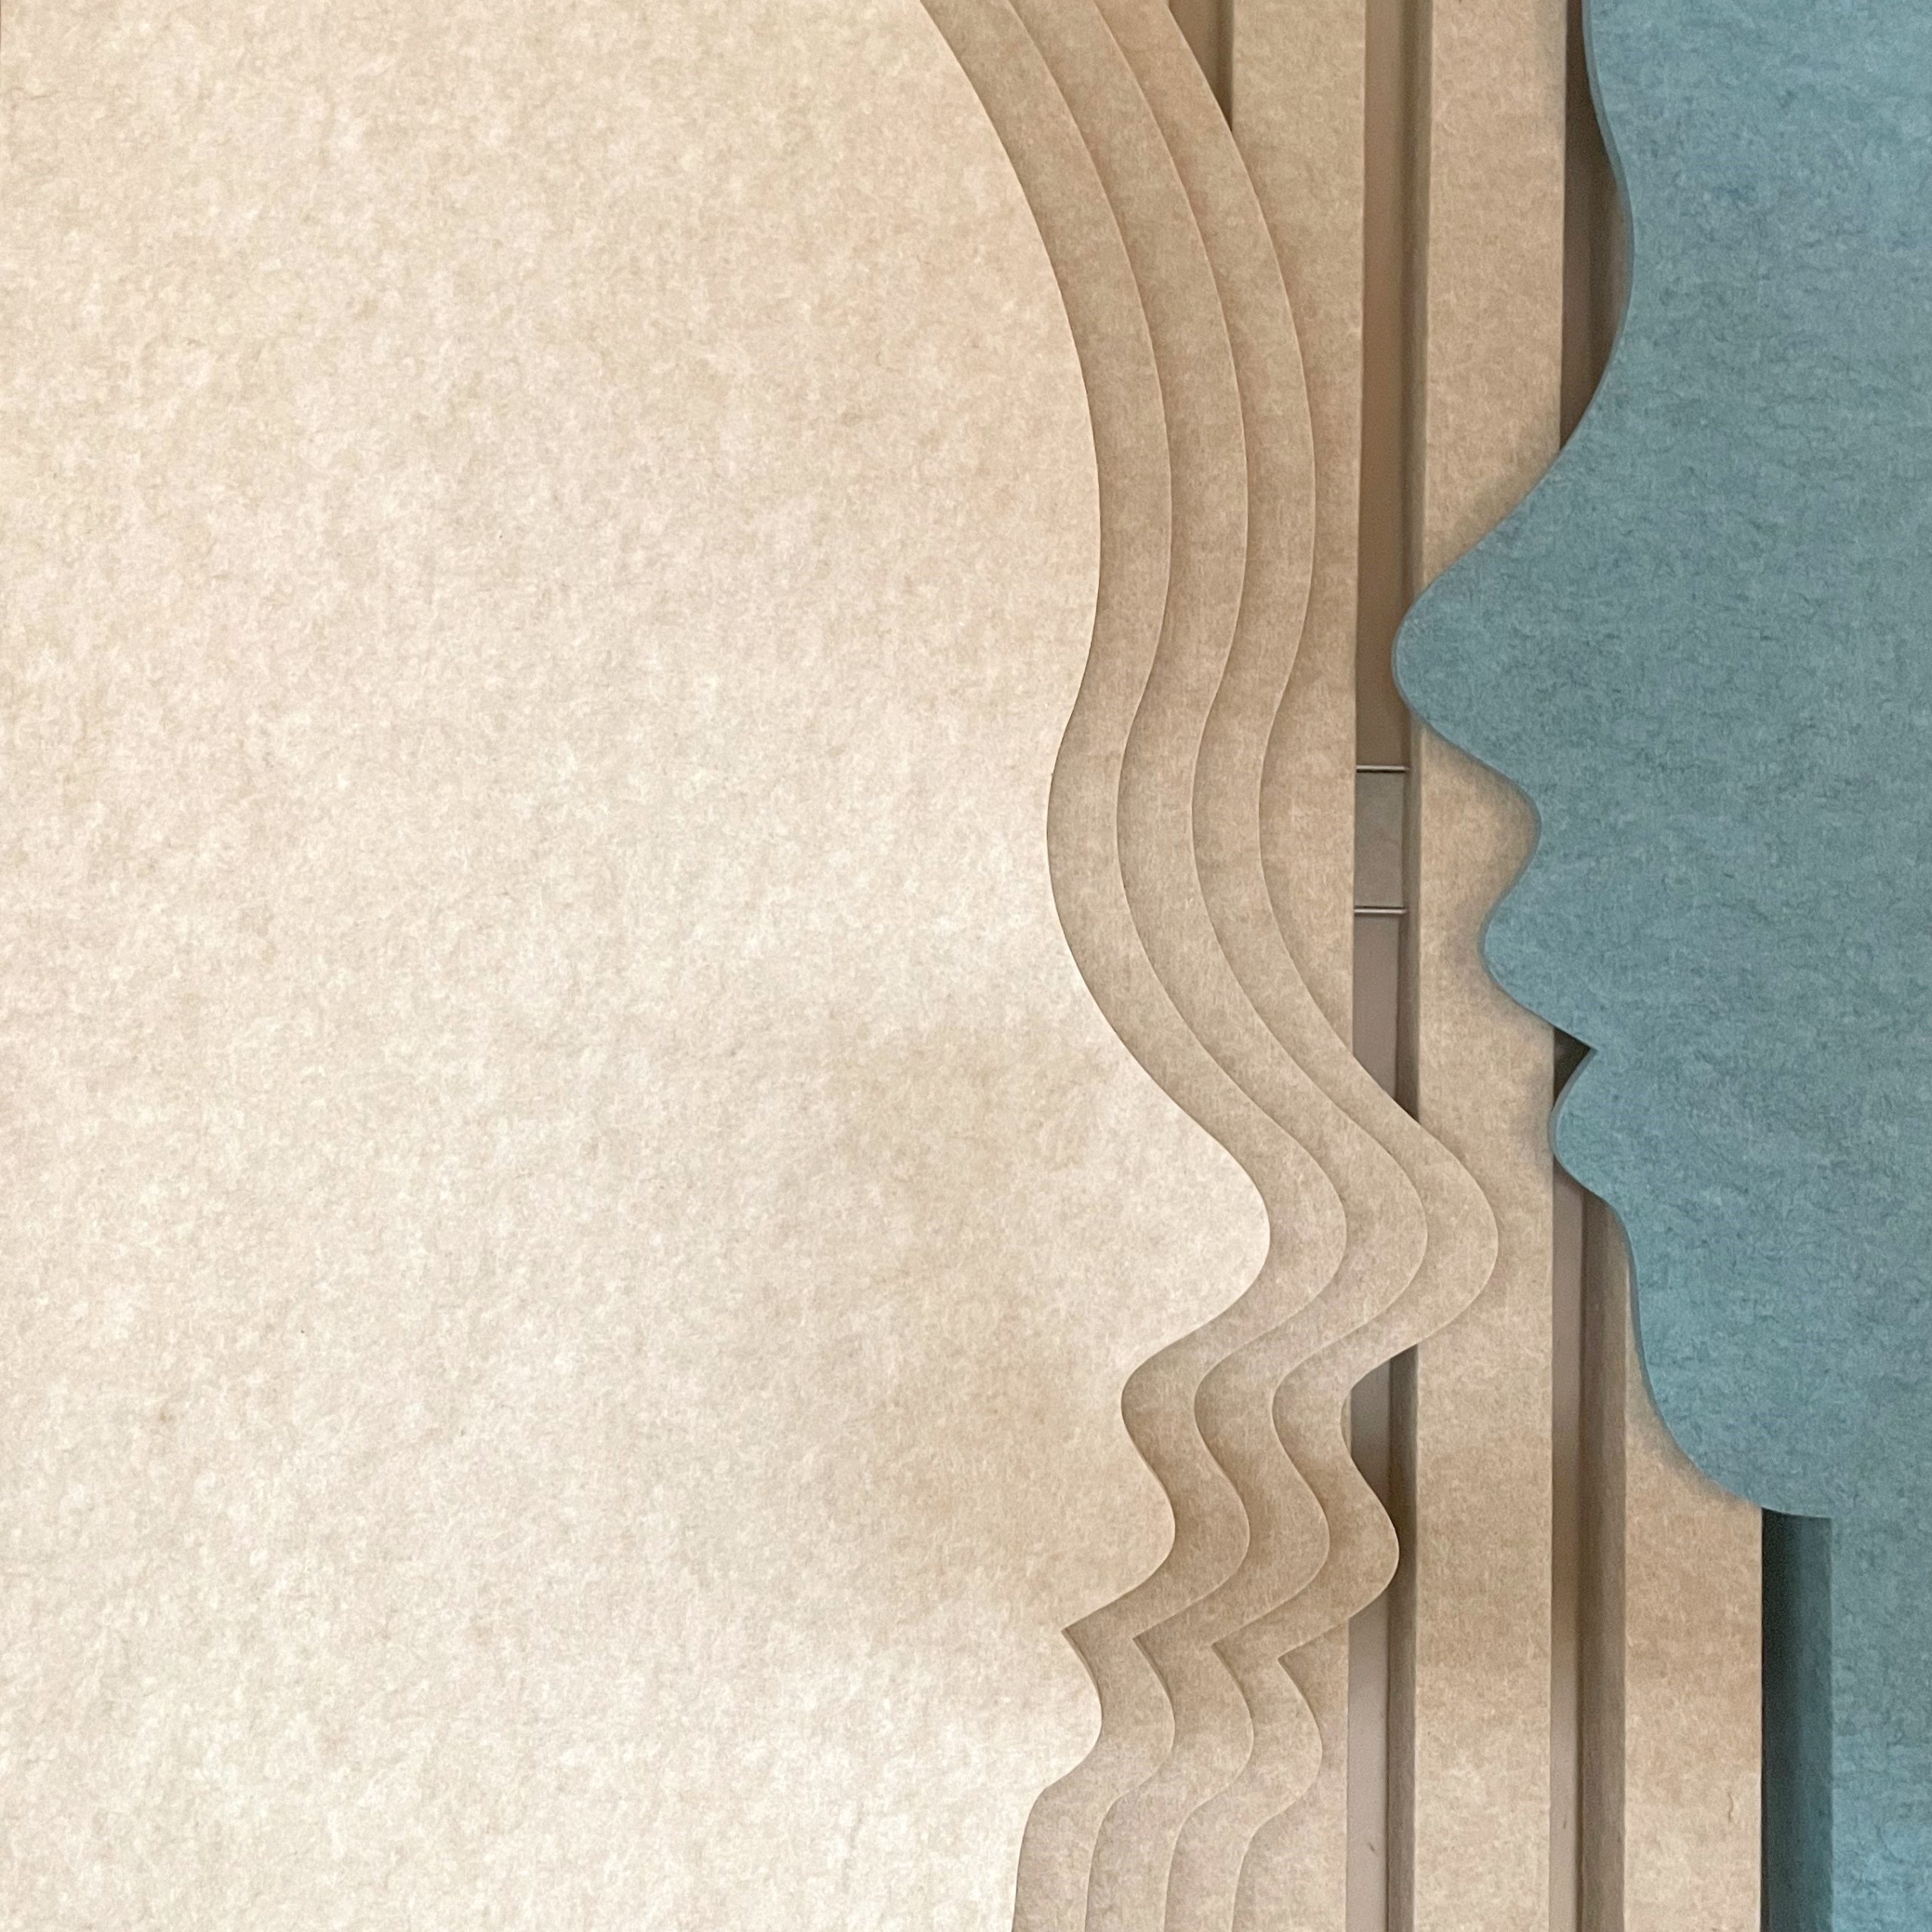
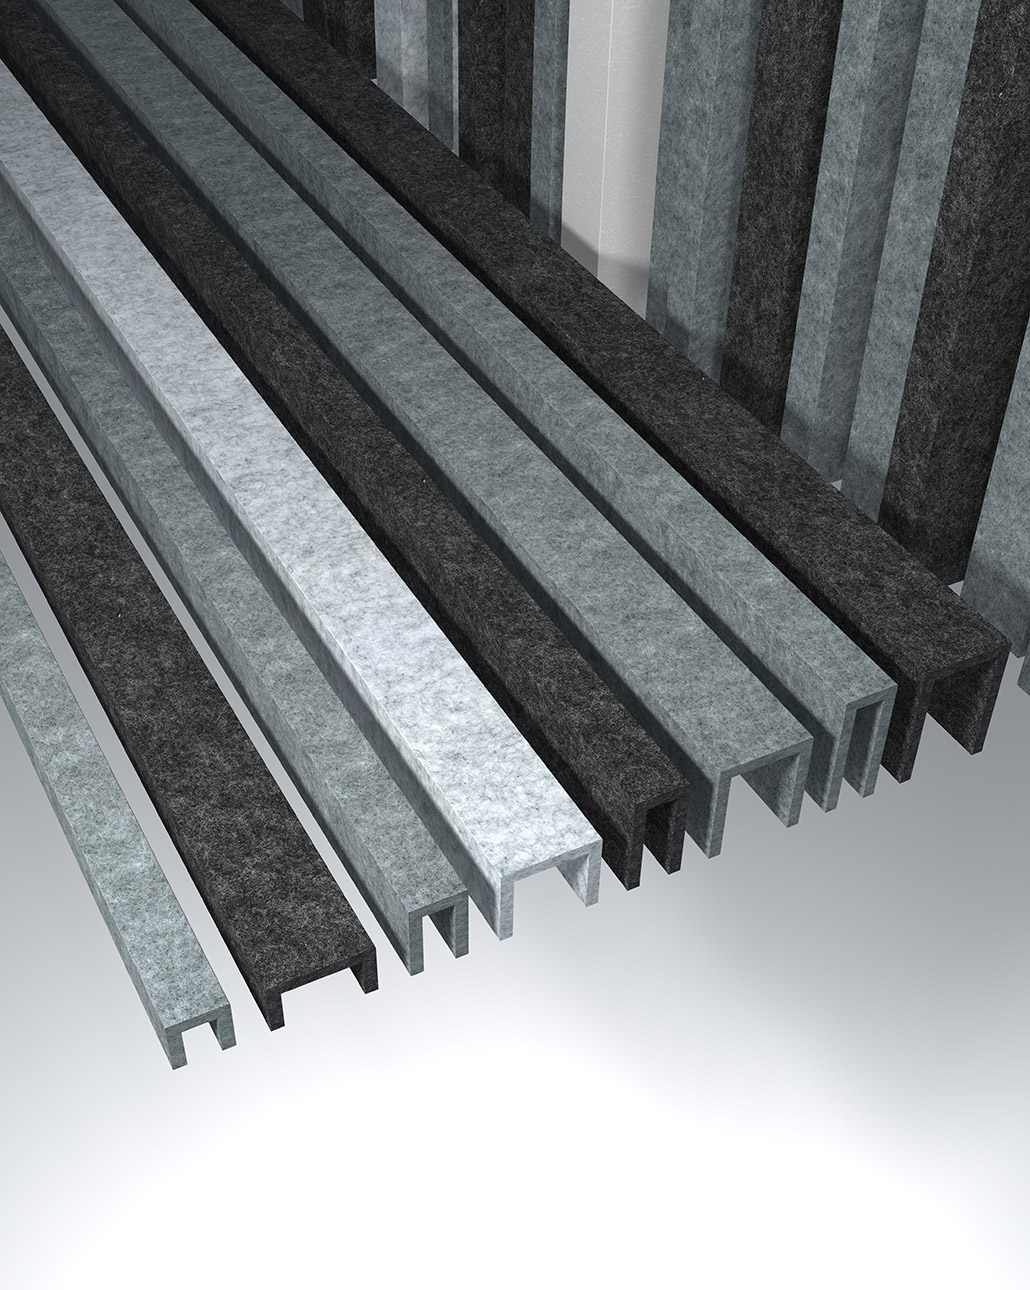
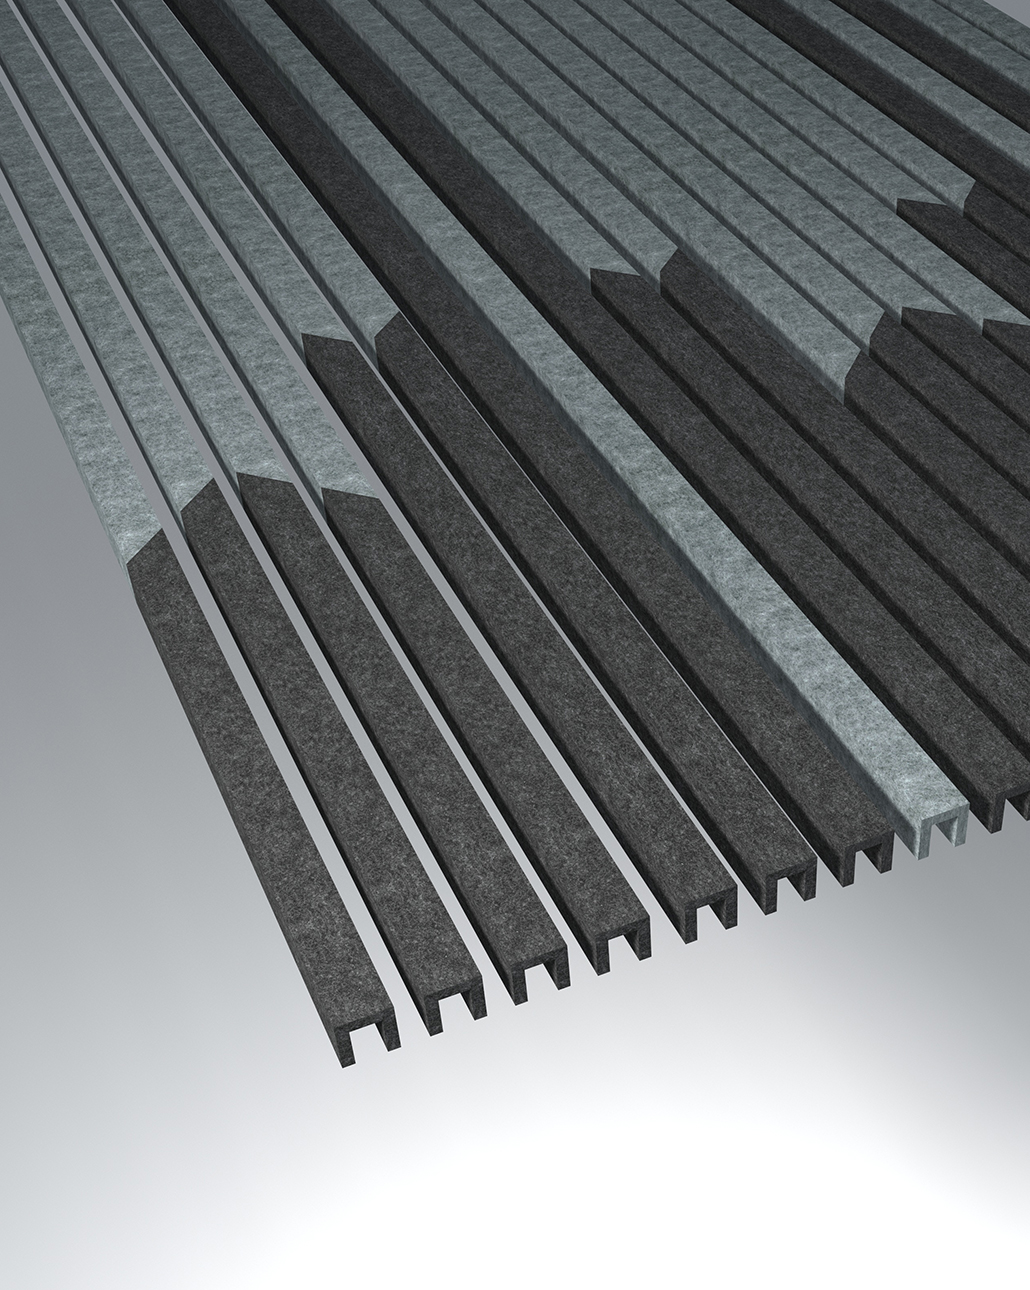
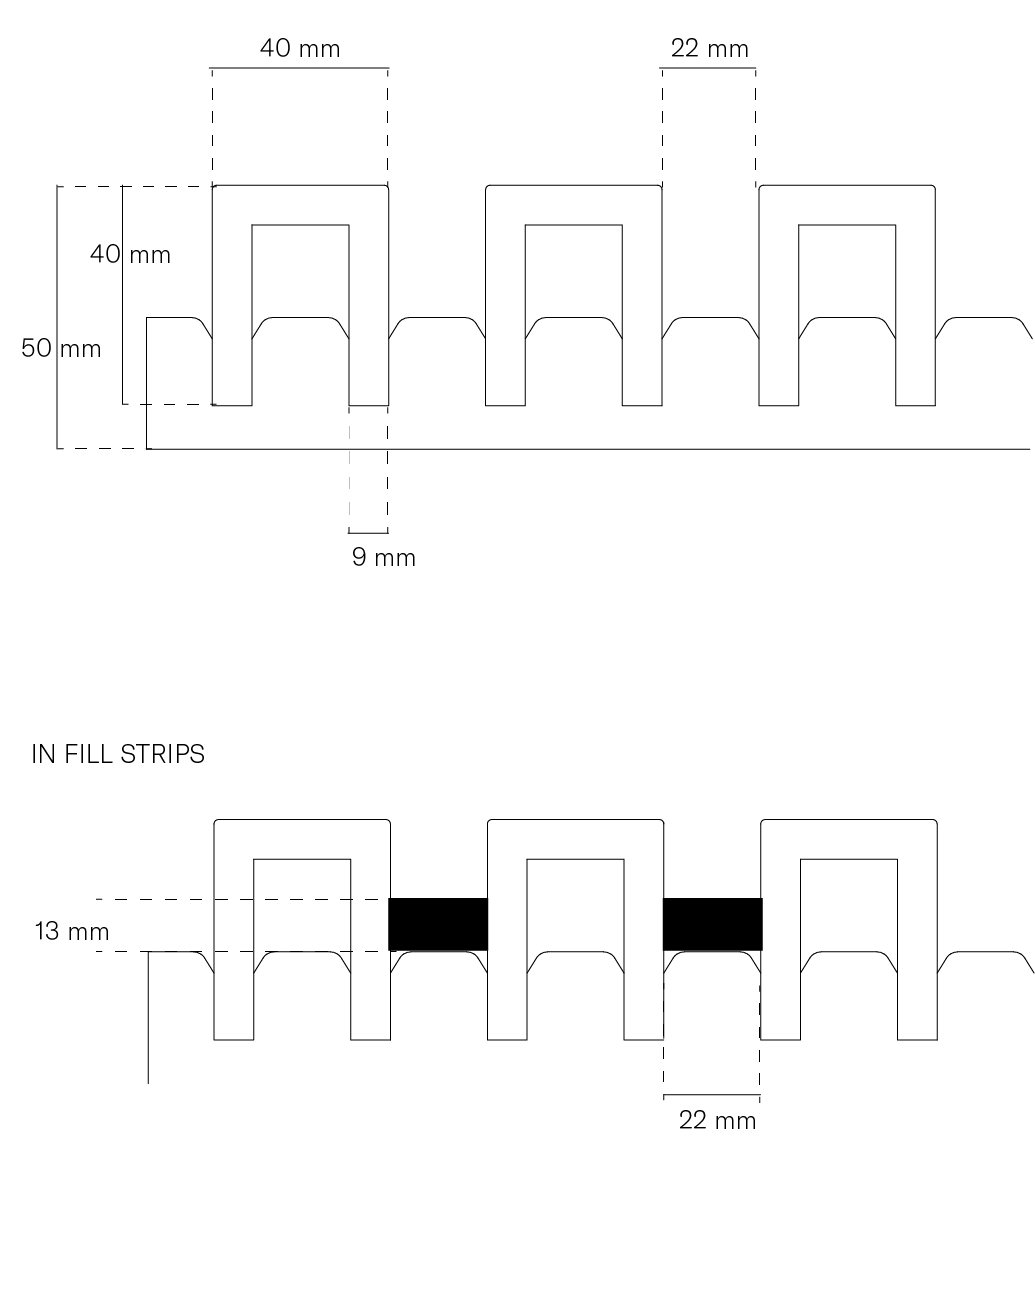
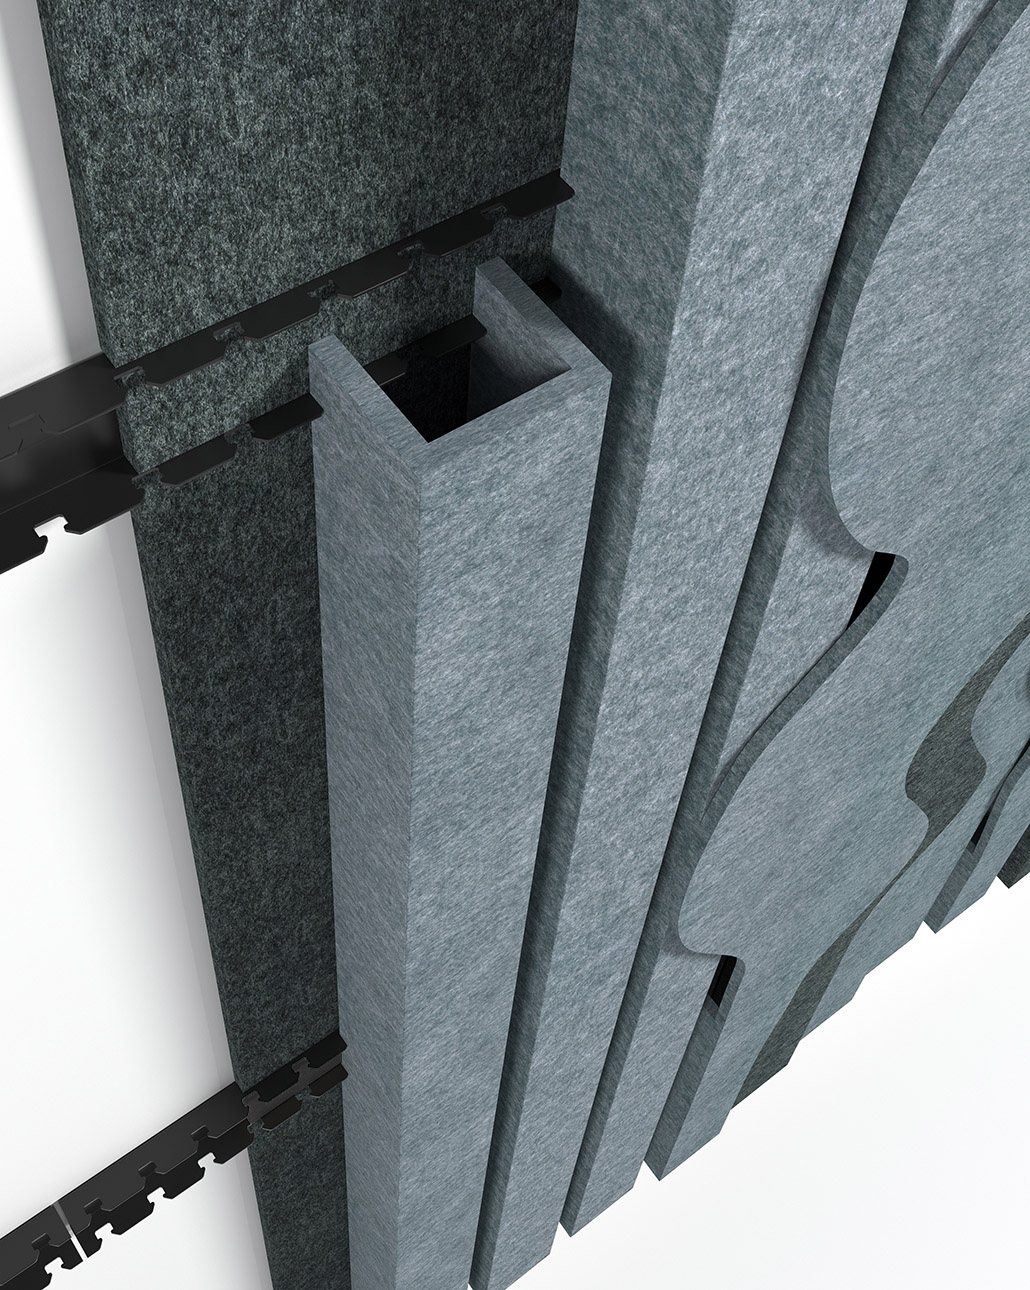
Layers – Build-Up and Dimensions
The system starts with a base Feltfon Rib, which forms the structural foundation of the installation.
This base rib + installation profile has a depth of minimum 40 mm and includes the mounting system. Rib height min 30 mm. The depth of the installation increases by the felt thickness per layer, which is approximately 10 mm.
In practice:
Base rib (including mounting): ~40 mm
Each additional layer: +9–10 mm
The total depth increases incrementally by 10 mm per layer in the pattern
As an example:
A three-layer configuration results in a minimum total depth of approximately 60 mm
Additional layers continue to build depth in consistent 10 mm steps.
The maximum width of the art per rib is 1200 mm, enabling wide, continuous pattern elements.
The maximum height of a Layers pattern is 2200 mm. Installations at this height require additional fixing points to ensure long-term stability and precision.
Step-by-step:
How to Design Your Feltfon Layers Patter
1. Define the overall area.
Start with the wall zone you want to cover and define the outer boundaries of the pattern.
Keep in mind the rib height is 2400 mm and the maximum pattern height is 2200 mm (taller solutions may require design adaptation and extra fixing points).
2. Choose your rib width
Select the Feltfon Rib width that fits your concept and rhythm:
40 mm, 71 mm, or 102 mm… Spacing 22 mm.
This sets the visual “grid” and the scale of the pattern.
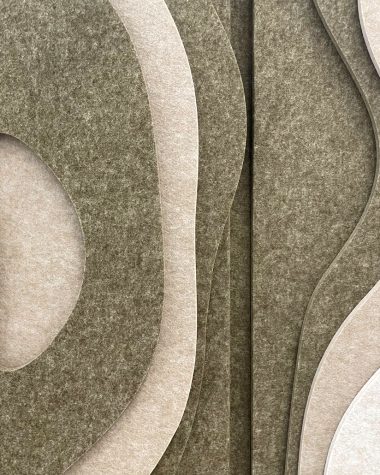
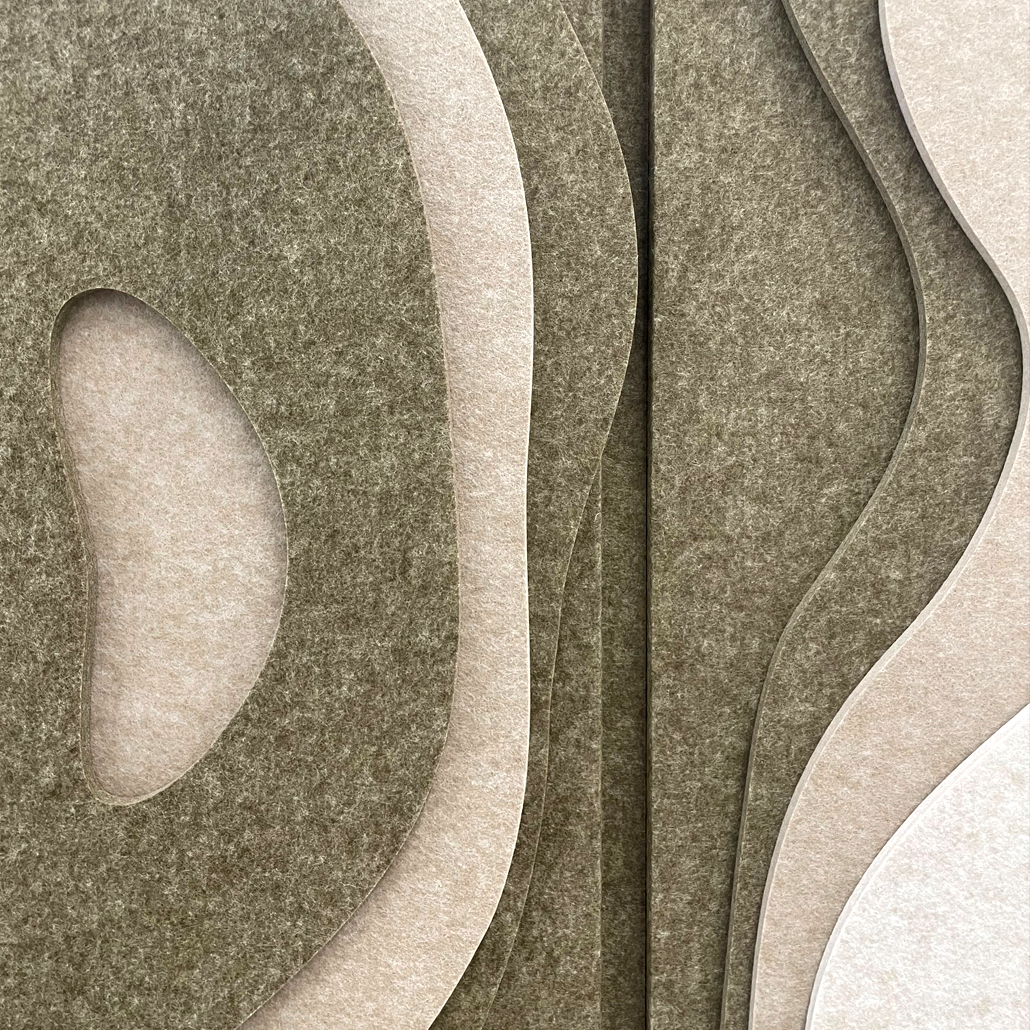
3. Decide the number of layers
Layers define depth and shadow. The installation starts with a base depth of approx. 40 mm, and then adds approx. 10 mm per layer in the pattern.
More layers = more relief, stronger shadow, and a more sculptural expression.
4. The pattern/art on each rib can be made up to 1200 mm wide.
Break larger walls into logical sections that align with the architectural grid (doors, columns, lighting lines, etc.) to make the result feel intentional.
5. Check practical installation logic.
Ensure the pattern can be installed efficiently: Plan the pattern based on the installation profiles, cc maeasurement verticaly approx. 600 mm.
6. Confirm alignment at transitions and edges
For patterns approaching 2200 mm height, plan for additional fixing points for long-term stability.
Decide how the pattern meets:
corners, ceiling lines.
7. Don’t hesitate to ask us about feed back on your sketches.