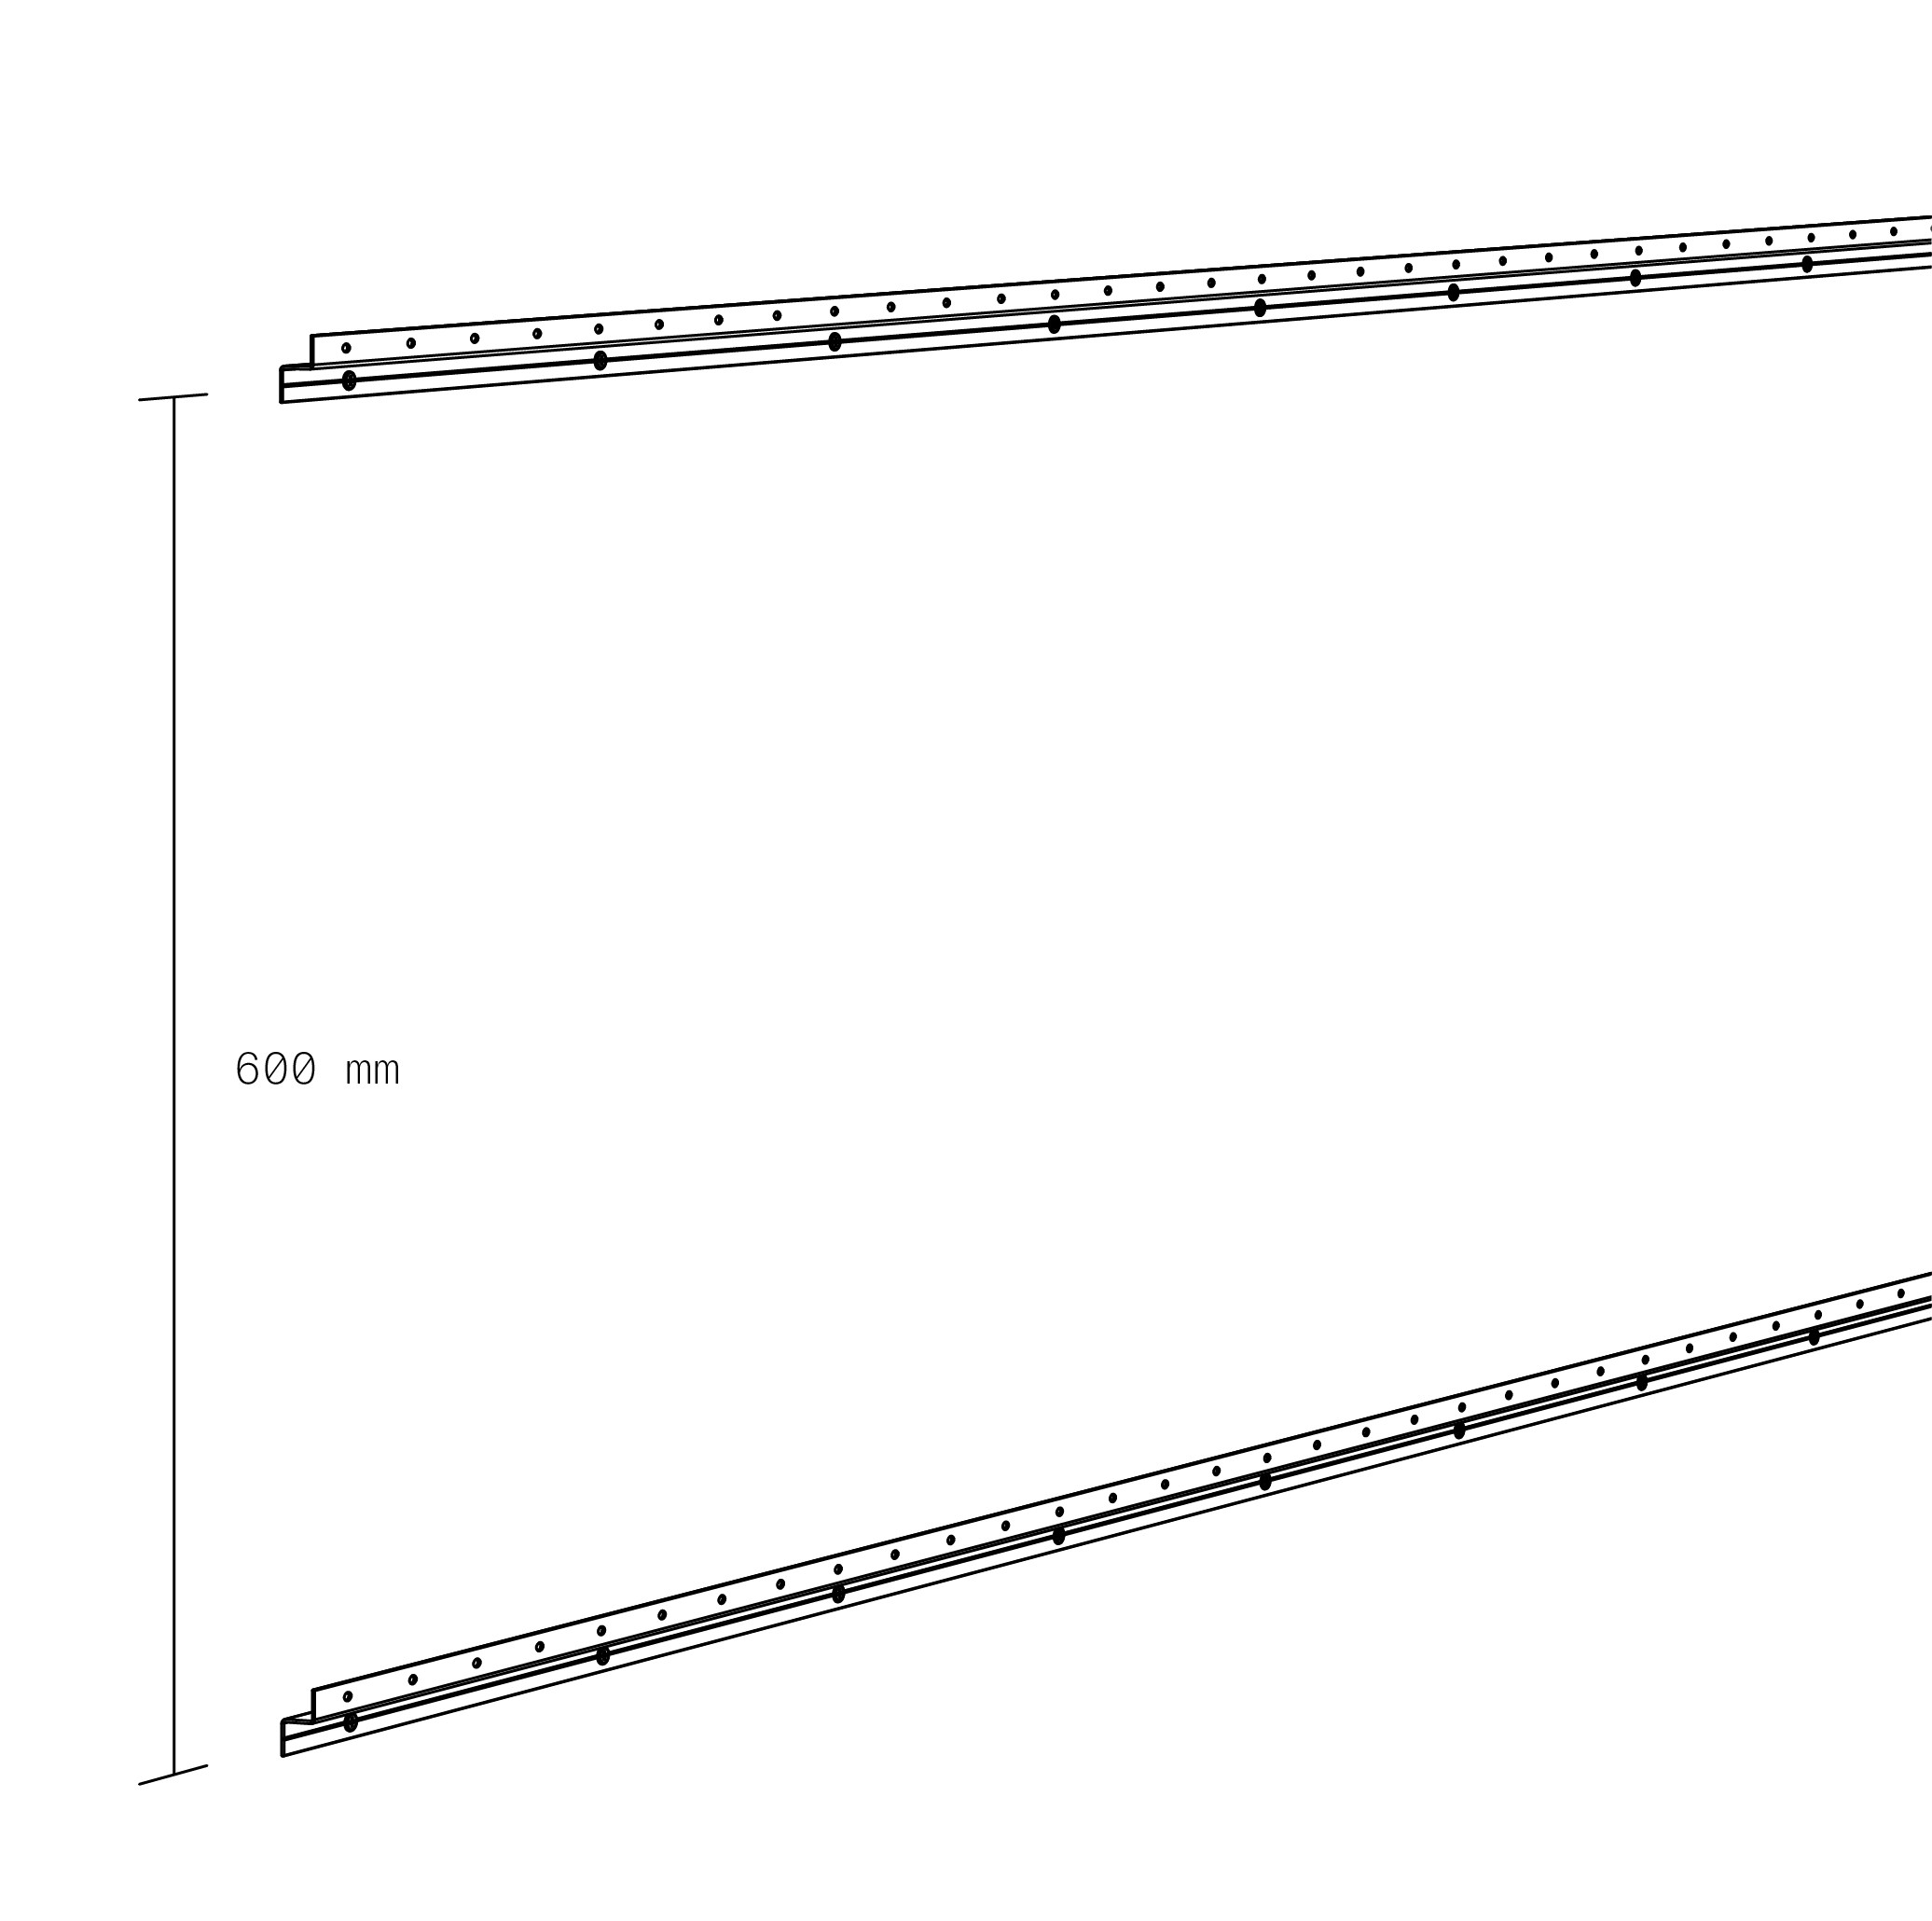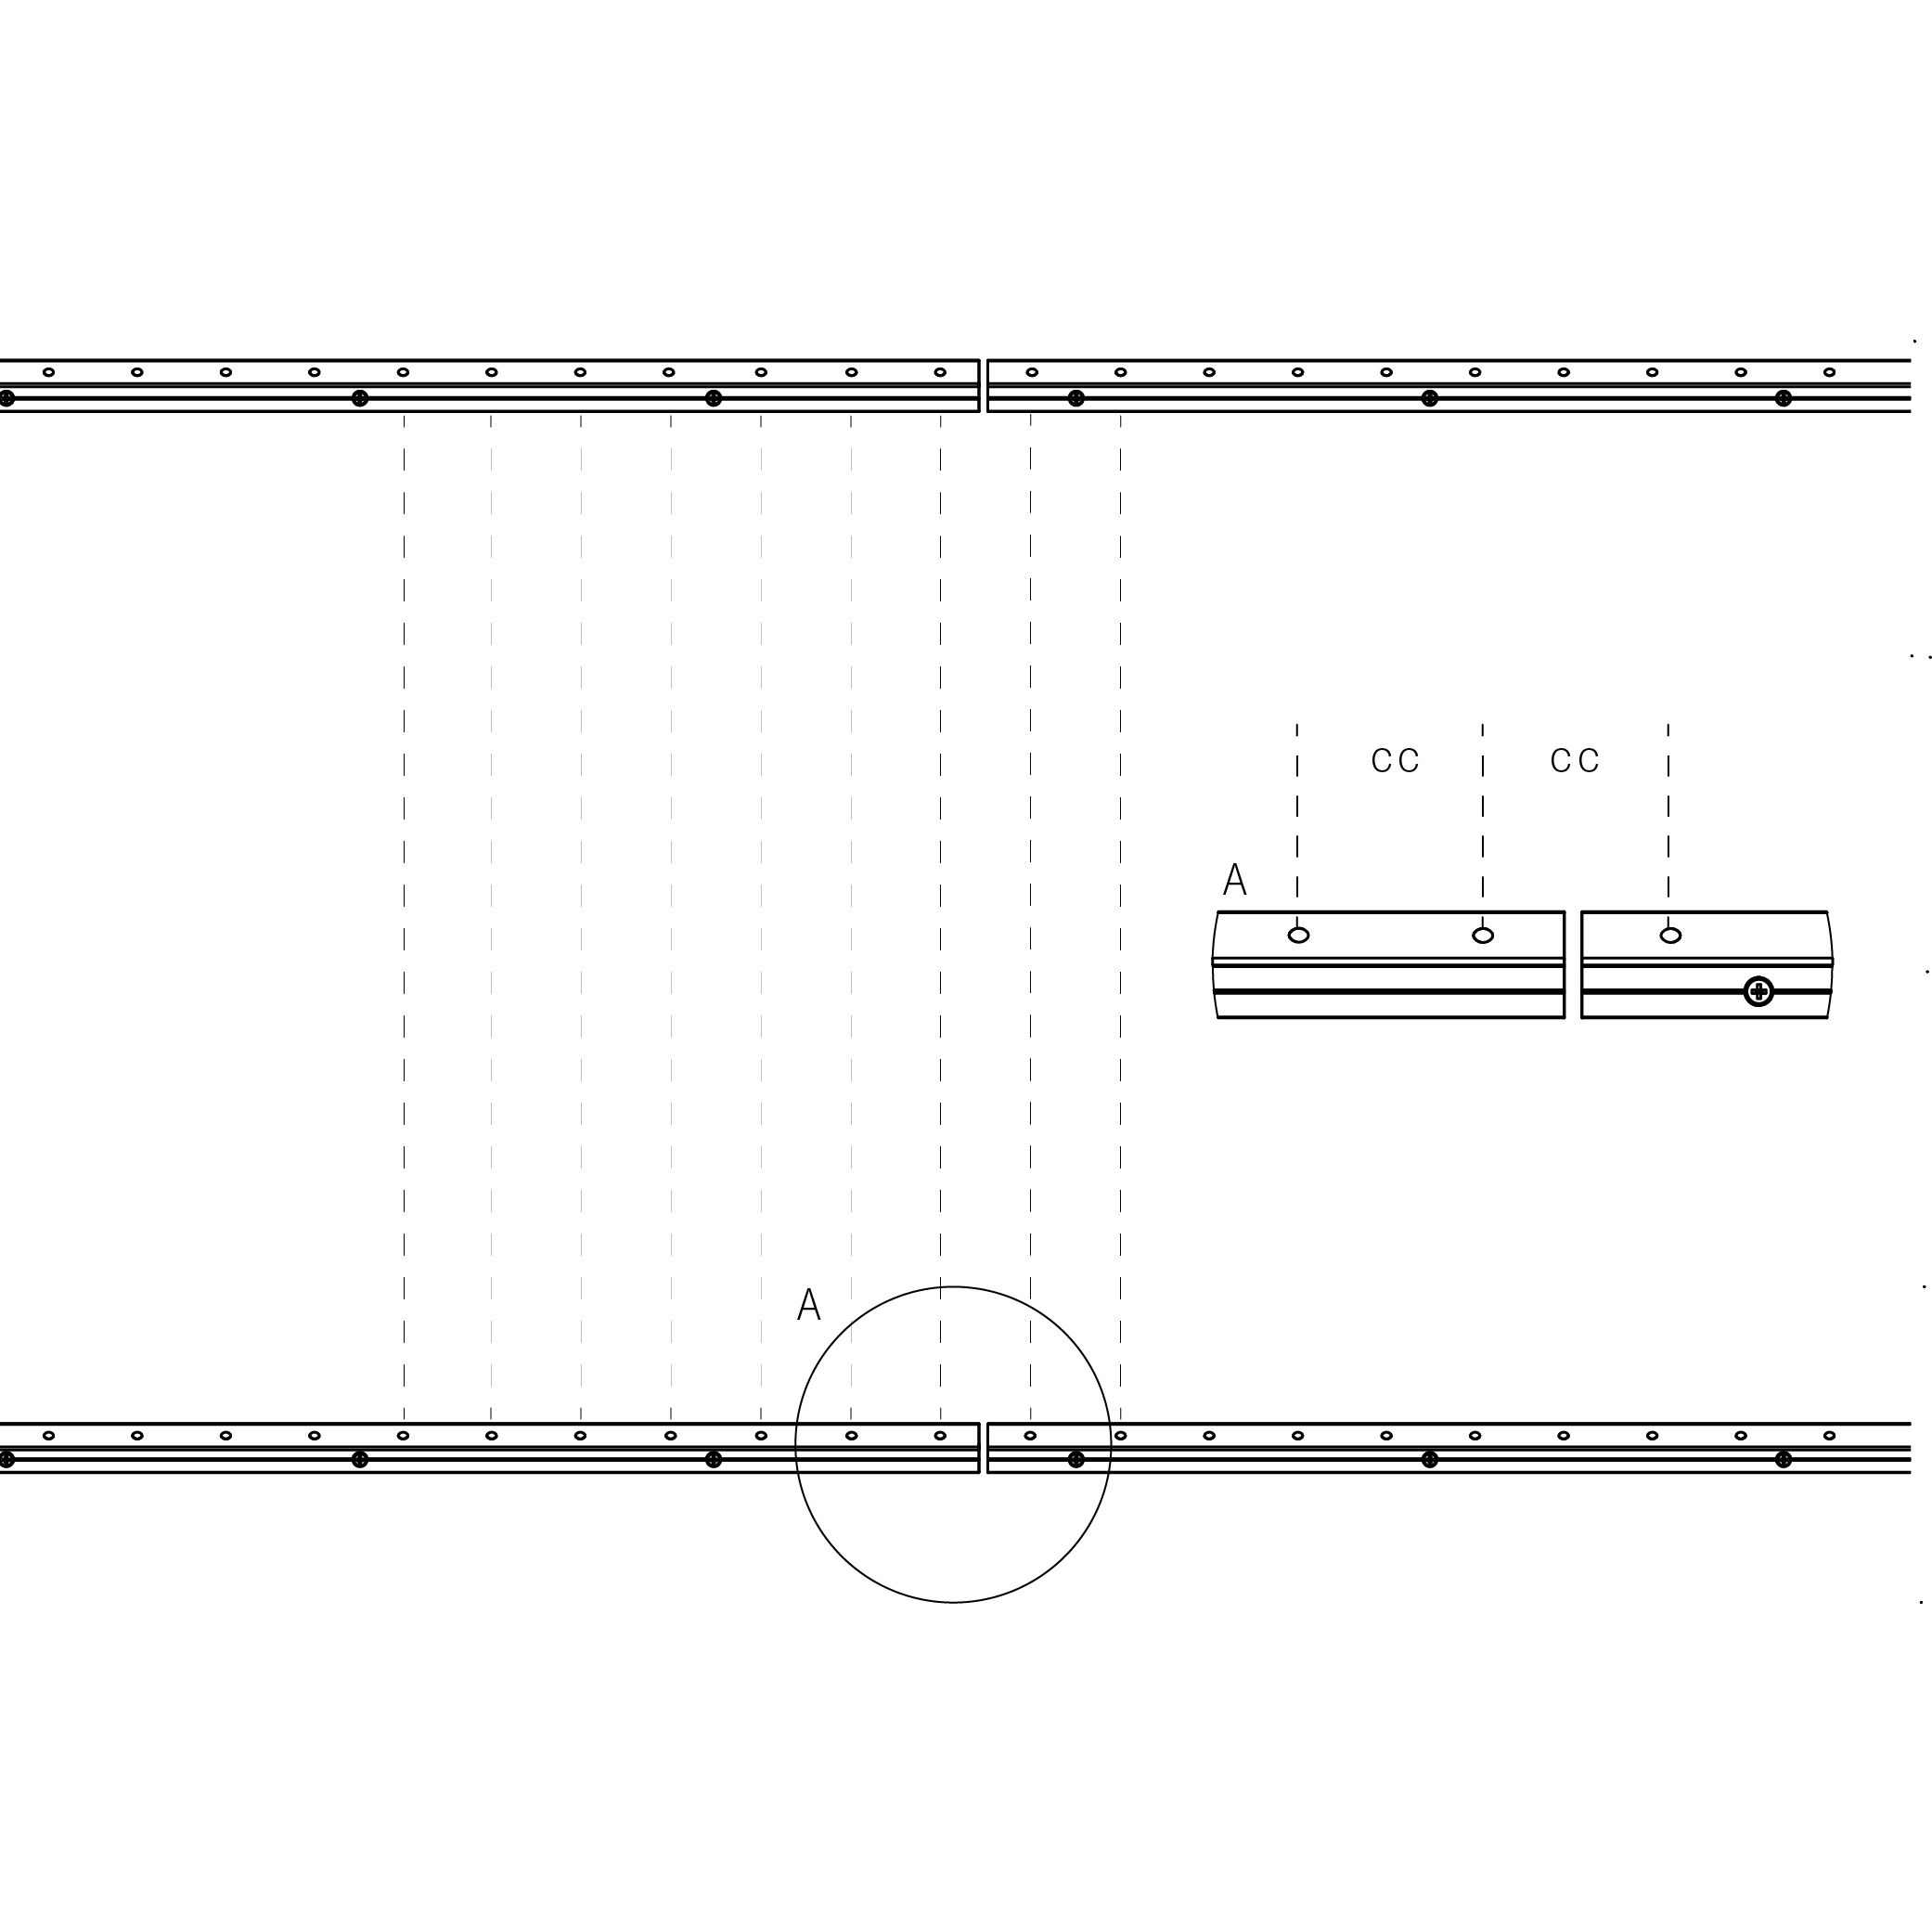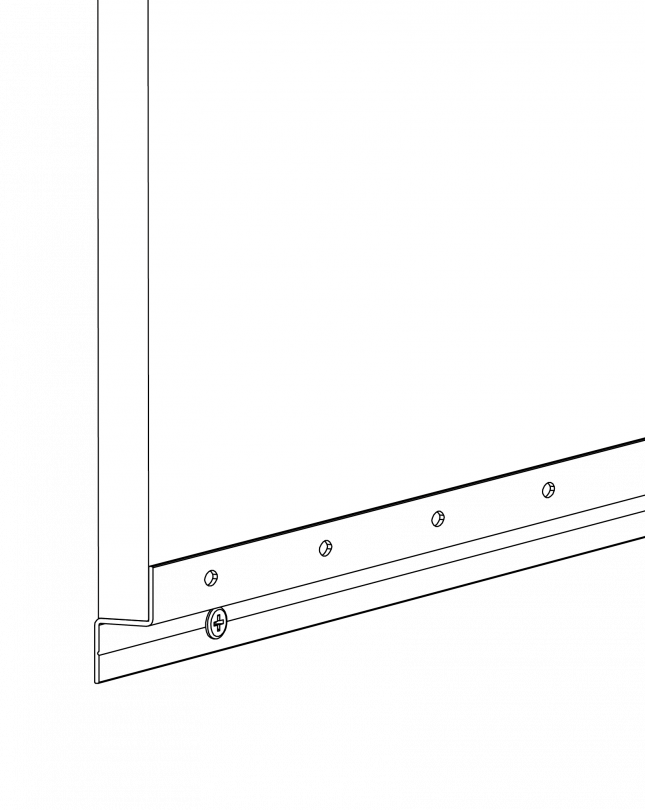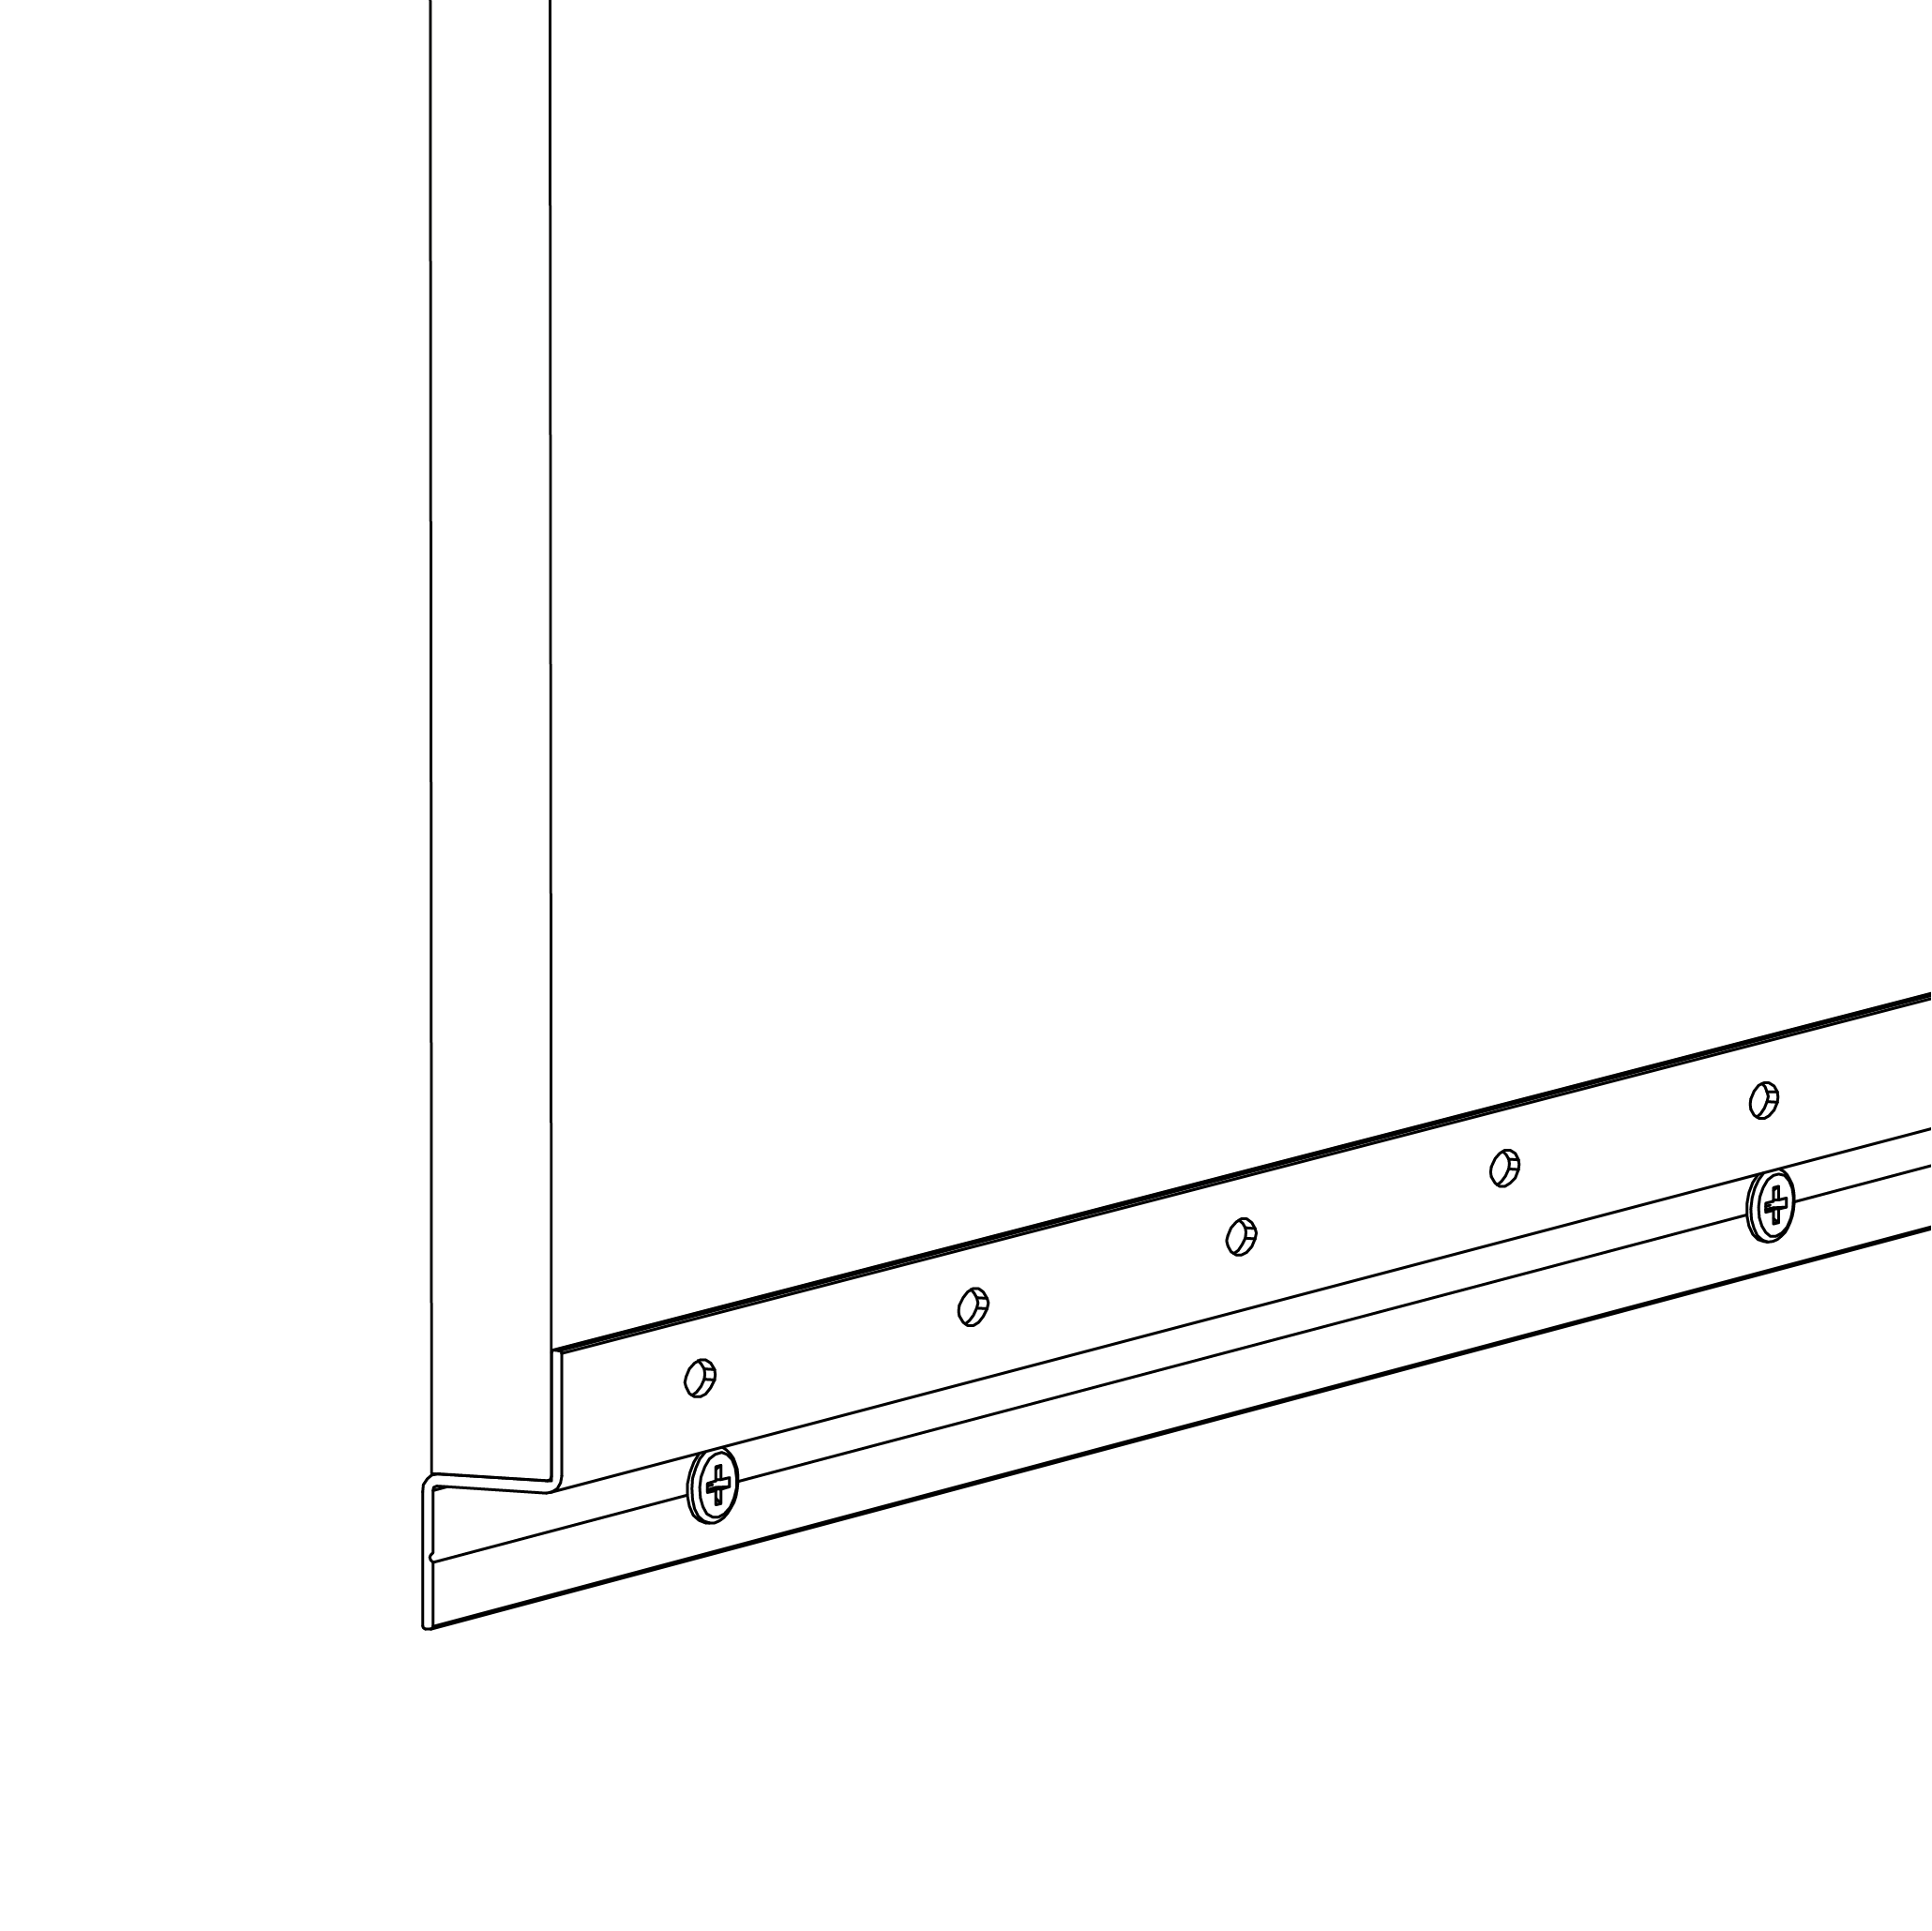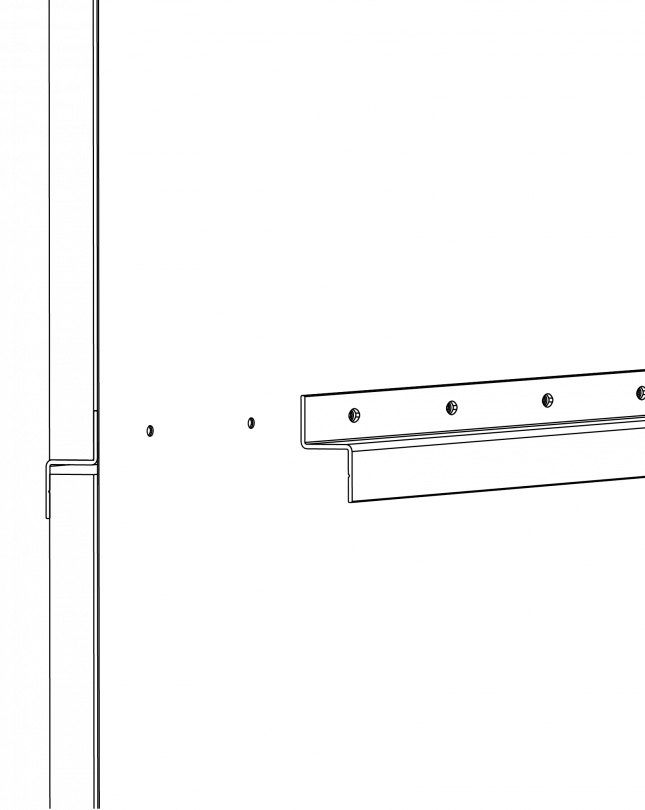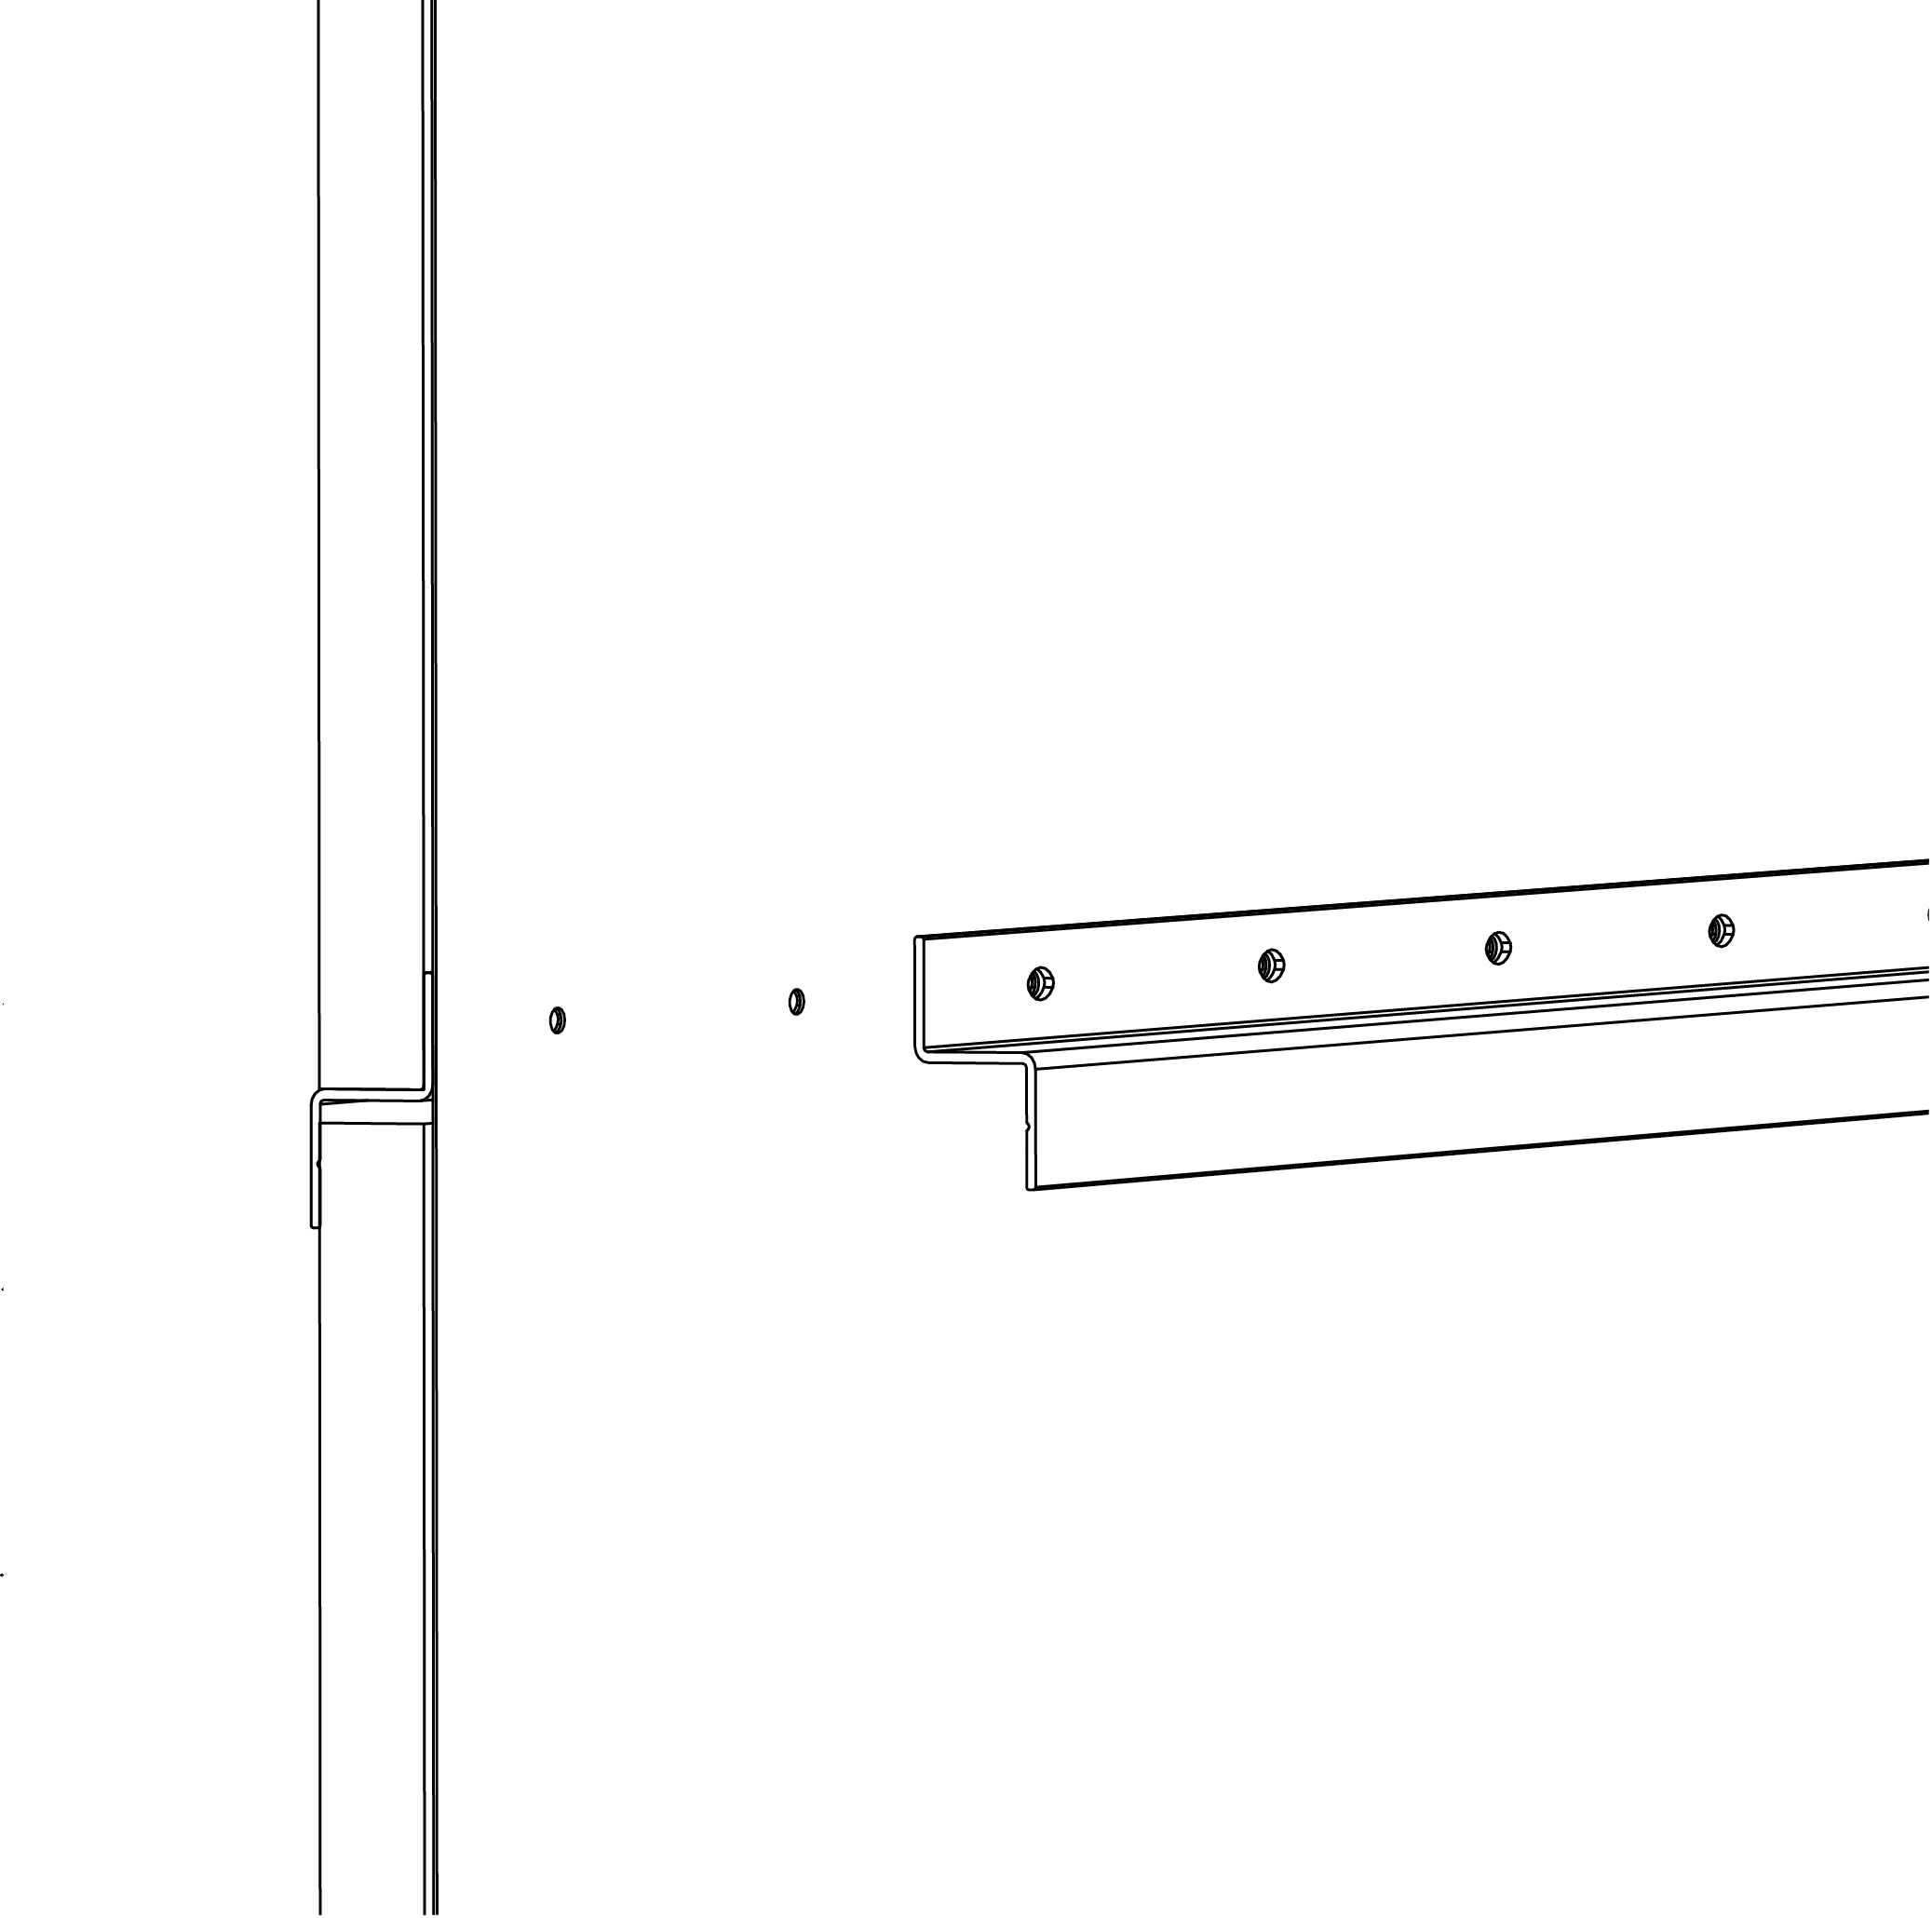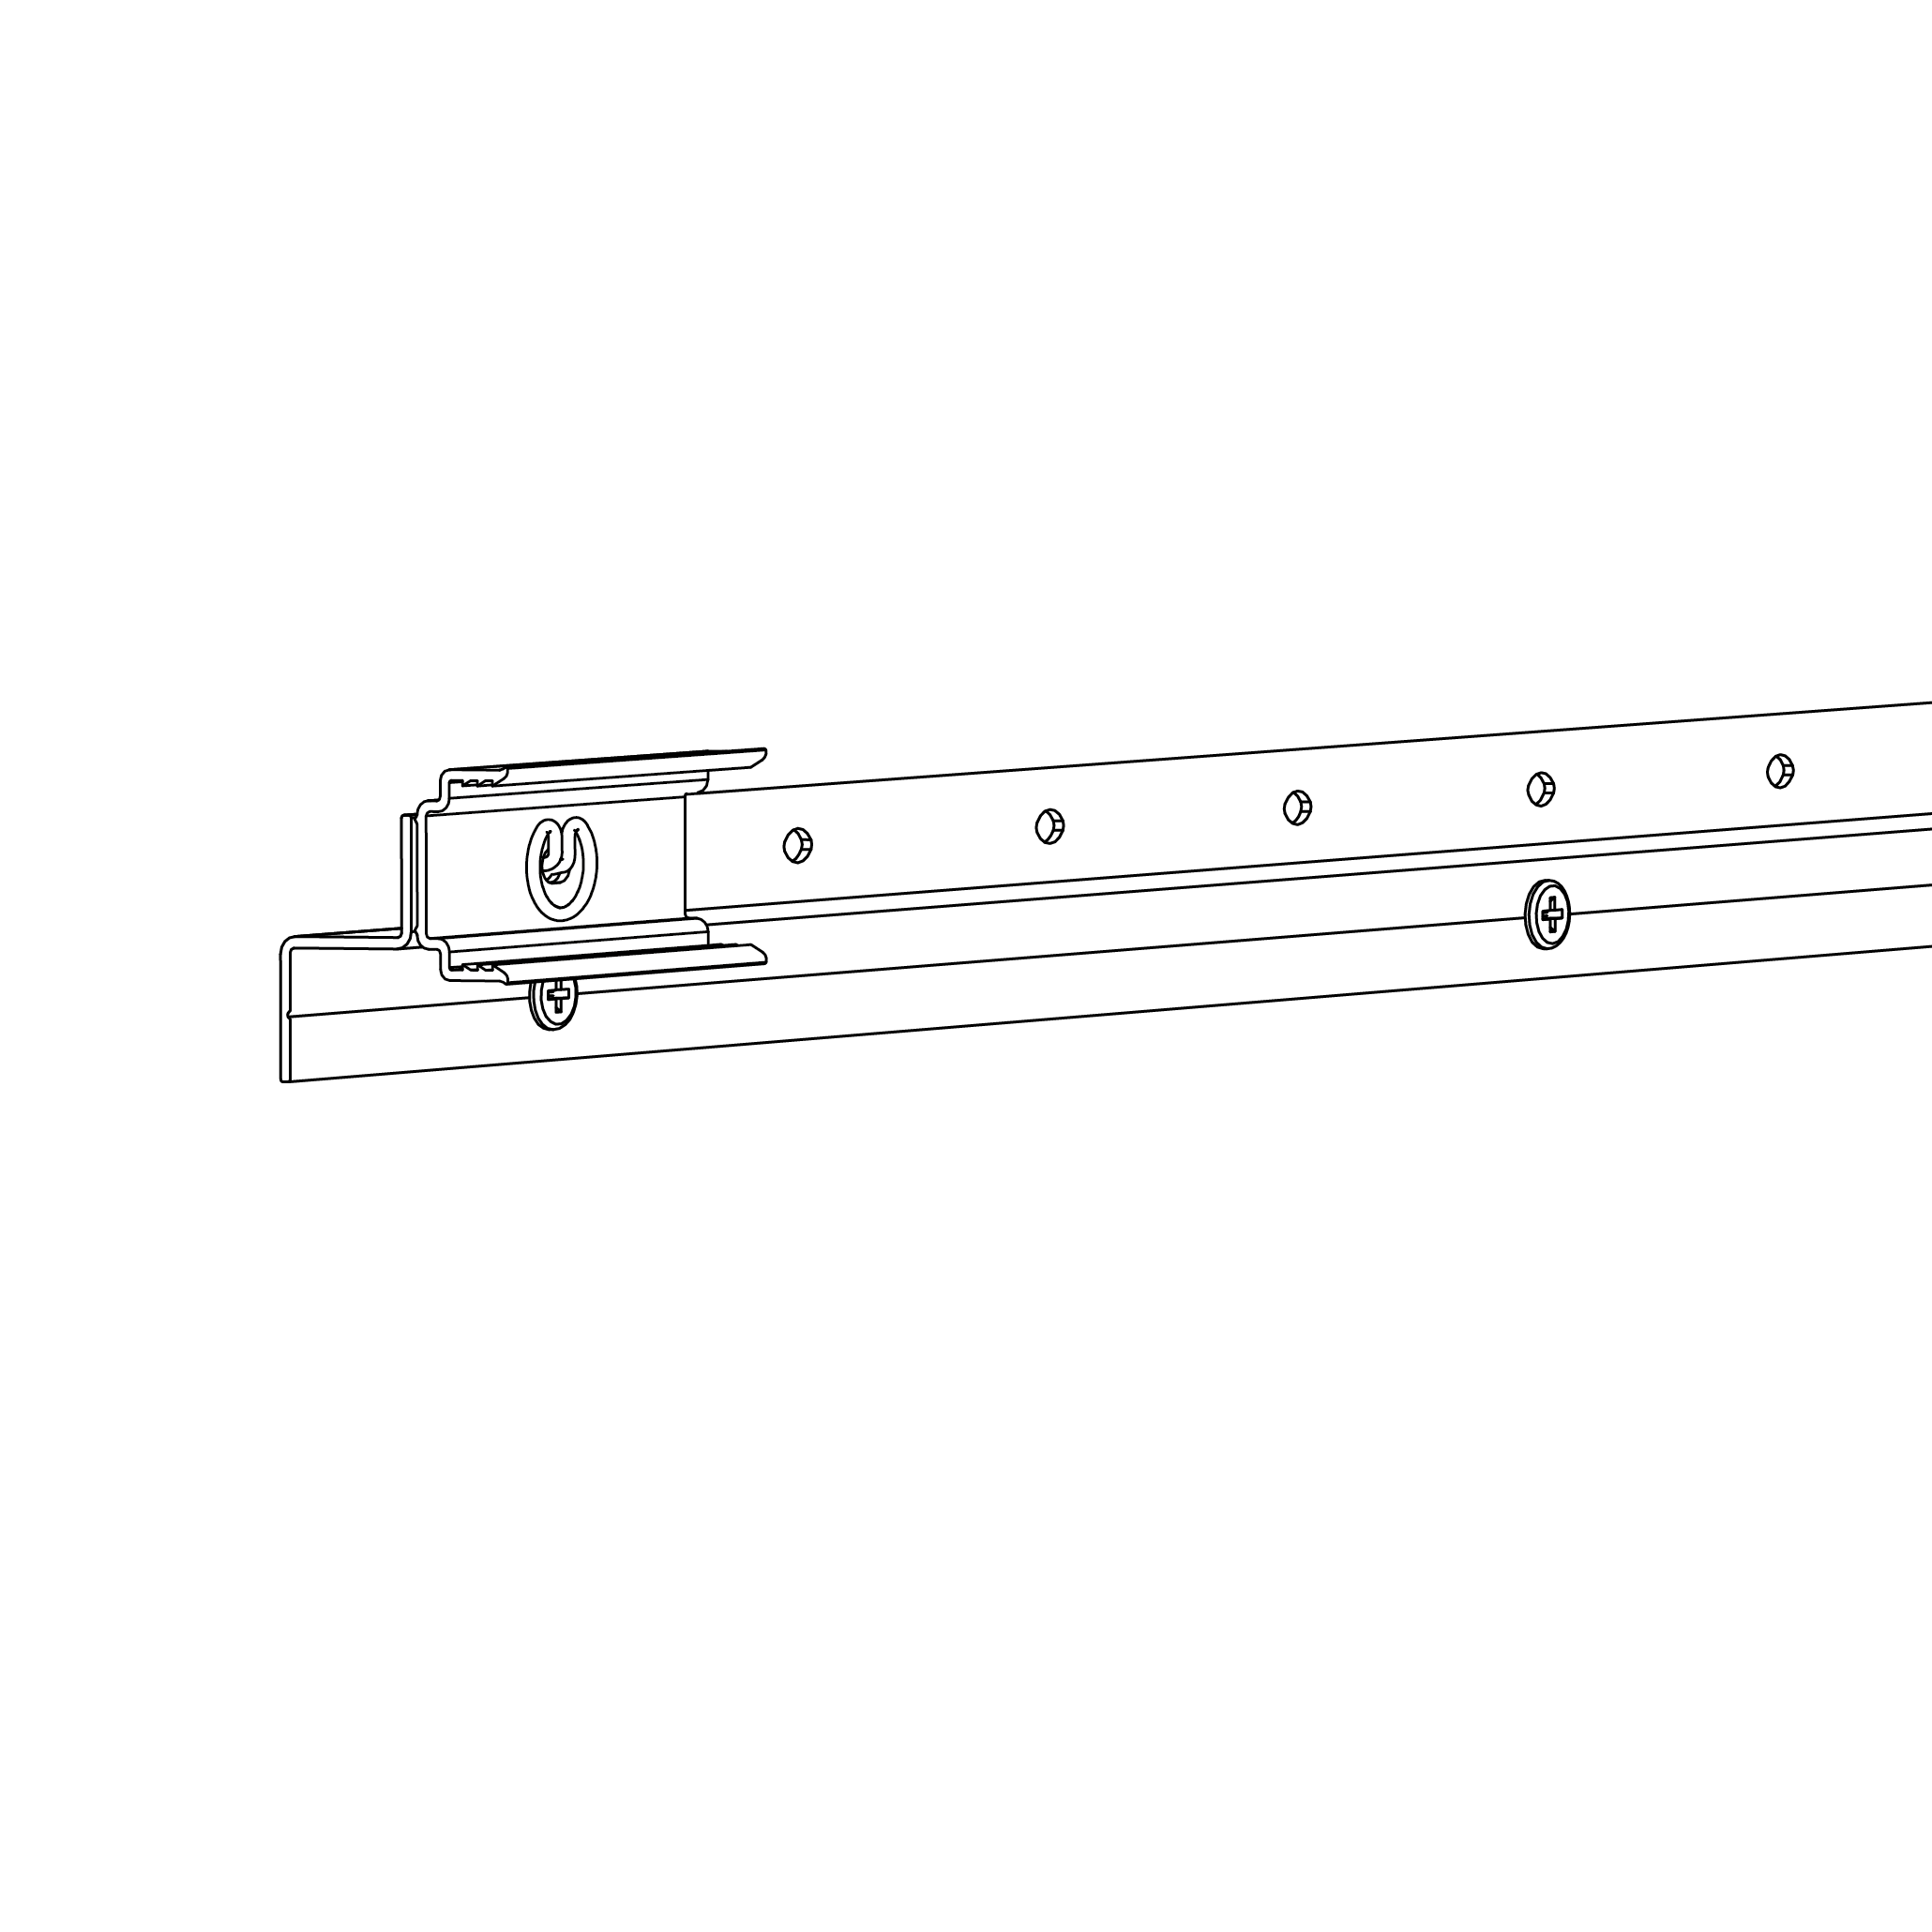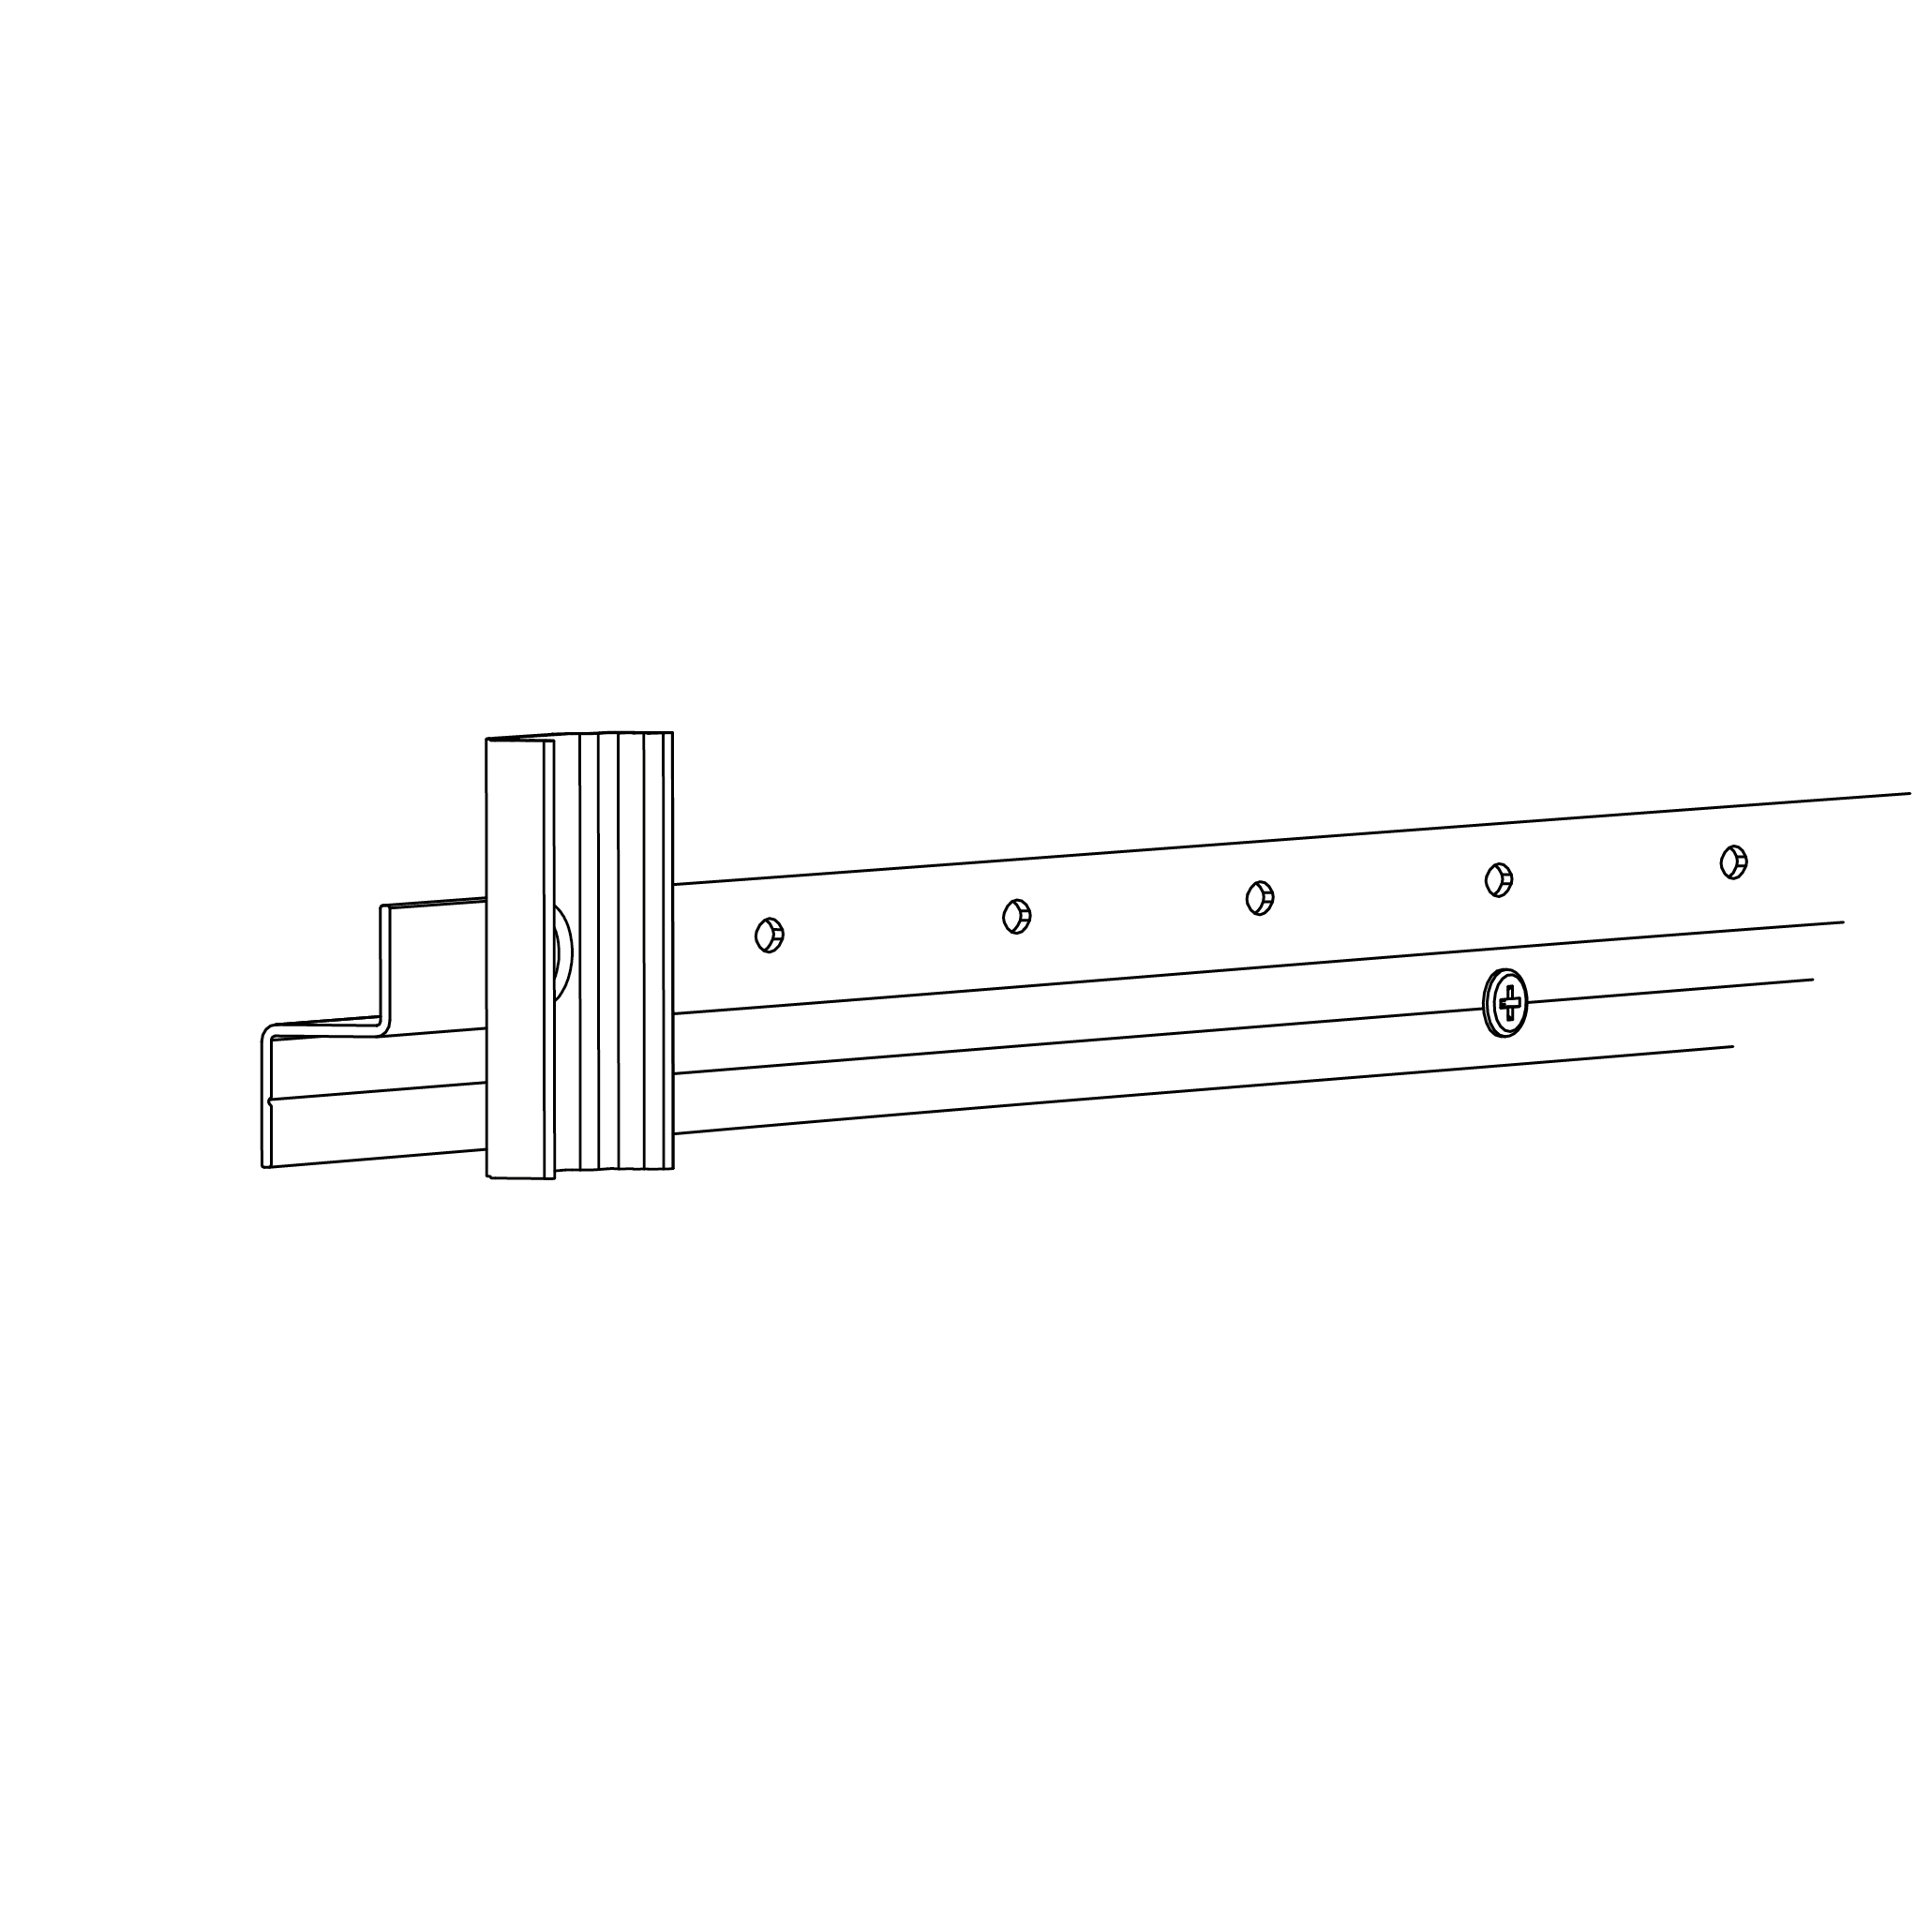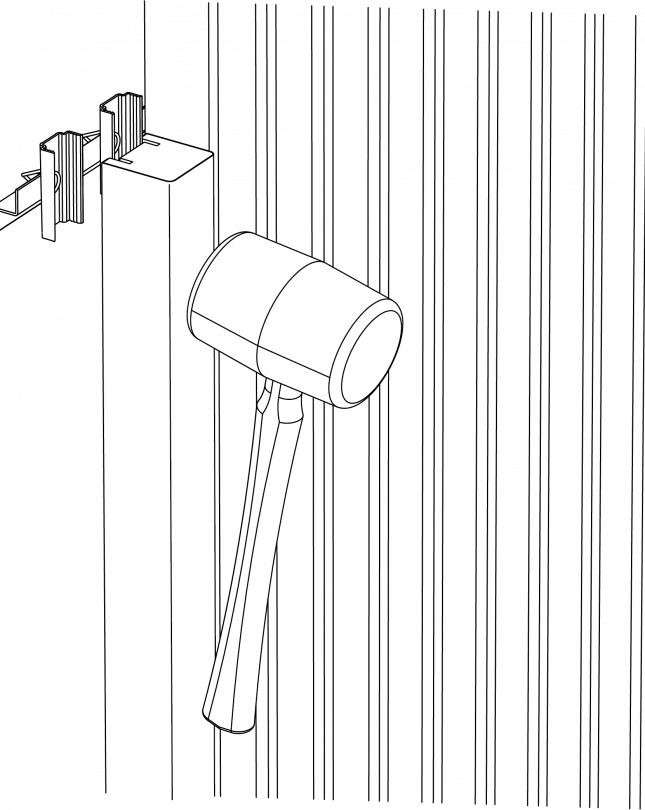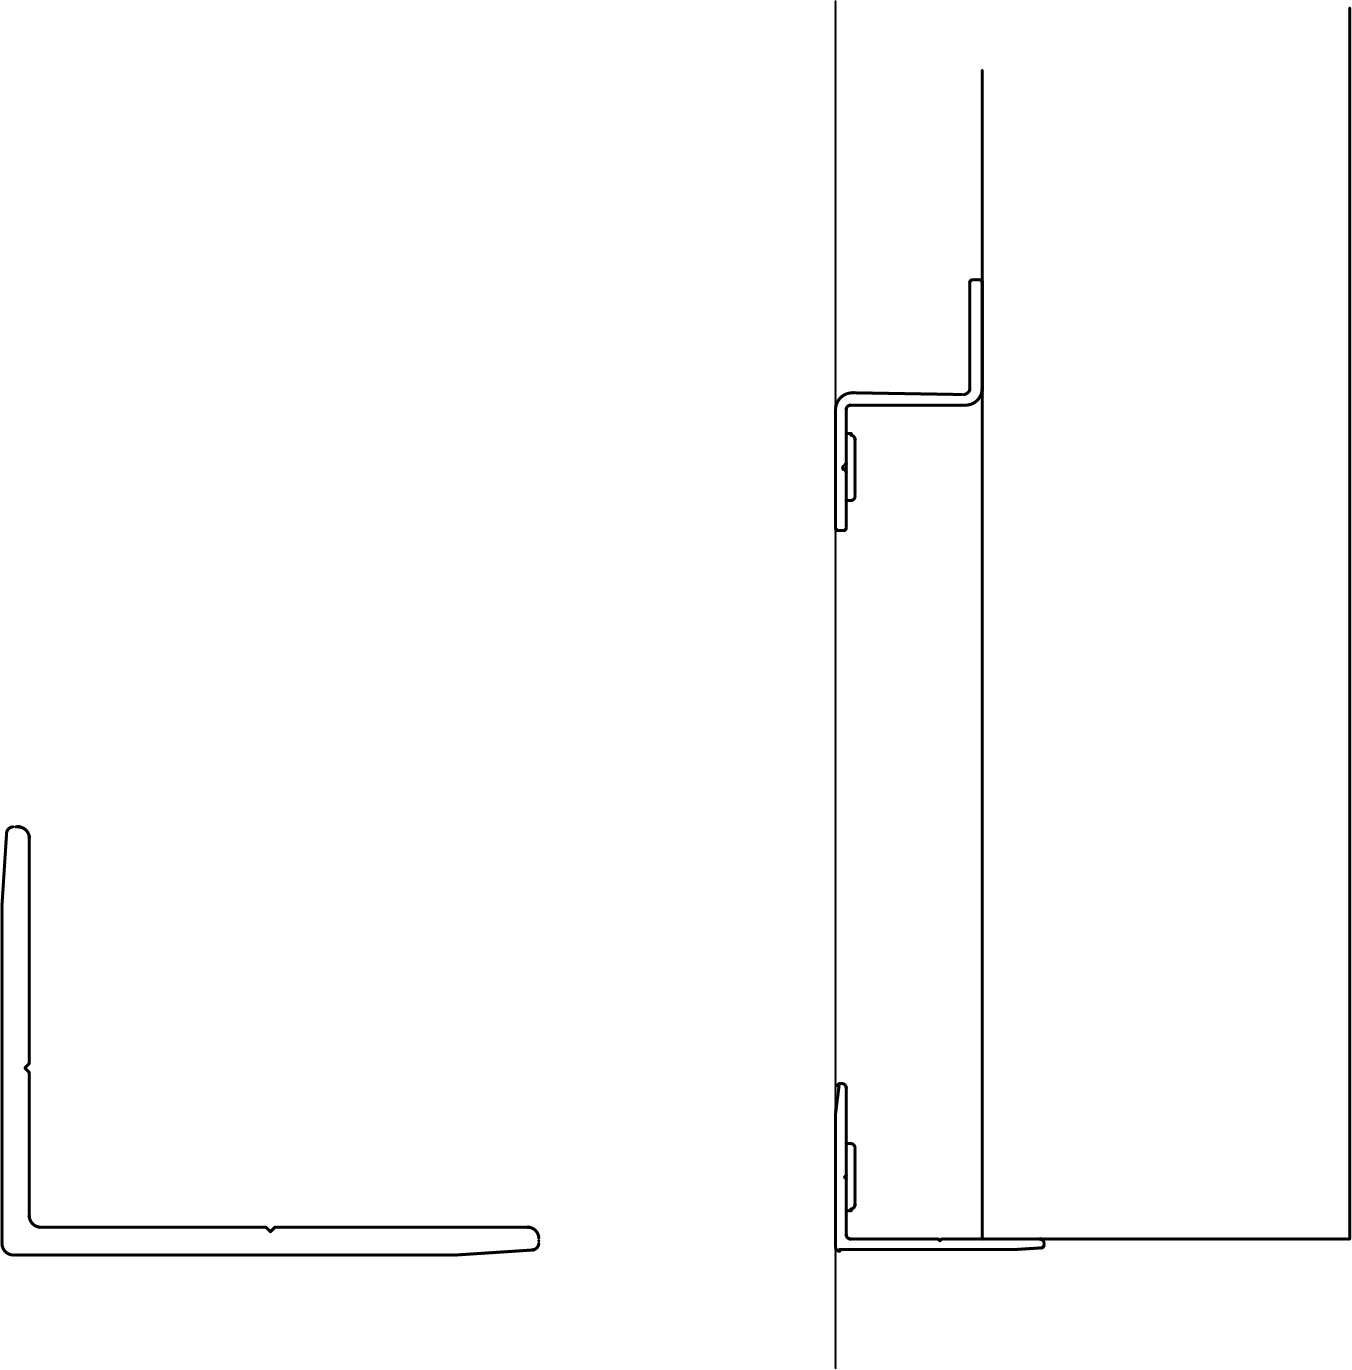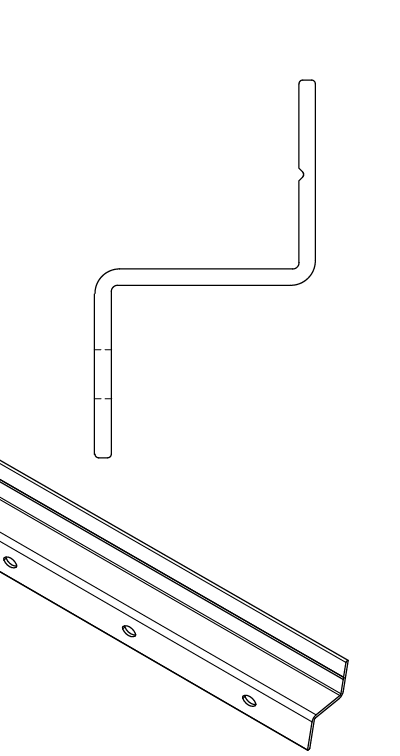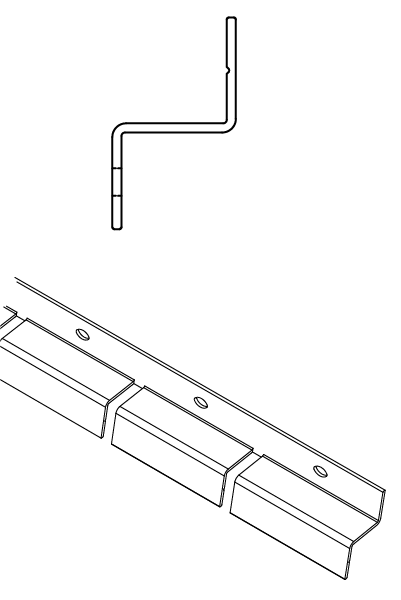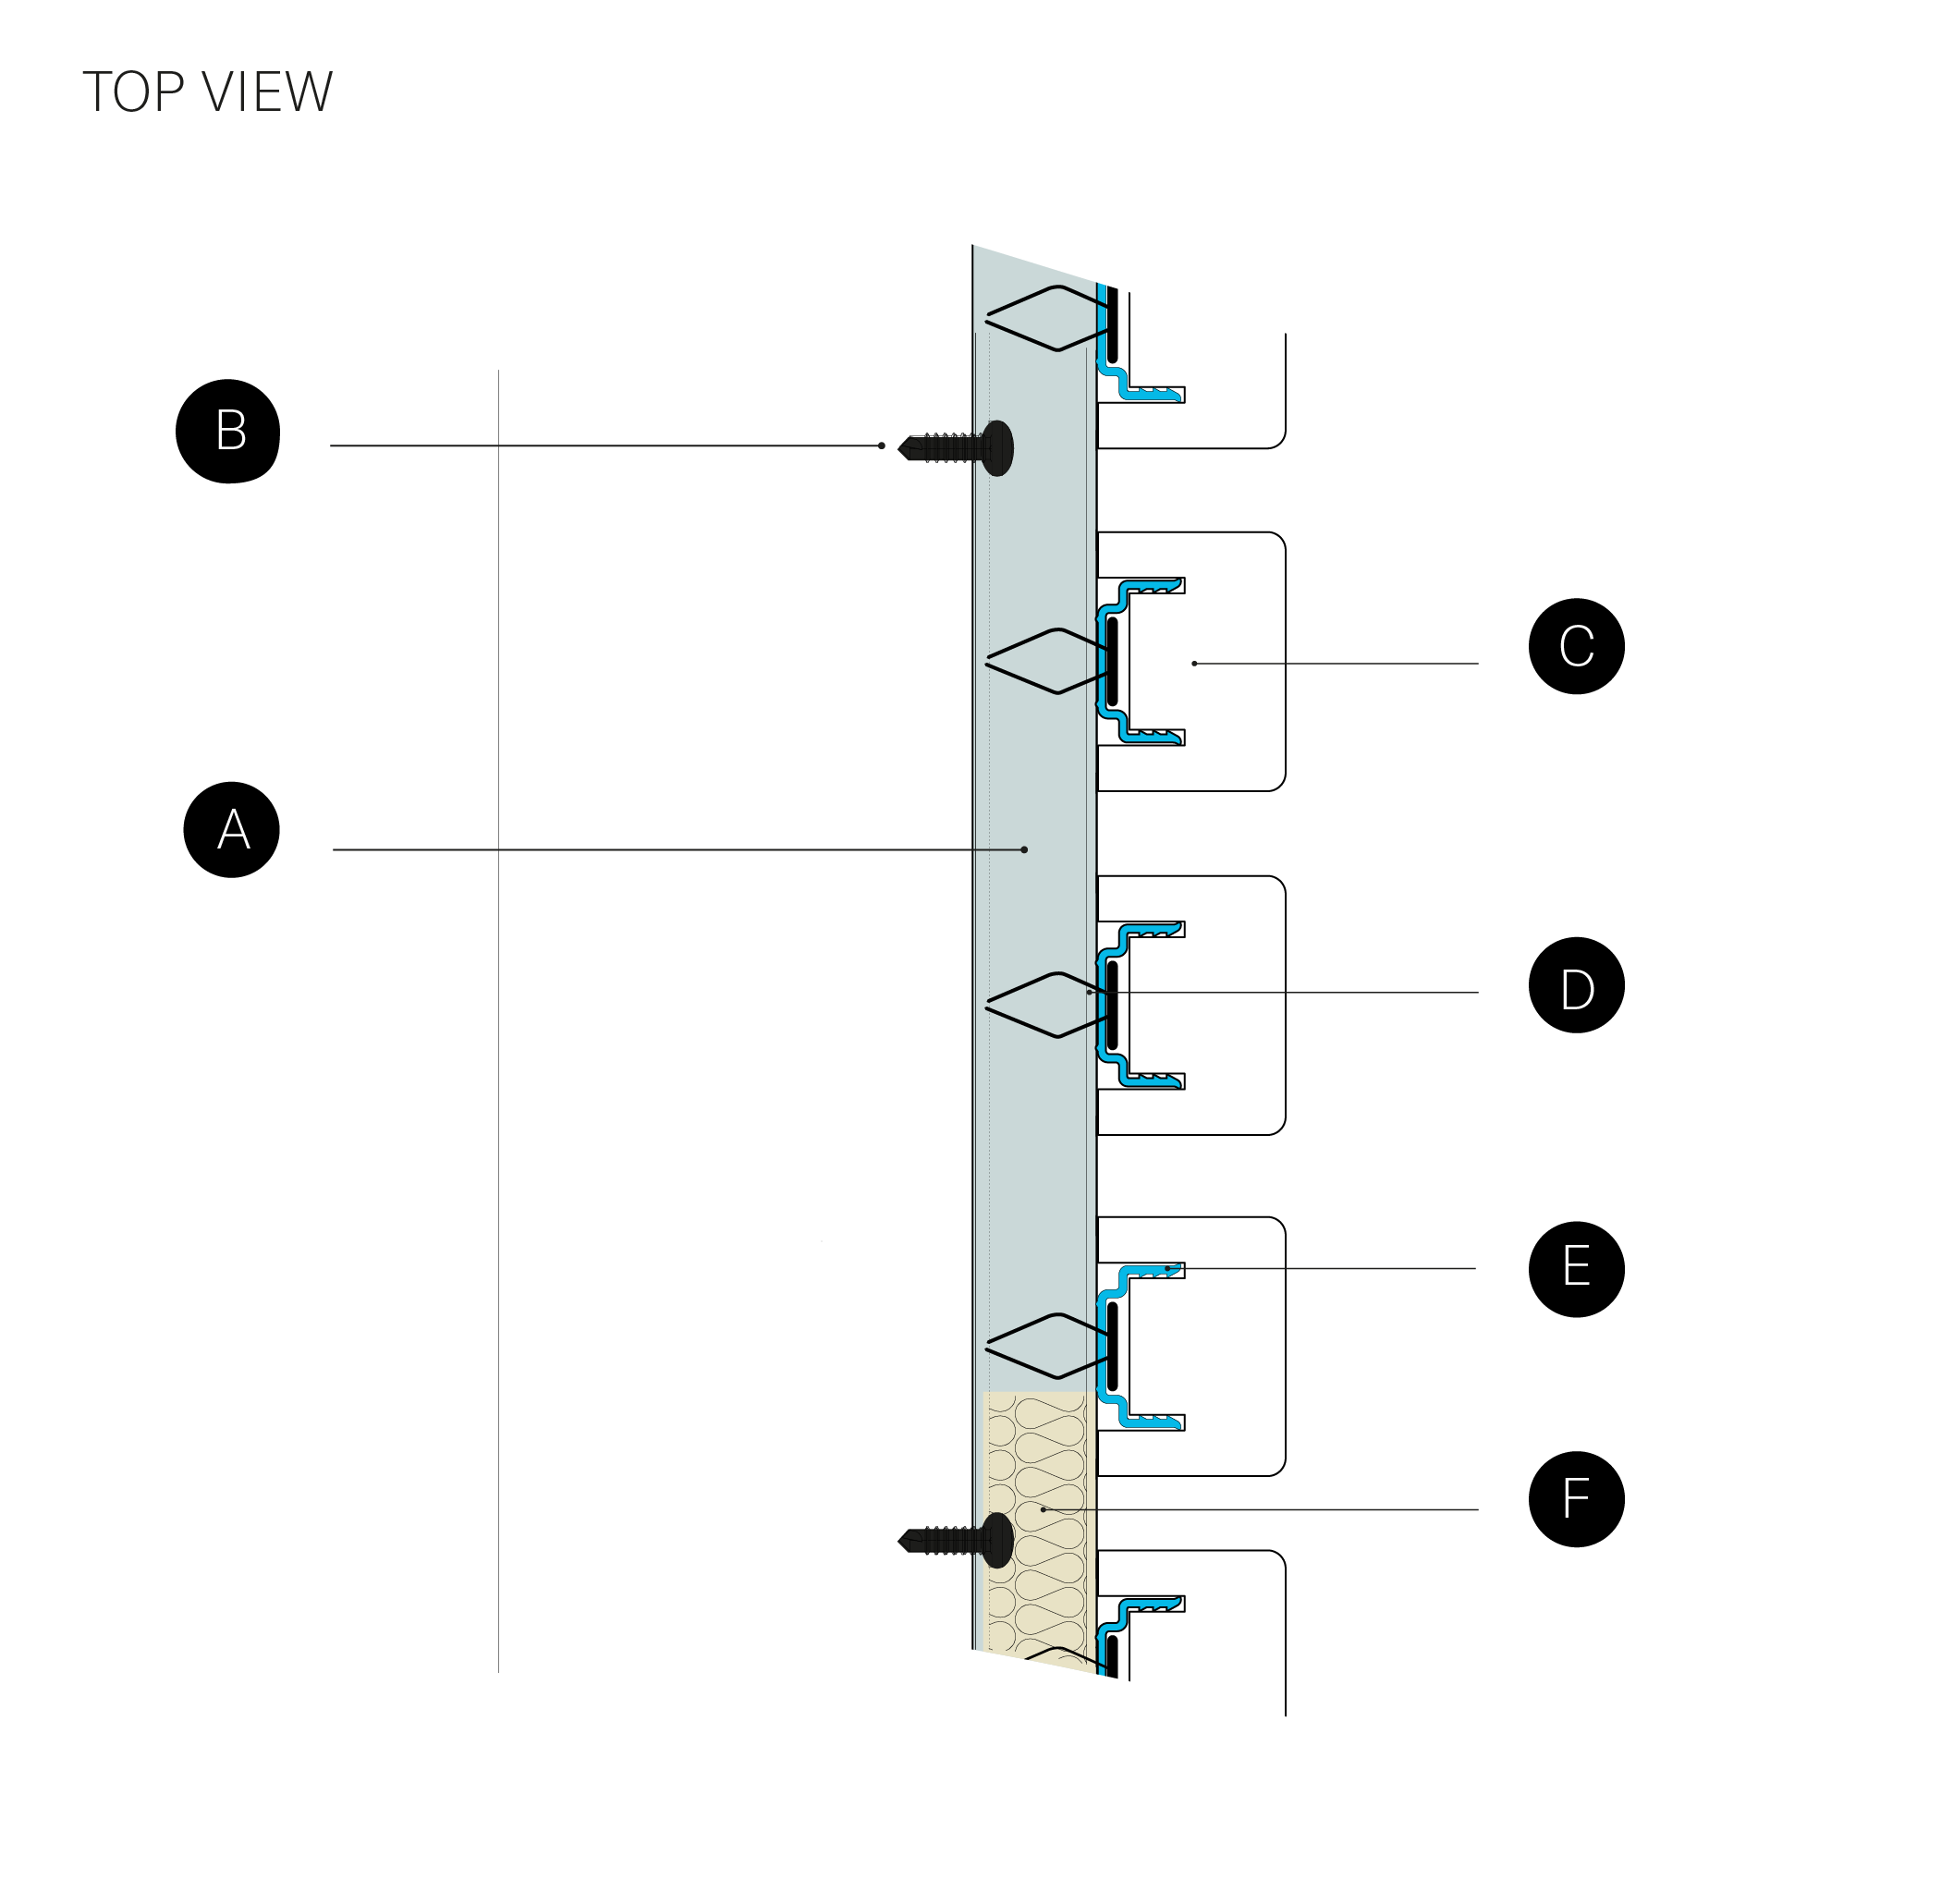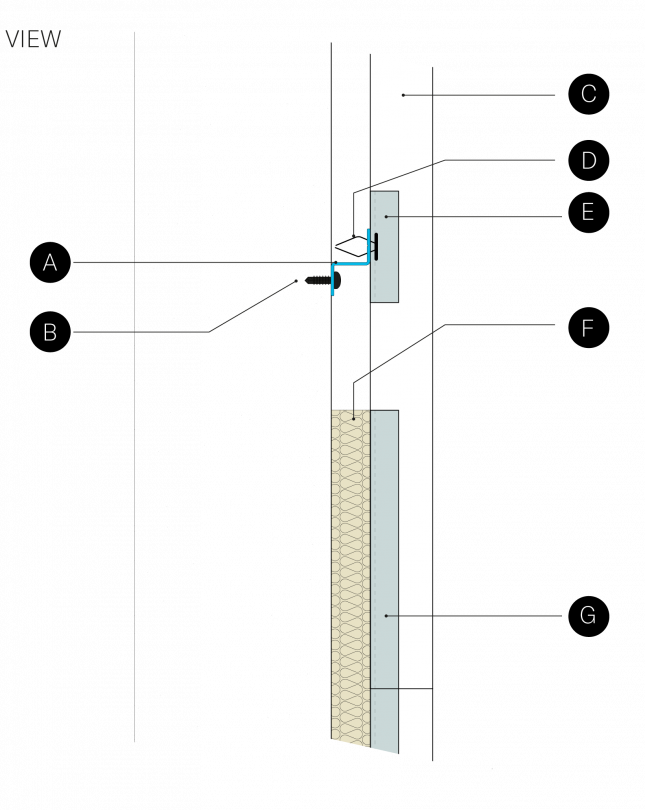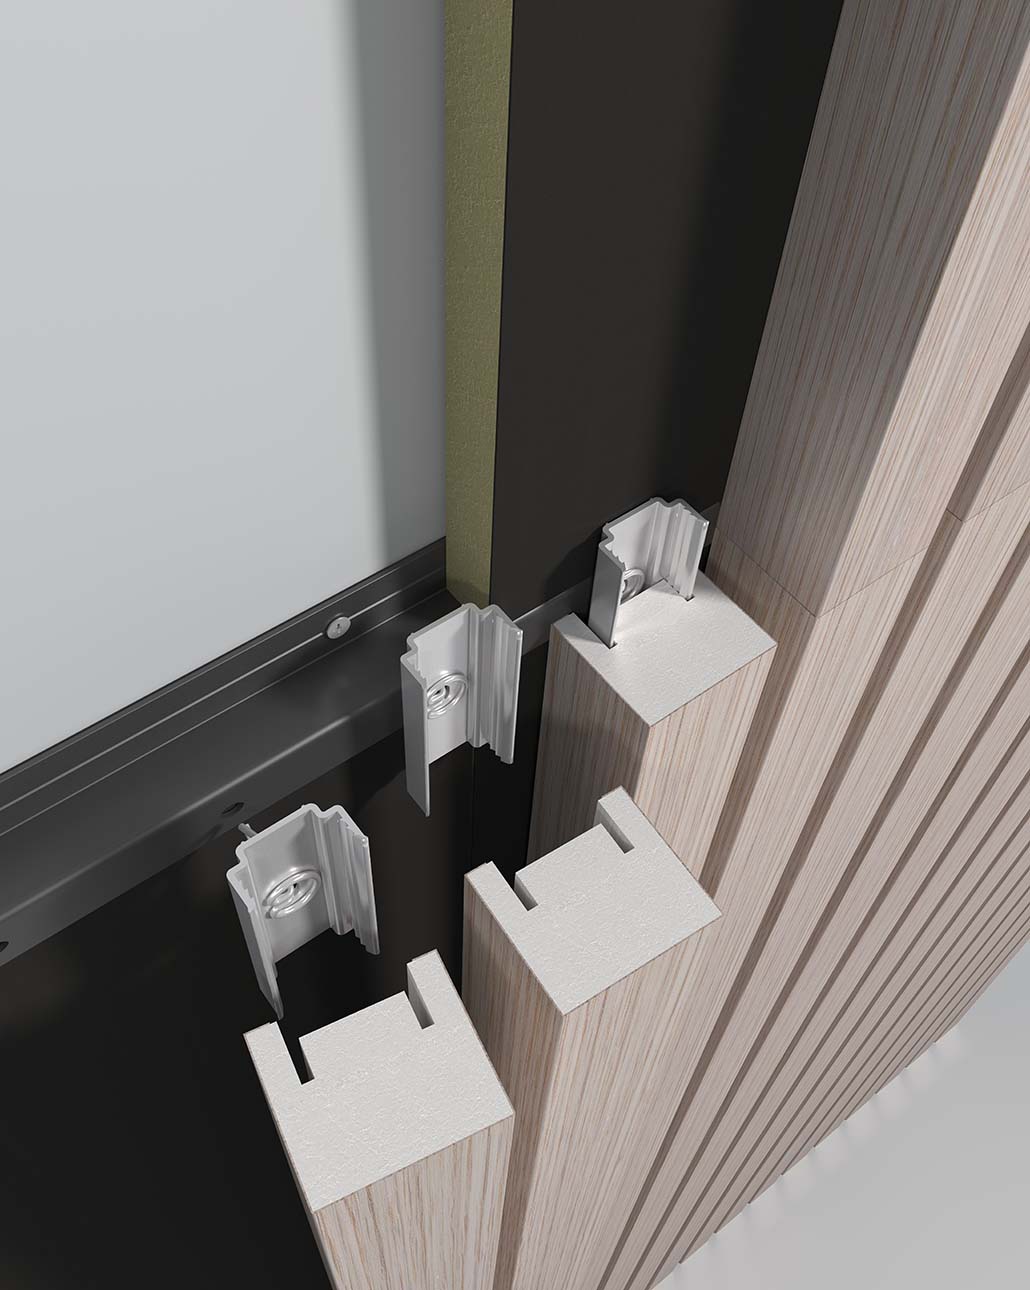
Capax installation system provides you a concealed, reliable, quick and cost saving installation. The standard colour is light gray but it is possible to order it in black as well.
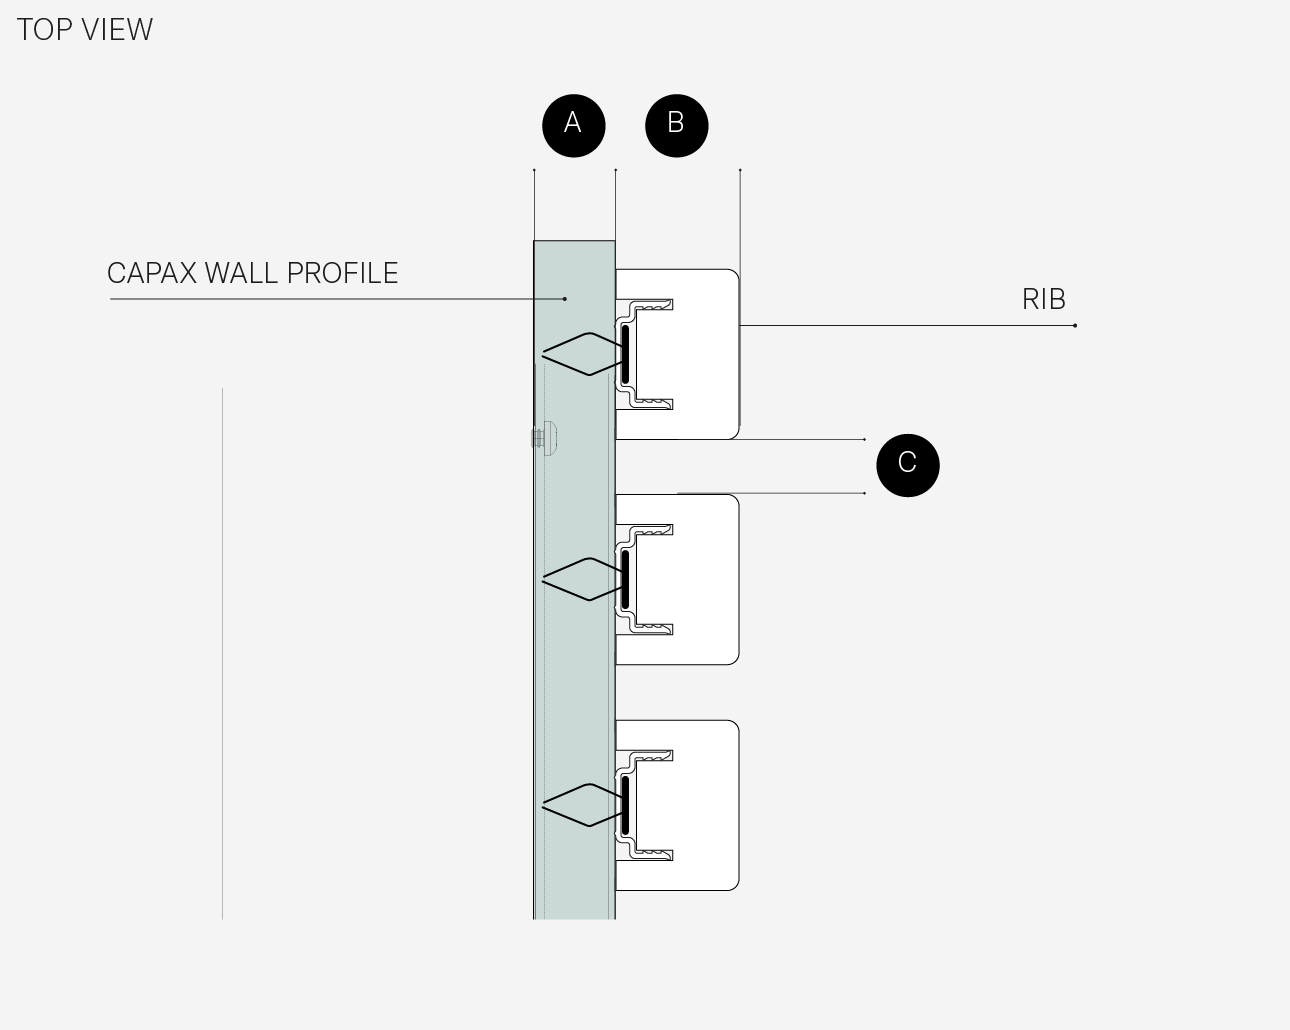
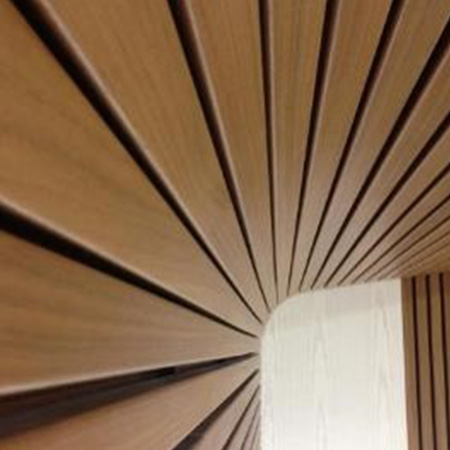
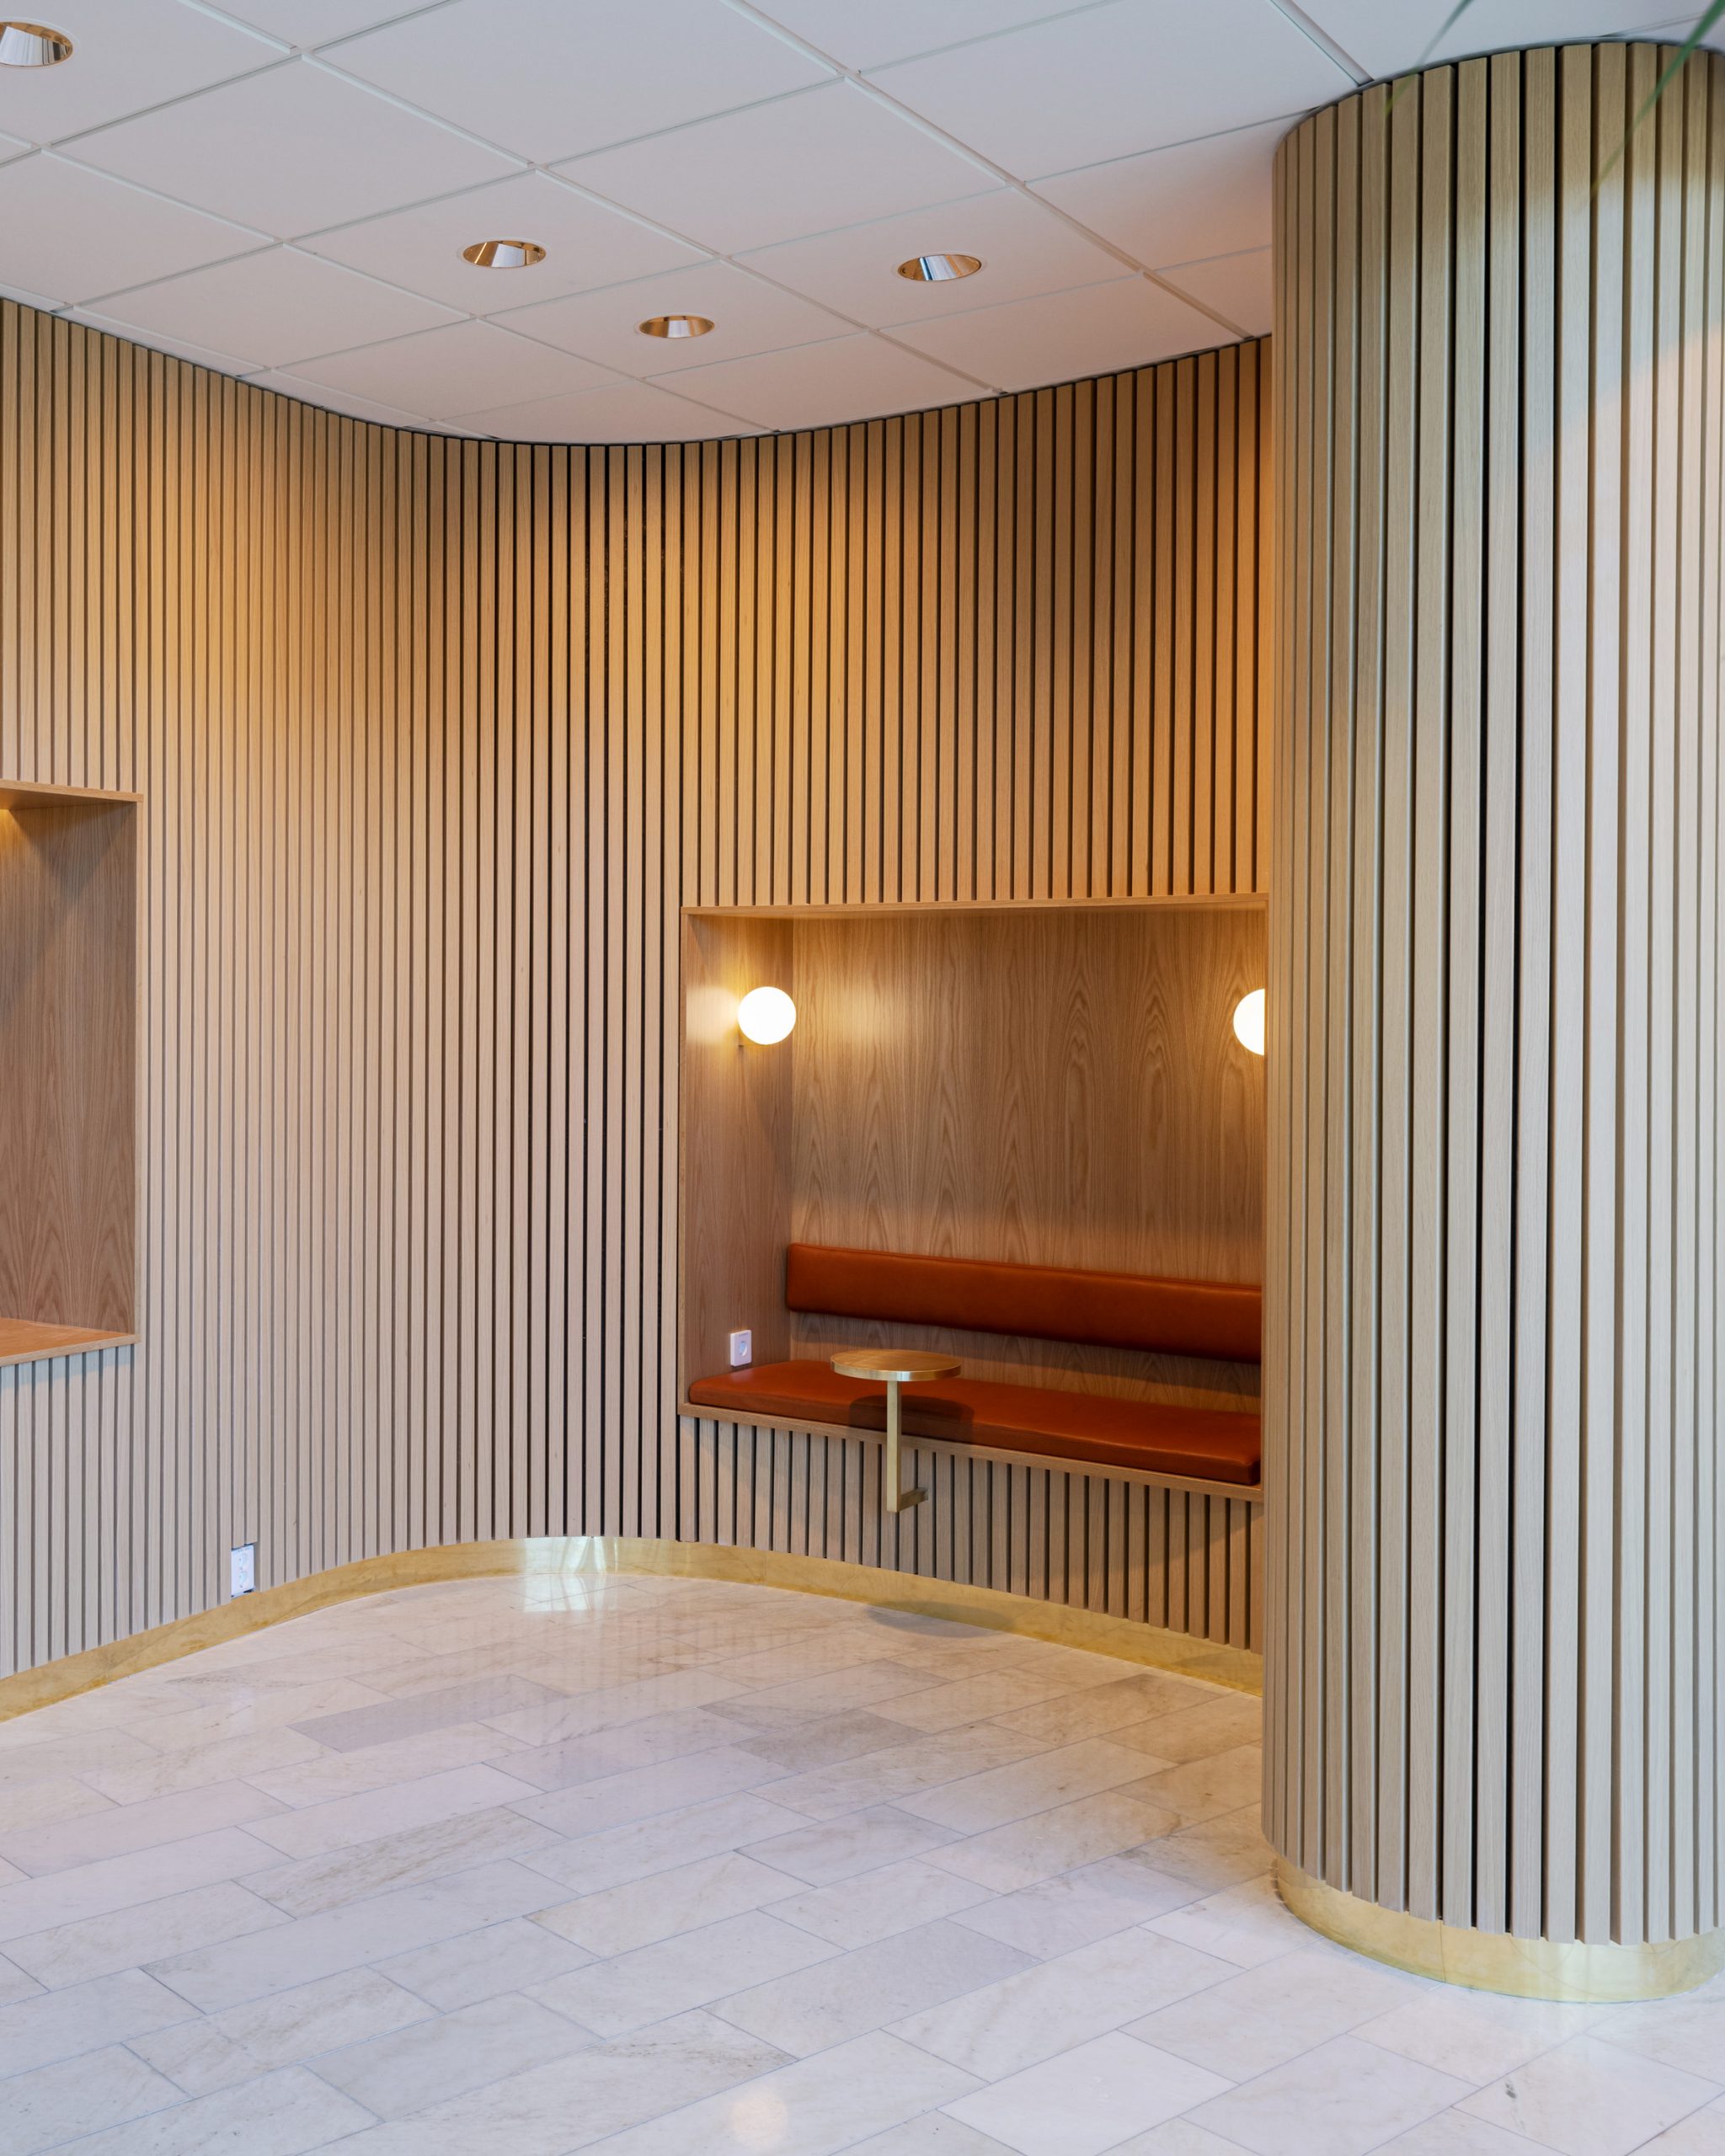
Linear Rib Installation – Wall
The Capax installation system for Linear RIB is a user-friendly aluminium grid, offering installation reliability and a perfect visual result.
Compatible products: Linear Rib-R, Rib-S and Stripe-XL.