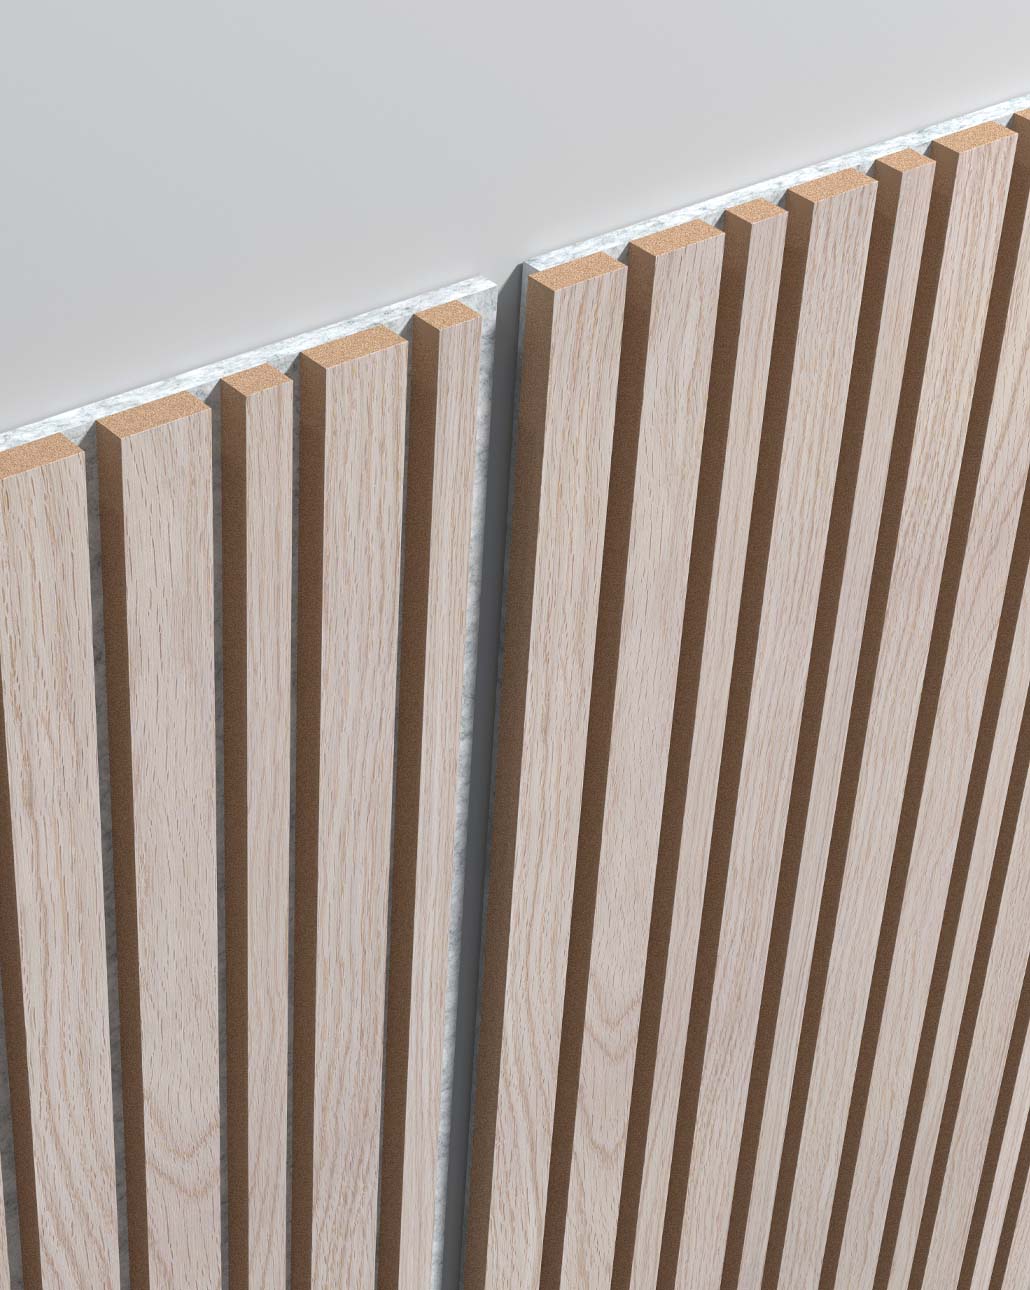
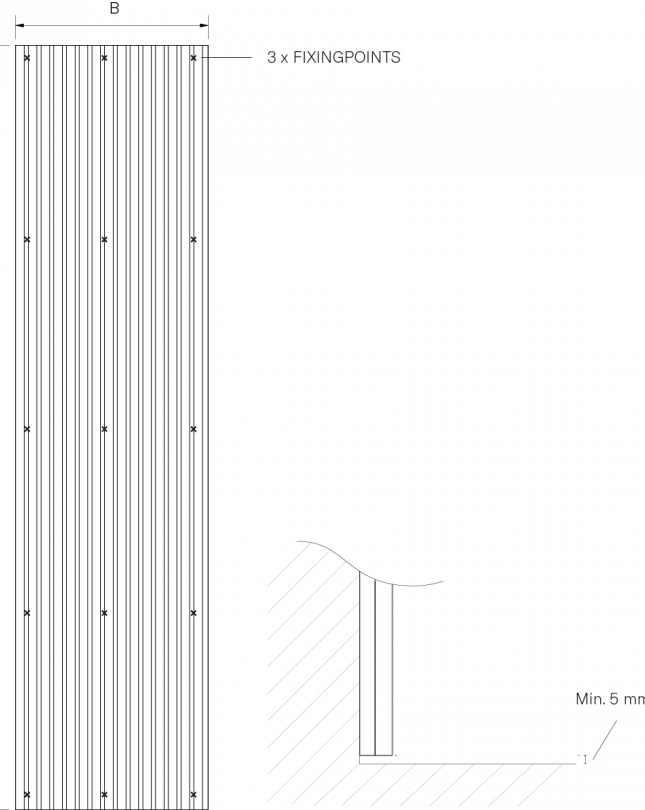
Along the 2400 mm side the panels have a 5 mm overlapping shape for 100% invisible joints.
Lamellow+ Wall Installation
Installation instructions for Lamellow and Lamellow+


Installation instructions for Lamellow and Lamellow+
TYPE / SOLUTION
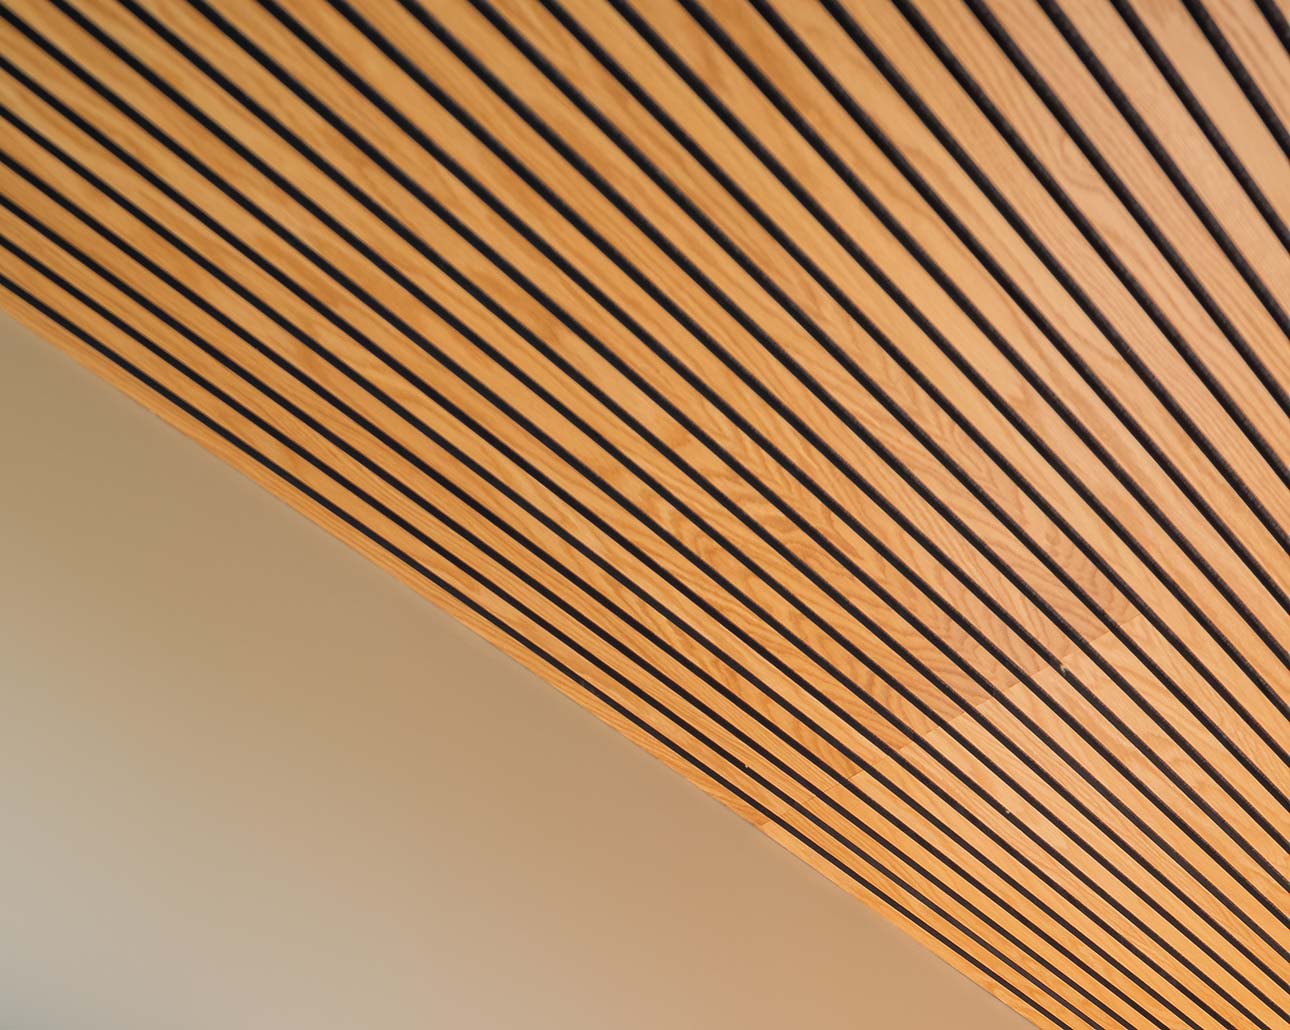
Linear Panels
APPLICATION
Wall
Gustafs Lamellow panels are easily installed, directly on walls or ceilings.
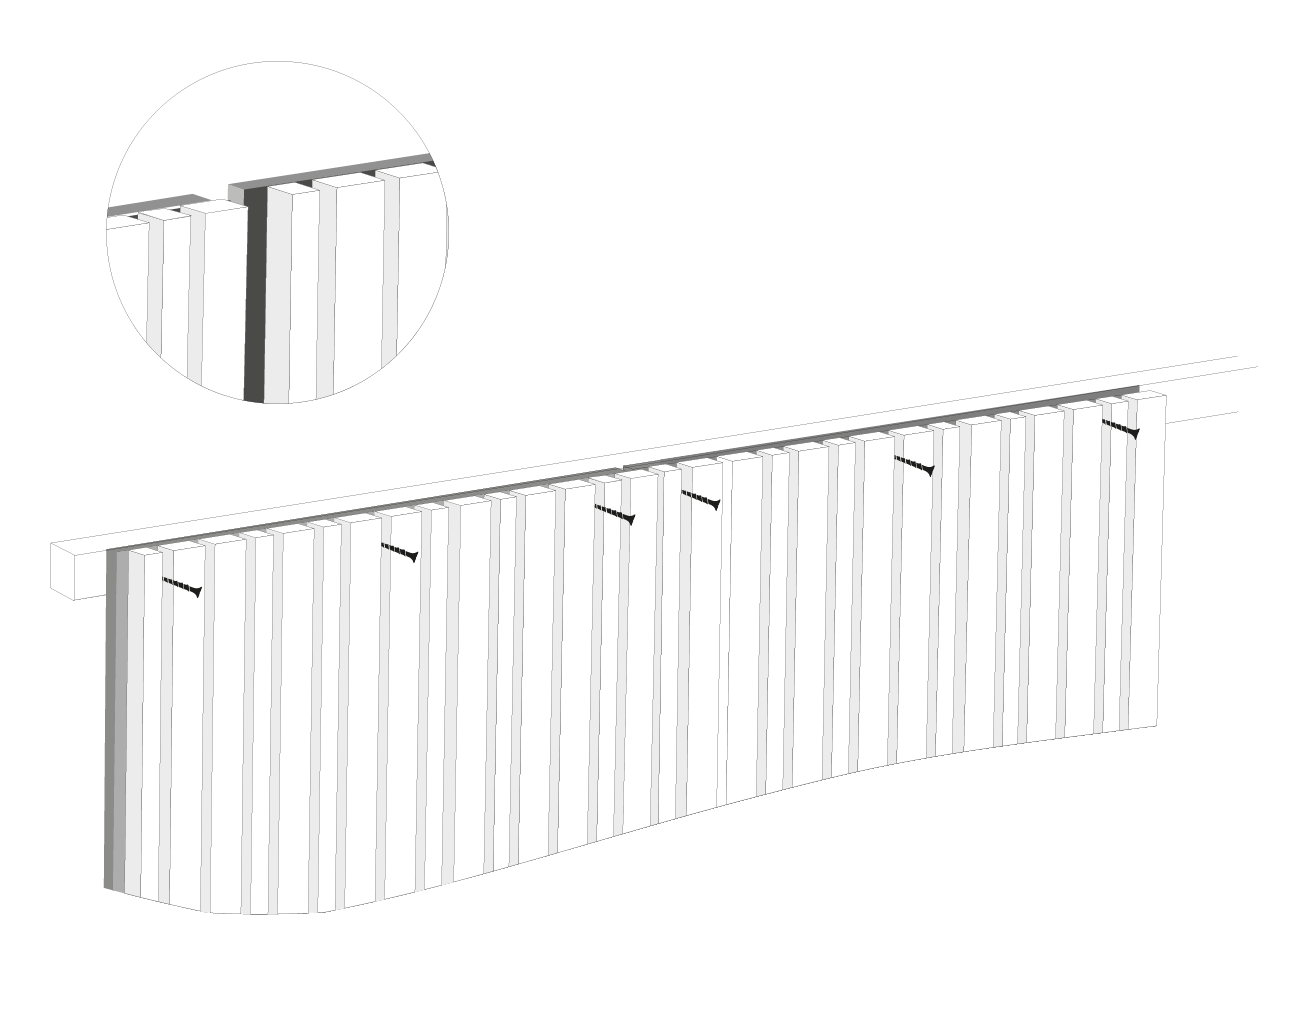
You can install Lamellow panels both vertical or horizontal.

Saw, circular saw or foxtail. Screwdriver, spirit-level, yardstick and carpet knife.
Cut the acoustic panels to fit your wall or ceiling. Cut the slats with a sharp saw and the acoustic felt with a carpenter knife.
To reach soundclass A (Extremely absorbing), you place a 45 mm mineral wood behind the panels. We recommend that you first mount 45 mm battens on the wall with a distance of cc 600 mm.
The Lamellow acoustic panels are easily installed directly on an existing wall or ceiling. For acoustic classification D (absorbing), install directly on the wall or surface.
Use mounting screws (15 pcs per acoustic panel) suitable for the type of wall. Screw in the felt between the ribs for concealed installation. Use black screws for anthracite felt and silver colored screws for wool grey felt.
We recommend that you use a framing nailer. Place the nails in the felt between the ribs for concealed installation.
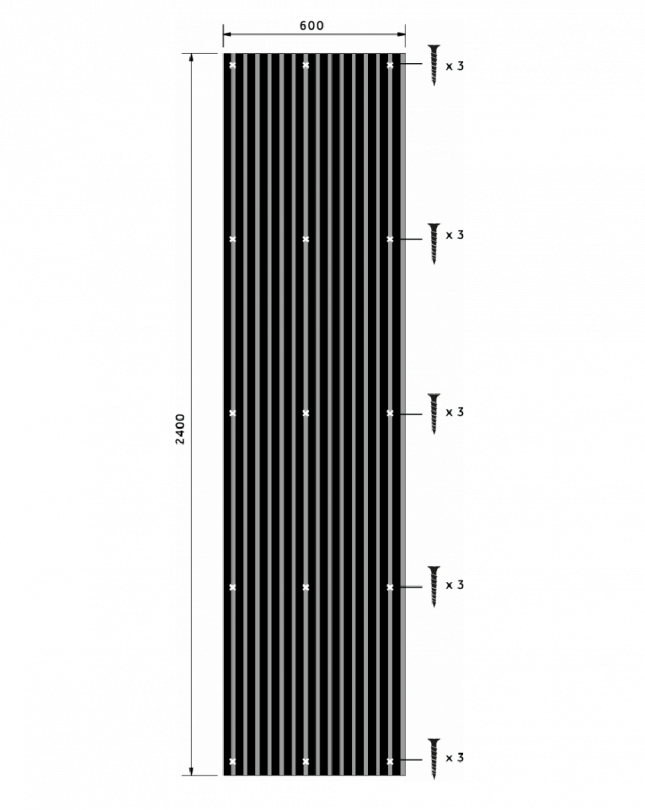
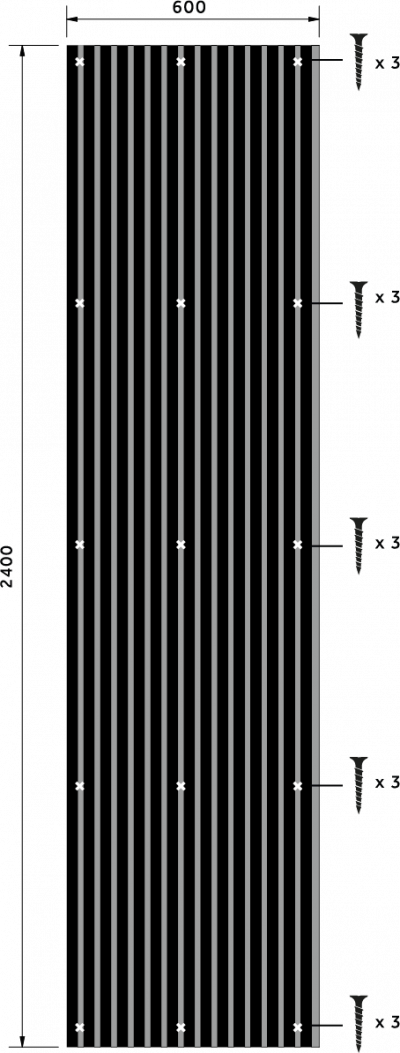
Attach the panel on the 15 attachment points shown in illustration.
It is also possible to glue the acoustic panels on the wall, using a MS-polymer. Fix the panel during the curing.
1. Plan your installation
2. To achieve absorption class A (extremely absorbent), first regrade the wall with 45mm battens, 600 mm cc, and place 45 mm thick mineral wool behind the panels.
3. If necessary, adjust the length of the panels to the correct size. Use a sharp saw for the ribs and a dull knife for the felt.
4. Install with at least 15 fixing points per panel. Choose the mounting method (screwed, glued or stapled) depending on the wall material and location.
Glue is recommended for wall mounting only. In this case, use an MS polymer adhesive and fix the panel during curing.
5. For concealed mounting, attach the panels to the felt between the ribs. Along the long side (2400 mm side), the panels are laid 5 mm apart and the joint is 100% hidden under the outer rib. Along the short side (600 mm side) the panels are mounted edge to edge so that the ribs line up.
7. If necessary, adjust the width of the panel. At the outer edge of the installation the panels may need to be adjusted, use a carpet knife to cut the felt.
8. Install edge profiles, if any.
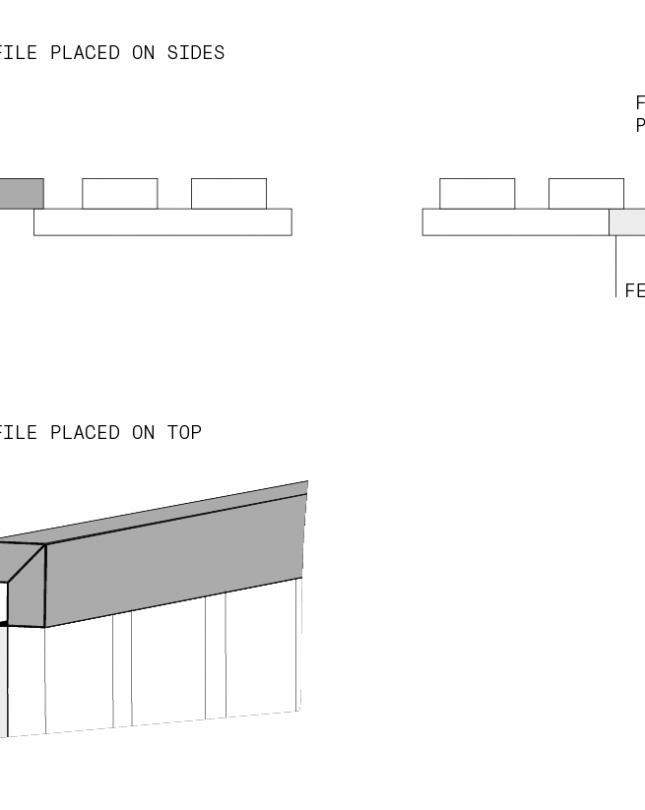
The edge profile is used for the vertical sides of the panel but can also be added as a finishing touch at the top of the panel. The edge profiles provide a neat finish to your wall. The edge profile is made of the same material as the ribs and with matching veneers.
1. Cut to length
2. Used with splice felt for the side of the panel that does not have a projecting felt.
3. The framing profiles are glued directly to the substrate.