A perfect match
It’s simple – the Gustafs Capax System is designed for Gustafs Panels, and the other way around. Installations will be time saving, reliable, durable, beautiful, and officially approved by our Fire Classifications.


The Capax system construction is torsionally rigid and self-bearing, lacking the need to fix onto adjacent walls.
The system offers full panel demountability and thereby access to overlying technical installations while maintaining its overall stability and strength.
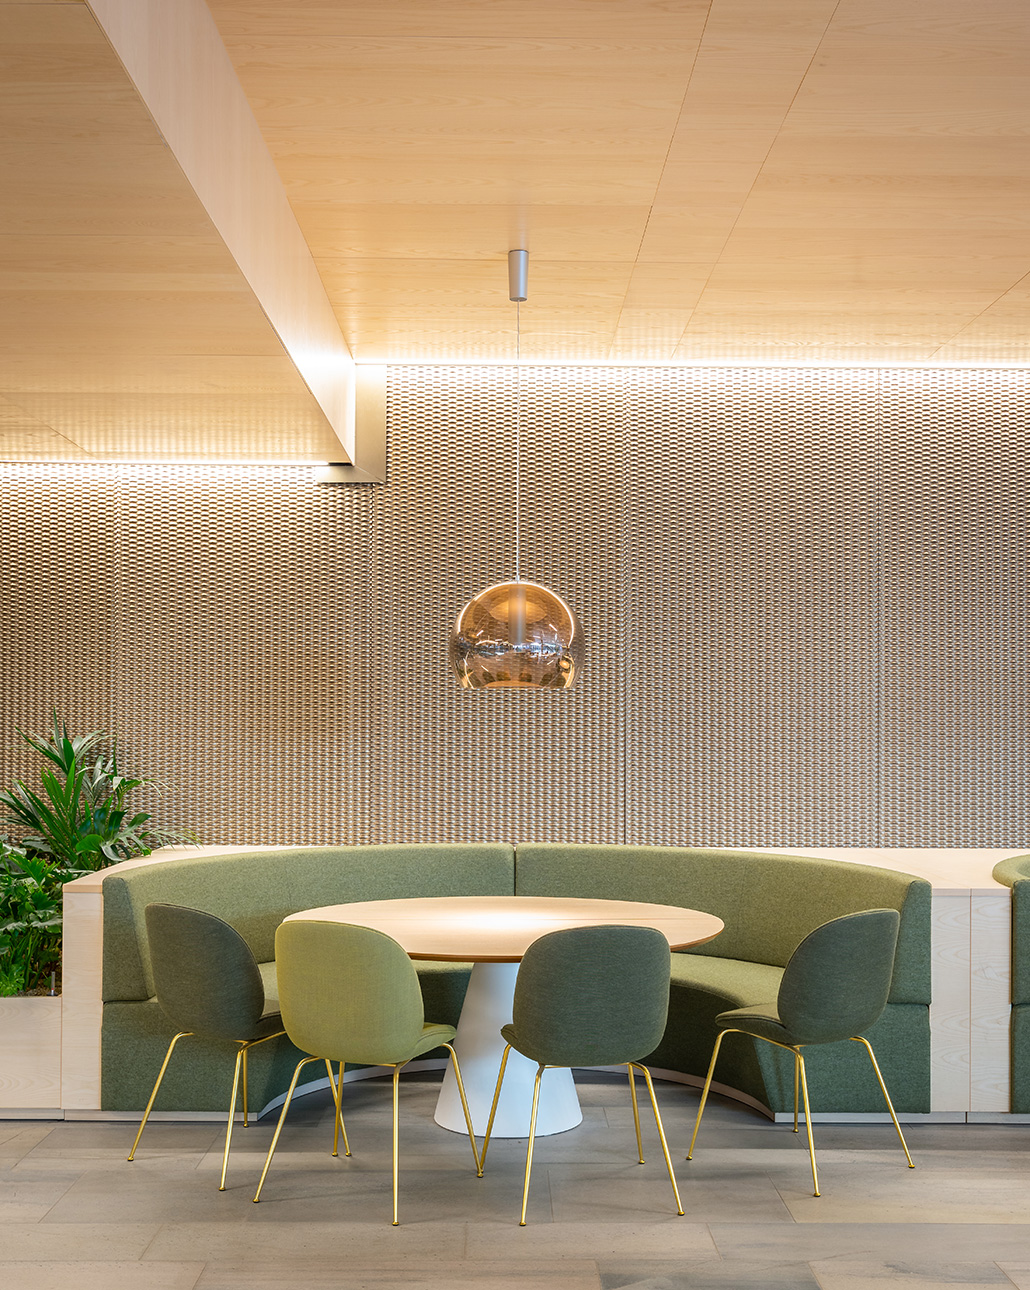
Capax ceiling profile system is aesthetically appealing because totally hidden. Instructions on – How to install acoustic panels in ceilings Step by step.
APPLICATION
Ceilings
TYPE / SOLUTION
Panel System
INSTALLATION
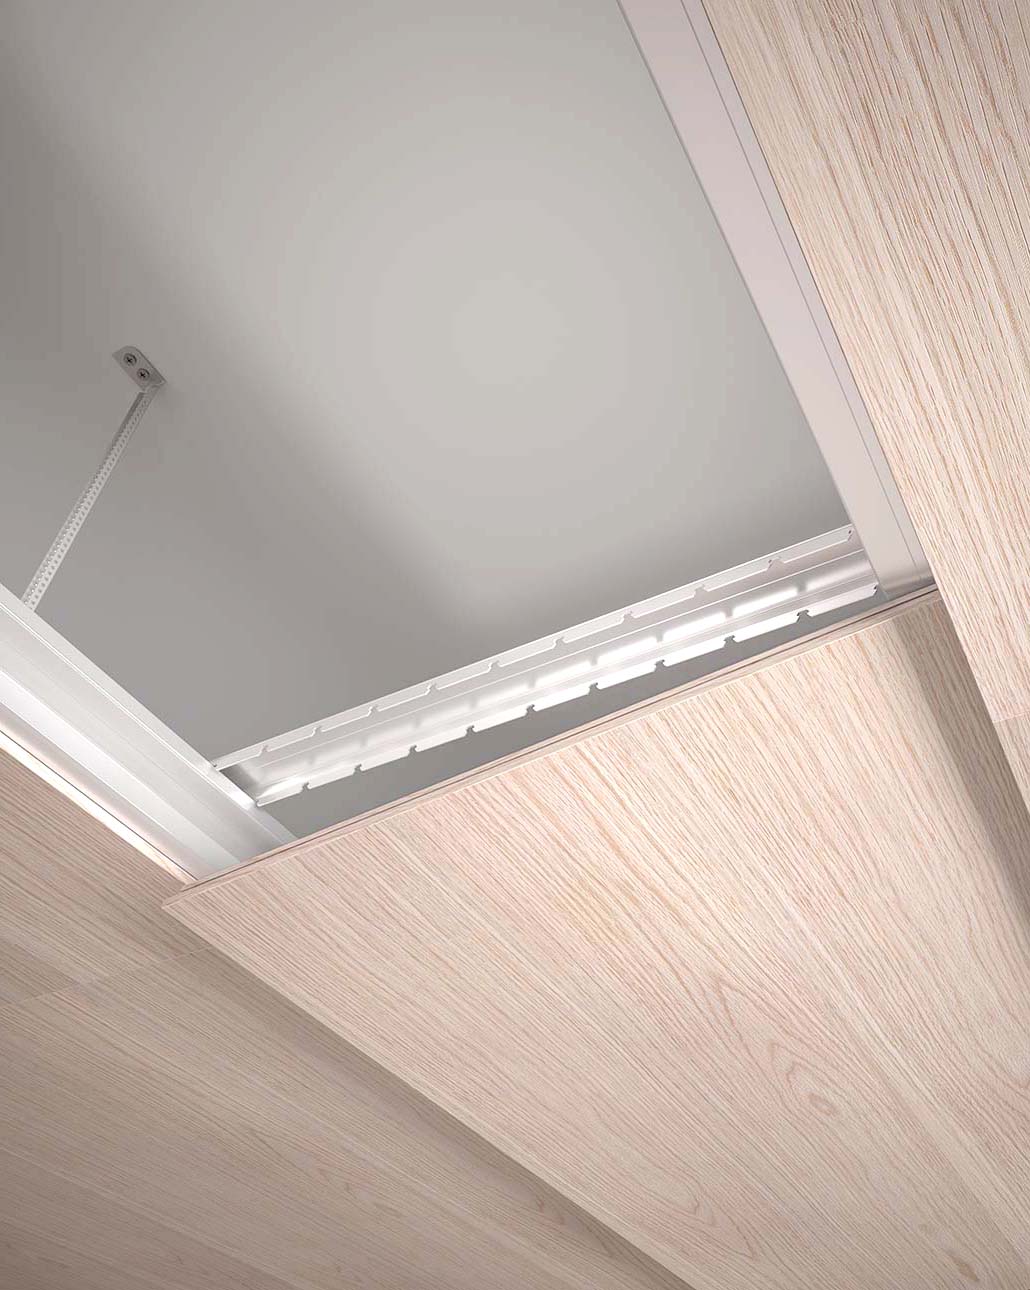
CAPAX SYSTEM
All Gustafs Capax profiles are produced in aluminium. The high accuracy of and the great torsion stiffness of aluminium profiles results in a rigid and self-bearing system, tolerating really concealed installations with zero spacings.
In-line patterns like Gustafs Stripes will be perfectly repeated over large surfaces and stay that way over their long lifetime. The Capax Ceiling System is fully demountable and permits frequent access to hidden technical installations.
Capax suspended ceiling system is designed for panels 300, 350, 400, 450, 500, 550 and 600 mm wide. Lengths can vary freely from 600 to 3000 mm, but to keep the installation process friendly, we recommend maximum 1800 mm lengths.
To guarantee our zero spacing installation, you must use the distance profiles according to the instructions below. For bespoke solutions, functional holes or adding speakers and lamps directly to our panels, contact our support.
Select panels on colour shade and plan your ceiling installation, we recommend mixing varying shades randomly.
The room temperature should be between 18-50 C°.
The air humidity should be between 25-60%. The humidity in the under laying construction (concrete) should not be higher than 15%.
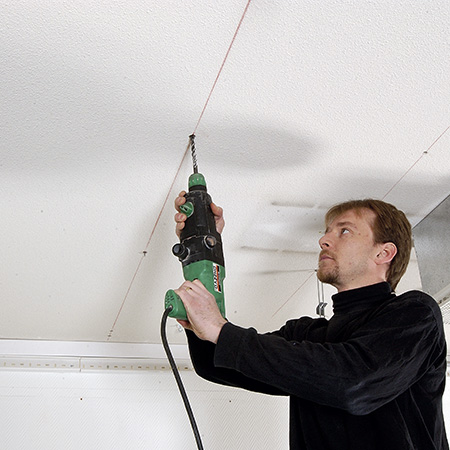
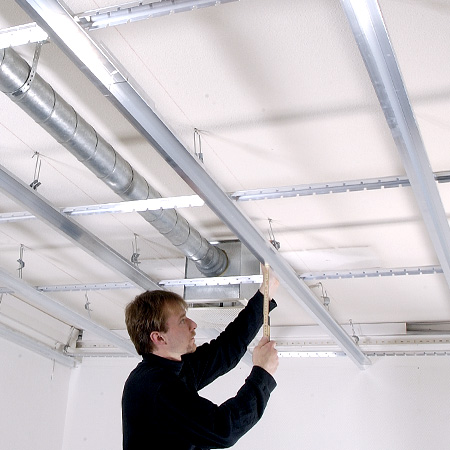
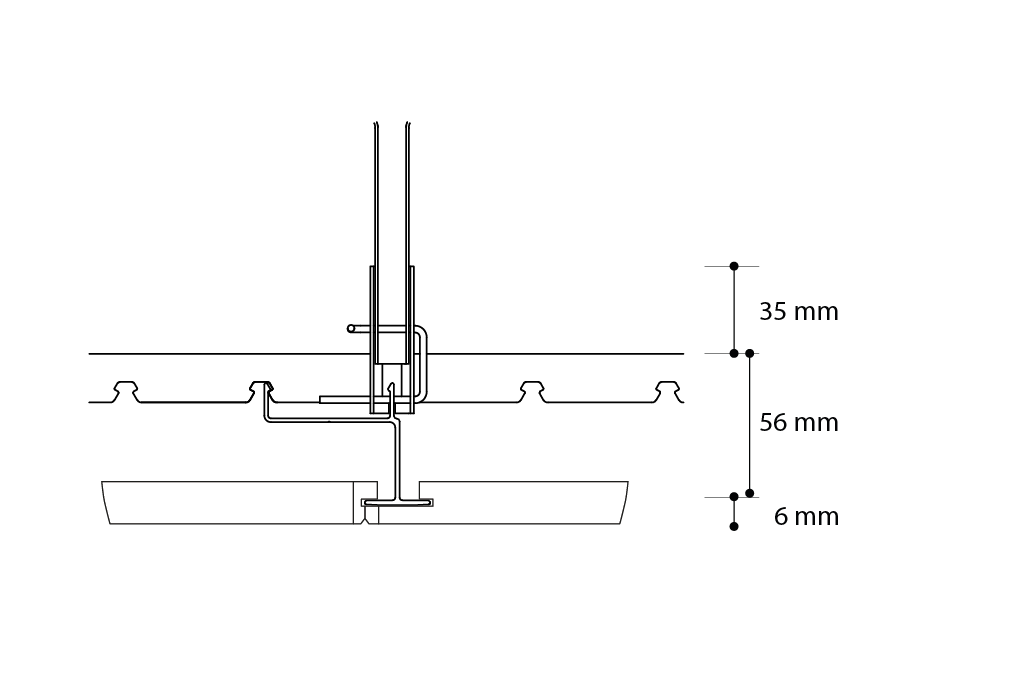
1. Attach Nonius hangers to the ceiling with a cc 600 mm distance in between, in both directions
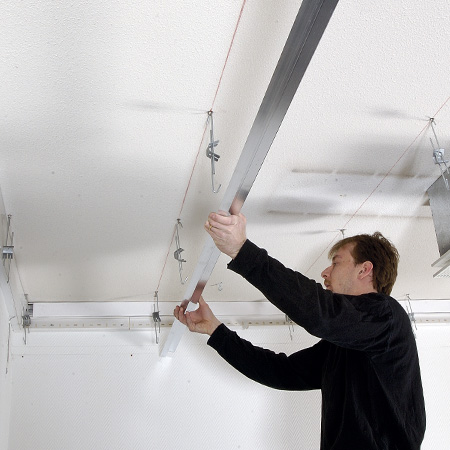
2. Suspend the main runner profiles from the Nonius hangers.
3. Connect the main runner profiles in-line to each other.
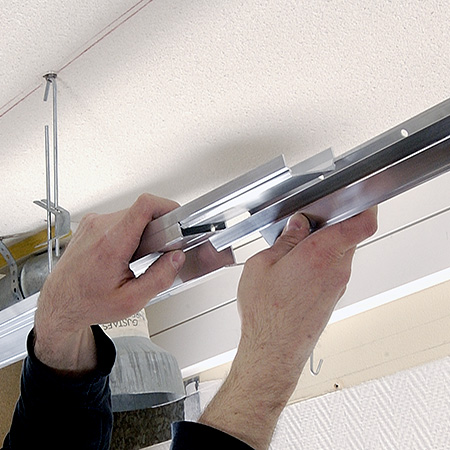
4. Attach the distance profiles every 1200 mm, perpendicular to the main runners.
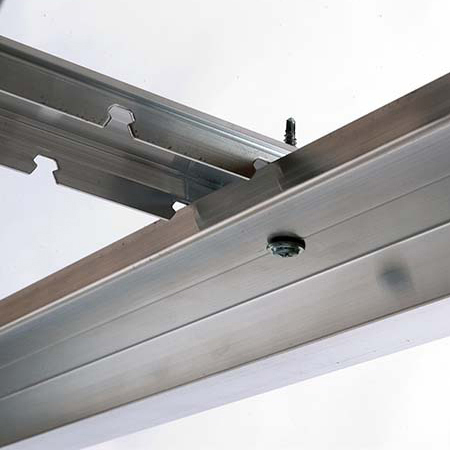
5. To secure the position of the intersection point, lock with a self-drilling screw.
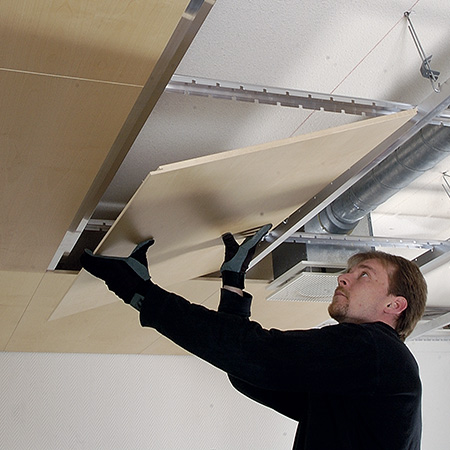
6. Install the panels by entering the DA side first followed by the DG side.
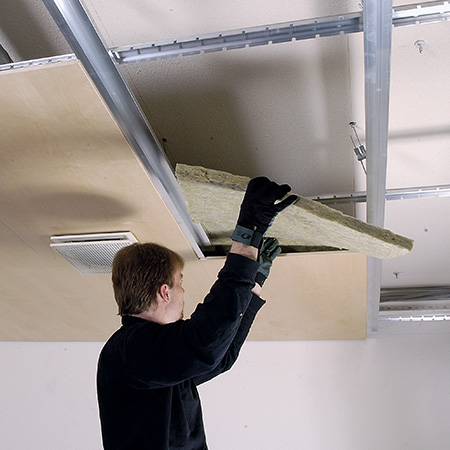
7. Place the insulation on top of the panels.
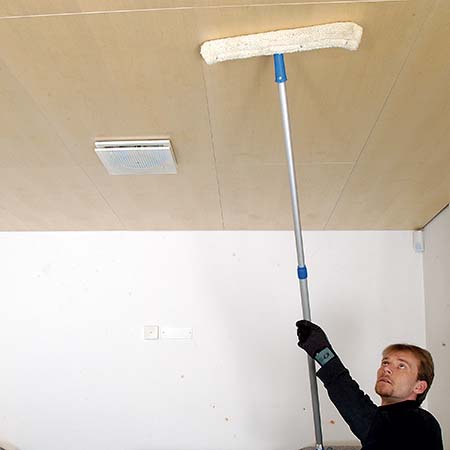
8. Finish the installation by cleaning the panels from dust.
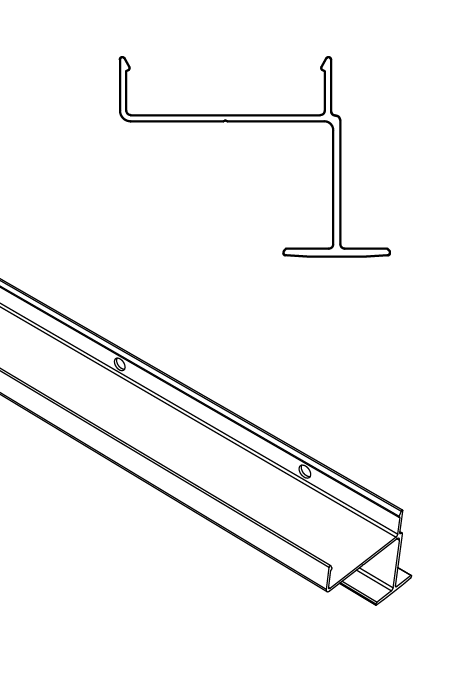
Baseprofile T-24. Lenght: 3100 mm
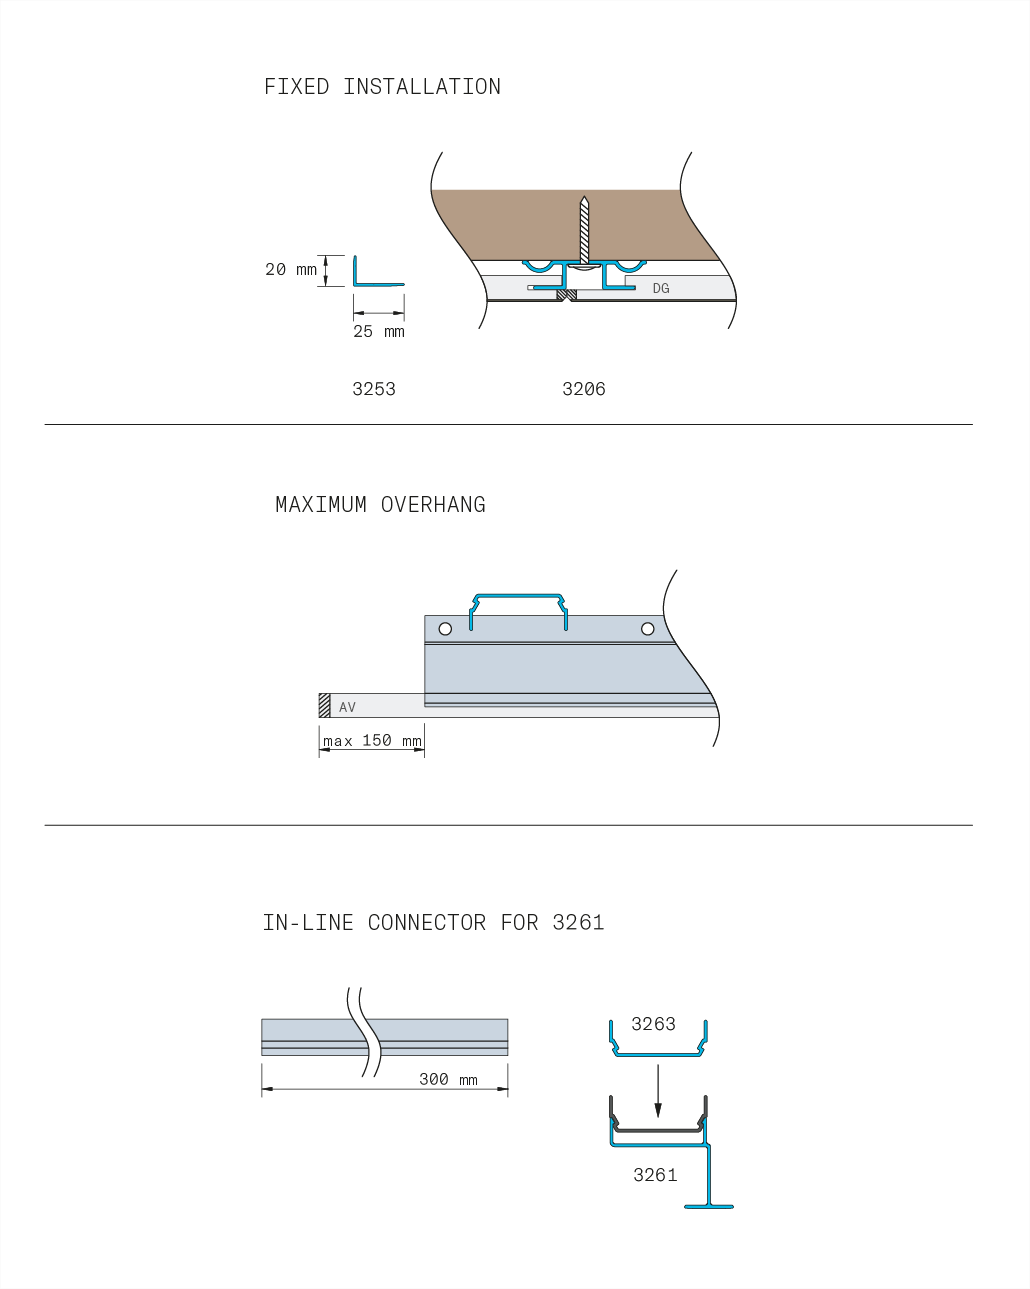
3263 Connector. Length 300 mm
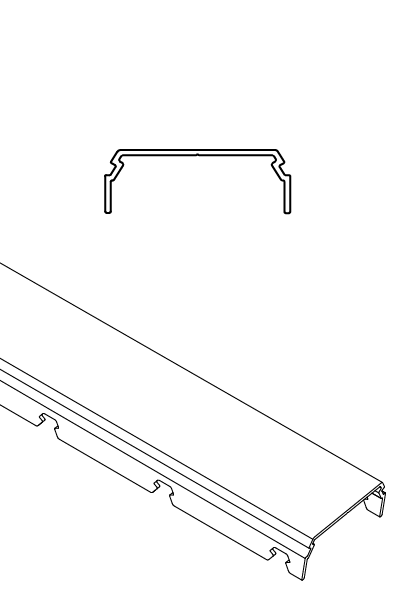
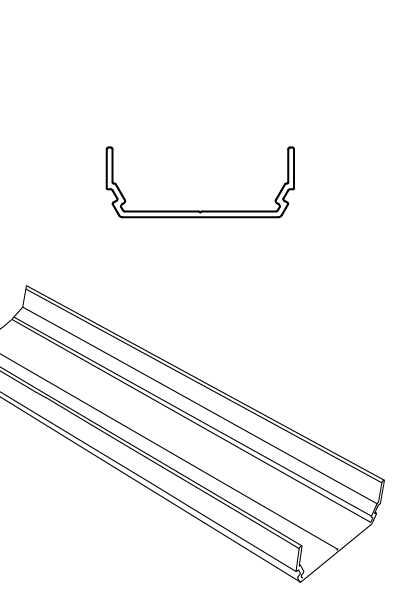
Distance profile, with cuts every 50 mm. Lenght: 3120 mm

Available in lengths 200 mm-2000 mm
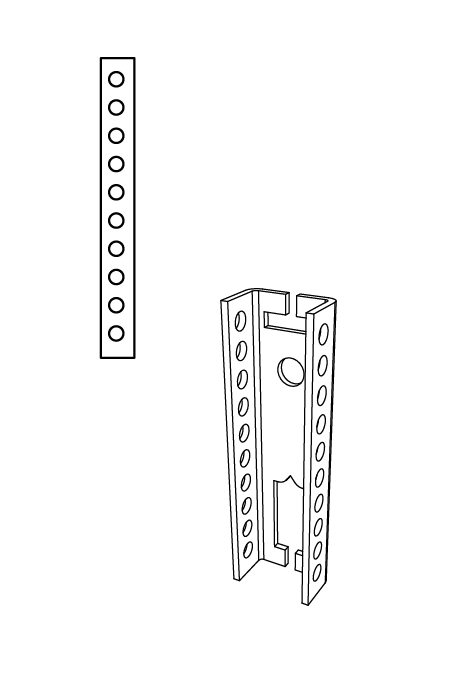

To secure the Nonius-CD position.
Capax ceiling suspension | Edges & joints | Panel Mounting | Special | System measurements


Wood is a natural product and each veneer is unique. Colour, pattern and structural differences are considered as normal and a part of the décor. Select panels and ribs on colour shade and plan your wall or ceiling installation, we recommend mixing varying shades randomly. Wood changes over time when exposed to UV-light.
Only for indoor use and not in wet rooms. Storage, Installation and Use at 18-50 C° and 25-60% air humidity. Acclimatize the unpacked material in the installation room prior use. The humidity in the under laying construc-tion (concrete) should not be higher than 15%. Gustafs solutions are sensitive to humidity and water, therefore they should always be stored dry and in-door.
– Do not transport unsecured panels.
– Do not stack pallets.
– Keep the packaging closed during storage. Unopened pallets shall be stored in installation room for a minimum of 7 days prior to installation to allow the product to acclimatize to the ambient conditions.
– Lift panels flat, vertically and one at the time. Panels 1800 mm or longer should be handled by 2 persons and lifted and carried with one of the longest sides upwards to avoid bending.
– Avoid exposure to strong and direct sunlight.
-Cleanings is done by dry mop or vacuum. Use synthetic cleaning fluid without ammonia for greasy stains, fruit, wine and coffee. Blood is removed with cold water.
– Our UV coated and Laminate surfaces are approved for hospital cleaning products containing up to 70% alcohol.
– Avoid exposure to strong and direct sunlight.
– Do not expose visible surfaces to sharp objects during installation.
– Do not slide products on each other. Lean panels against a wall for short term storage.
– Protect both non-installed and installed panels and ribs from impact coming from ladders, trolleys, furniture installation, etc, including all other workers and their tools.
Recommended Max:
1800 mm x 600 mm.
Bespoke Max: 3000 mm x 600 mm.
Panel thickness 13,2 mm
Panel weight, perforated Nano 10,7 kg/m²